Jump to:
Garden rooms are a favourite among many UK homeowners for a reason. They give you a space for work, hobbies, or chilling, and make the garden enjoyable in more types of weather. We have been designing and manufacturing garden rooms for over 25 years, so we know the best ways to make these buildings go together. Each garden room has its own unique specifications and part measurements, so rather than go model-specific, this guide will give you a helpful overview of what the process consists of and what to expect.
Planning and Preparation for a DIY Garden Room
Before hammer meets wood, you need a plan. Ask yourself:
- What style of garden room do you want? Shed-style for storage, a log cabin for a studio, or a summer house for relaxing?
- How big can it be in your outdoor space? Typical small garden rooms are around 2.5 × 2.5m, medium-sized rooms are 3 × 4m, and larger studios can be up to 5 × 5m.
- Do you need planning permission? Most of the time, you won’t, but it depends on a few things such as specific rules for your land or how exactly you’re using it. Check out our guide to garden room planning permission for full details.
Don’t forget the foundations. Concrete slabs, timber bases, or gravel pads are the common options. Running garden building electricity or water? Get your connections sorted early.
All of this will help you figure out what timber to grab, how much space you’ll need, and what it’ll cost.
Choosing Timber for Your Garden Room
When you’re building a garden room yourself, one of the biggest choices you’ll make is which timber to use. Different manufacturers use different materials depending on price point, design, and durability. Here’s a clear, realistic overview of what you’ll see on the UK market — and what’s genuinely suitable for a DIY build.
Spruce (Most common for quality garden rooms)
Spruce is one of the most widely used timbers for garden buildings in the UK — and for good reason. It’s:
- naturally strong and stable
- lightweight enough for easy handling
- resistant to warping compared with cheaper woods
- ideal for machining into interlocking panels and framing
This makes spruce perfect for DIY garden room construction and for prefabricated kits. We use high-grade Scandinavian spruce for our BillyOh buildings, sourced from responsibly managed replanted forests.
Pine (common at budget price points)
Pine is another softwood you’ll see in sheds and lower-cost cabins. It’s affordable and easy to work with, but:
- more prone to knots
- less stable long-term than spruce
- more likely to shrink or expand as the weather changes
For budget builds, pine can work well. But for a long-lasting garden room, spruce is usually the better choice.
Cedar (used for premium, bespoke garden rooms)
Cedar is rare in mass-market garden rooms but popular in high-end architectural builds. It’s naturally:
- rot-resistant
- insect-resistant
- highly durable
- attractive due to its warm, reddish grain
However, cedar comes with a premium price tag. You’ll mainly find it used for cladding on custom garden rooms or luxury studios — not DIY builds or most kits.
Pressure treated timber
Pressure treatment further enhances timber’s resistance to outdoor challenges. It works for most types of wood, including the three best mentioned above. While cedar and redwood are naturally rot-resistant, pressure treatment doubles that protection.
If you’re picking timber for your garden room, go for pressure-treated wood. It costs a bit more upfront, but it’ll save you time and hassle down the line.
Learn more in our guide: Pressure Treated vs Dip Treated Wooden Buildings
Roof Types and Measurements
The roof is one of the trickiest bits, but nothing a friendly guide can’t fix.
- Apex (pitched) roof – The classic triangle shape. The average height ranges from 2.1m to 2.5m at the peak for medium-sized rooms. Gives extra headroom and water runoff.
- Pent (single slope) roof – Sloped in one direction, height 2m to 2.3m on the low side. Good for a modern look and easier to build.
- Flat roof – 2m to 2.4m high, minimal slope (around 2 to 5°) is ideal for drainage. Suitable for low-profile builds but needs waterproofing.
Tip: Double-check measurements before cutting, especially if adding multiple windows or doors.
Building a Garden Room Overview
A straightforward look at how it all comes together:
- Foundation first. Even if the surface is level, start with the foundation and lay a stable base for better support.
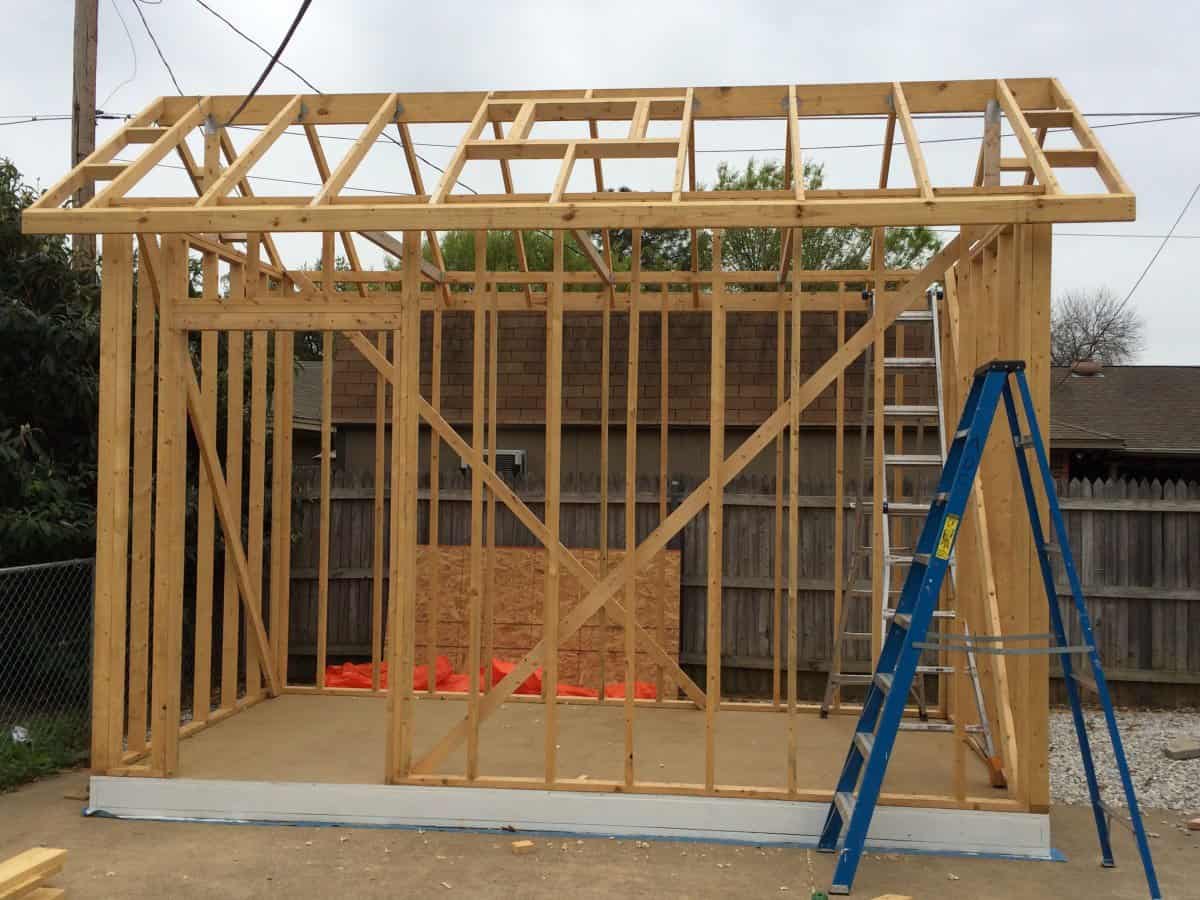
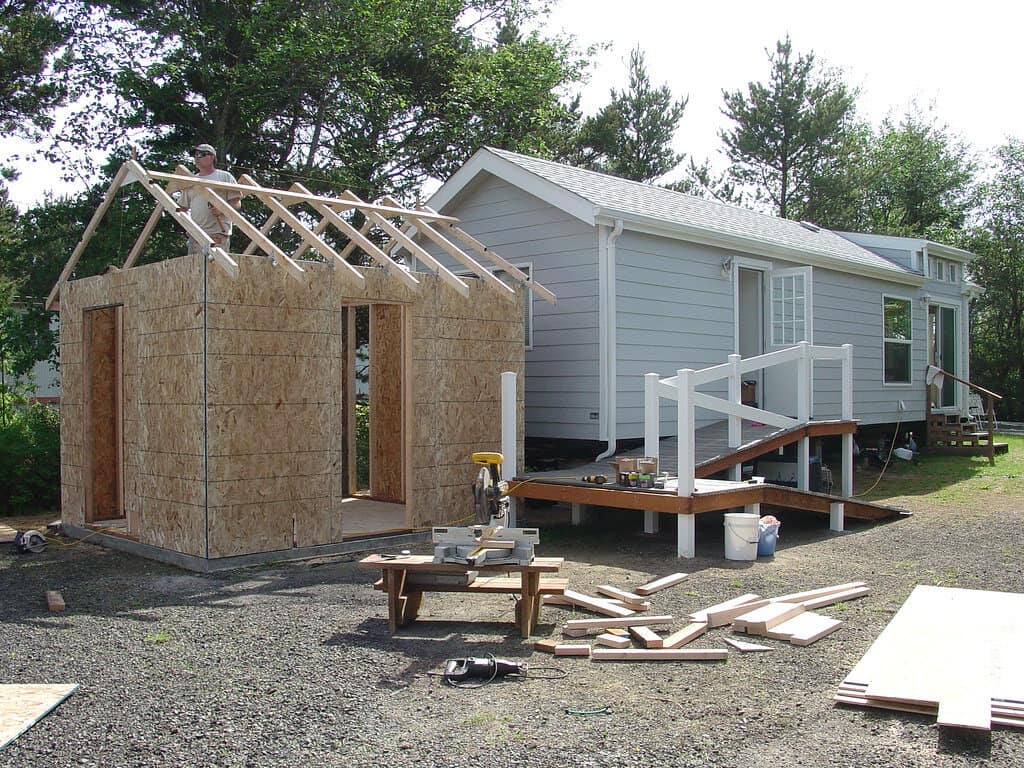
- Frame it up. Build the floor and wall skeleton with your chosen timber. Make sure it’s even and square before moving on.
- Walls and roof. Attach panels. Go for screws over nails for panels that may need adjustment. Drill pilot holes to avoid splitting. At this stage, you also have the option to insert insulation between outer and inner wall panels, to make your space significantly warmer.
- Weatherproof. Do so by sealing gaps and any openings you can find in the walls, roof, and floor. Roofing felt is also worth considering to make the roof weather-resistant. The same goes for air gap insulation.
- Finishing touches. Paint, varnish, or stain. When painting pressure treated wood, allow it to dry for 3 to 6 months before painting.
Take it one bit at a time, and feel free to adjust these steps as needed.
Prefab Garden Room Kits Might Be for You
If DIY isn’t your idea of fun or you want to cut weeks off the build, prefab garden room kits are a lifesaver. All the timber is cut to size, panels are pre-made, and instructions are easy to follow. You still get that “I built it myself” satisfaction without the stress.
See our selection of ready-to-build garden rooms to get started.


