Jump to:
We’ll get straight to the point: yes, you can paint pressure treated wood, be it a garden building or decking, and so on. But when you do, you can’t just call it a day after that final stroke; it’s different from usual paint projects. There are extra steps you need to take to achieve the best results, and that’s what this guide is for.
Whether you’re planning to buy a pressure treated log cabin or you already have one, this guide will be useful.
Why Paint Pressure-Treated Wood?
Pressure treated wood lasts longer than untreated or yearly treated timber. Yet, its greenish tinge might not suit your tastes. This colour is a byproduct of the chemical treatment process used to protect the wood from decay.
It’s brilliant, but it might look a bit out of place in your garden, patio, or deck that favours browns and greys. If this bothers you, you’ll want to consider painting it.
When Can You Paint Pressure Treated Wood?
The takeaway here is: are you willing to wait? Pressure-treated wood must dry out, “seasoned,” or “cured,” before it can be primed or painted. This process takes about 3 to 4 months or longer during winter, up to 6 months, before the moisture levels drop.
So, say you’re looking at buying a pressure treated log cabin or summer house—just let the wood be. The same applies if you’ve picked up a few treated lumber pieces from the hardware store.
Shop Pressure Treated Summer Houses
After a few months, give it a moisture test by sprinkling some water on the surface. If the water soaks into the wood, it’s ready to coat. It needs more time if the water beads up and won’t saturate.
What Happens if You Paint It Too Soon?
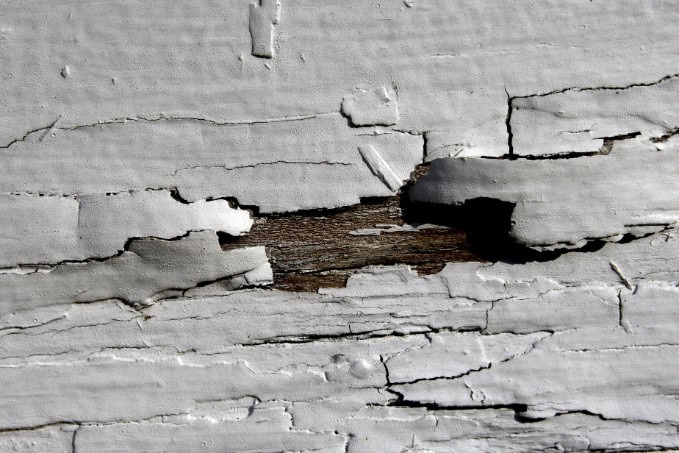
Unfortunately, it may cause more harm than good. The lumber could decay and deteriorate much faster. It can also cause the boards to warp, and you run the risk of major paint adhesion issues or peeling. In turn, the panel gets nasty-looking orange spots as mould grows underneath the paint.
But what if you need to paint the log cabin as soon as possible? We recommend opting for pressure treated wood labelled as kiln-dried after treatment (KDAT). You can paint KDAT lumber much sooner vs regular pressure treated ones.
How to Paint Pressure Treated Wood?
Once you’ve waited for the treatment to thoroughly dry, here are the steps you need to follow when painting:
Step 1: Prep the wood so it’s clean and debris-free
As with any painting steps, you need to start with a clean surface. A quick sweep and removal of any debris with a soft brush and soapy water will do. Spraying it with a hose also does no harm, but make sure that it dries thoroughly. The good thing is that it won’t take so long this time. A light sanding will help remove rough spots, splinters or any inconsistencies that might hinder the paint from sticking properly.
Step 2: Apply your primer
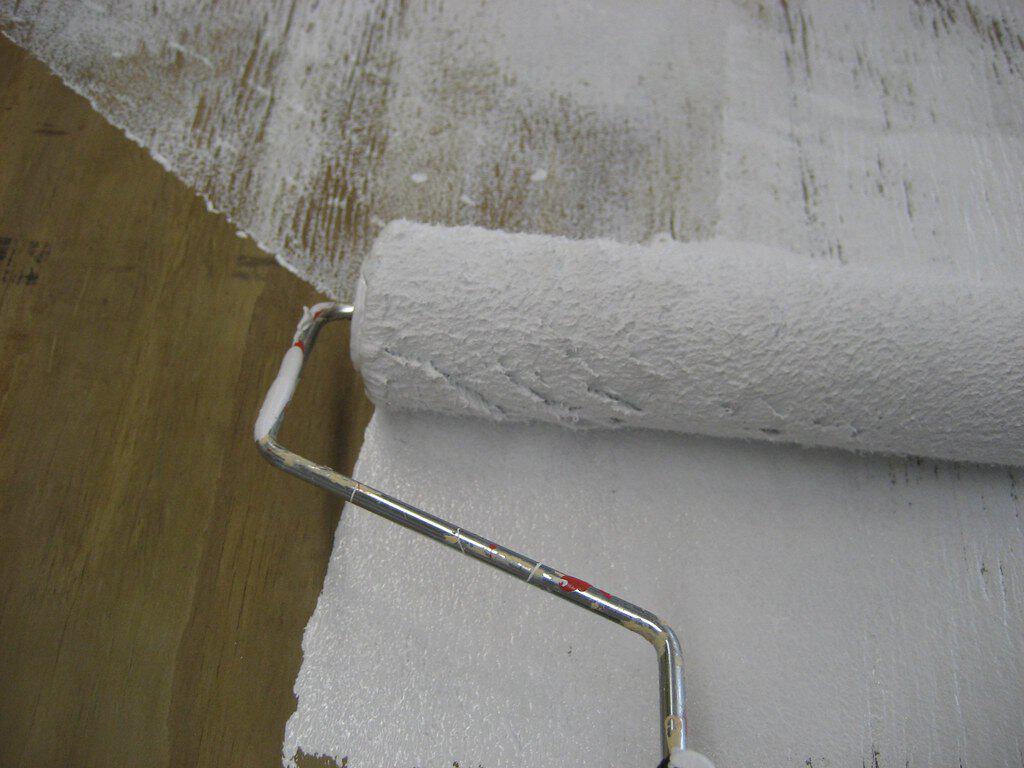
Put on the latex primer before the paint. You can use a roller, sprayer, or brush, whatever you prefer. Allow the primer to cure based on the manufacturer’s recommended time, then coat it with paint.
Primer is not required if you are using a semi-transparent or clear wood stain instead of paint.
Tip: Always go for a primer formulated for exteriors suitable for pressure-treated wood.
Step 3: Paint the treated wood
Give the paint a good stir and try a bit in a hidden spot to see how the colour looks and ensure that your primer and paint are compatible with the treated wood.
Apply the paint from top to bottom, following the grain of the wood. If your shed has windows, use tape and newspaper to cover the glazing so no paint drips ruin it.
After the primer has cured, apply your topcoat using water-based paint. Wait for a few hours or, based on the paint manufacturer’s drying time, before adding the second coat.
Paint lasts longer on vertical surfaces like fences than on flat ones like decks. If you’re painting a deck, it might need repainting more often.
Round-up
Pressure treated wood has a strong start and can withstand outdoor conditions better than natural lumber. But it won’t last forever. Adding paint, however, can extend its life further and make it look better. Just be sure the treated lumber is ready before painting; KDAT wood might be your best option if you’re in a hurry.
If you don’t mind waiting, we hope the above steps help you get it right! And for quality pressure treated garden retreats, shop our selections below:


