Jump to:
If you build a shed on uneven ground, it will cause problems over time. Without a level base, the frame twists, the roof sags, and the doors will eventually jam. Preparing the ground correctly is what keeps the structure stable and away from moisture issues.
You can do the groundwork yourself using this guide.
The shed preparation process at a glance
- Clear the site: Remove grass, weeds, and the top layer of soft soil until you reach firmer ground.
- Level and firm the ground: Knock down high spots and fill low ones, then compact the surface so it holds its shape under weight.
- Lay a membrane: Add a weed barrier over the area to stop plants from coming through and to help keep moisture under control.
- Build the base: Put down your chosen foundation: paving slabs, gravel, or timber bearers. Make sure it sits flat and steady before the shed goes on top.
Shed base preparation
Follow these steps to turn a patch of ground into a level, stable base for your shed.
Pick the shed location
A flat area with a good drainage spot is your best bet.
- Check the ground after rain. If water collects, go for a higher point instead.
- Keep the shed away from overhanging trees. It saves you from clearing leaves off the roof all the time, and roots won’t end up pushing against the base later on.
- Leave at least a foot (ideally 3 feet) of space around the shed for airflow and easy maintenance access.
Next, get the site ready for the foundation.
Clear and mark the ground
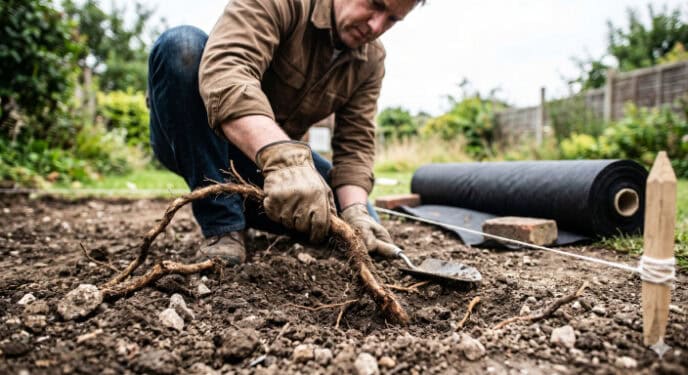
Clear out the grass, weeds, and plants in the spot you’ve chosen.
- Remove the roots so they don’t push back under the shed.
- Do the same with any large stones or bits of rubbish that could affect how level the ground is.
- Lay a weed barrier or landscape fabric across it to stop growth coming through the base.
With the area cleared and the membrane down, move on to the next step.
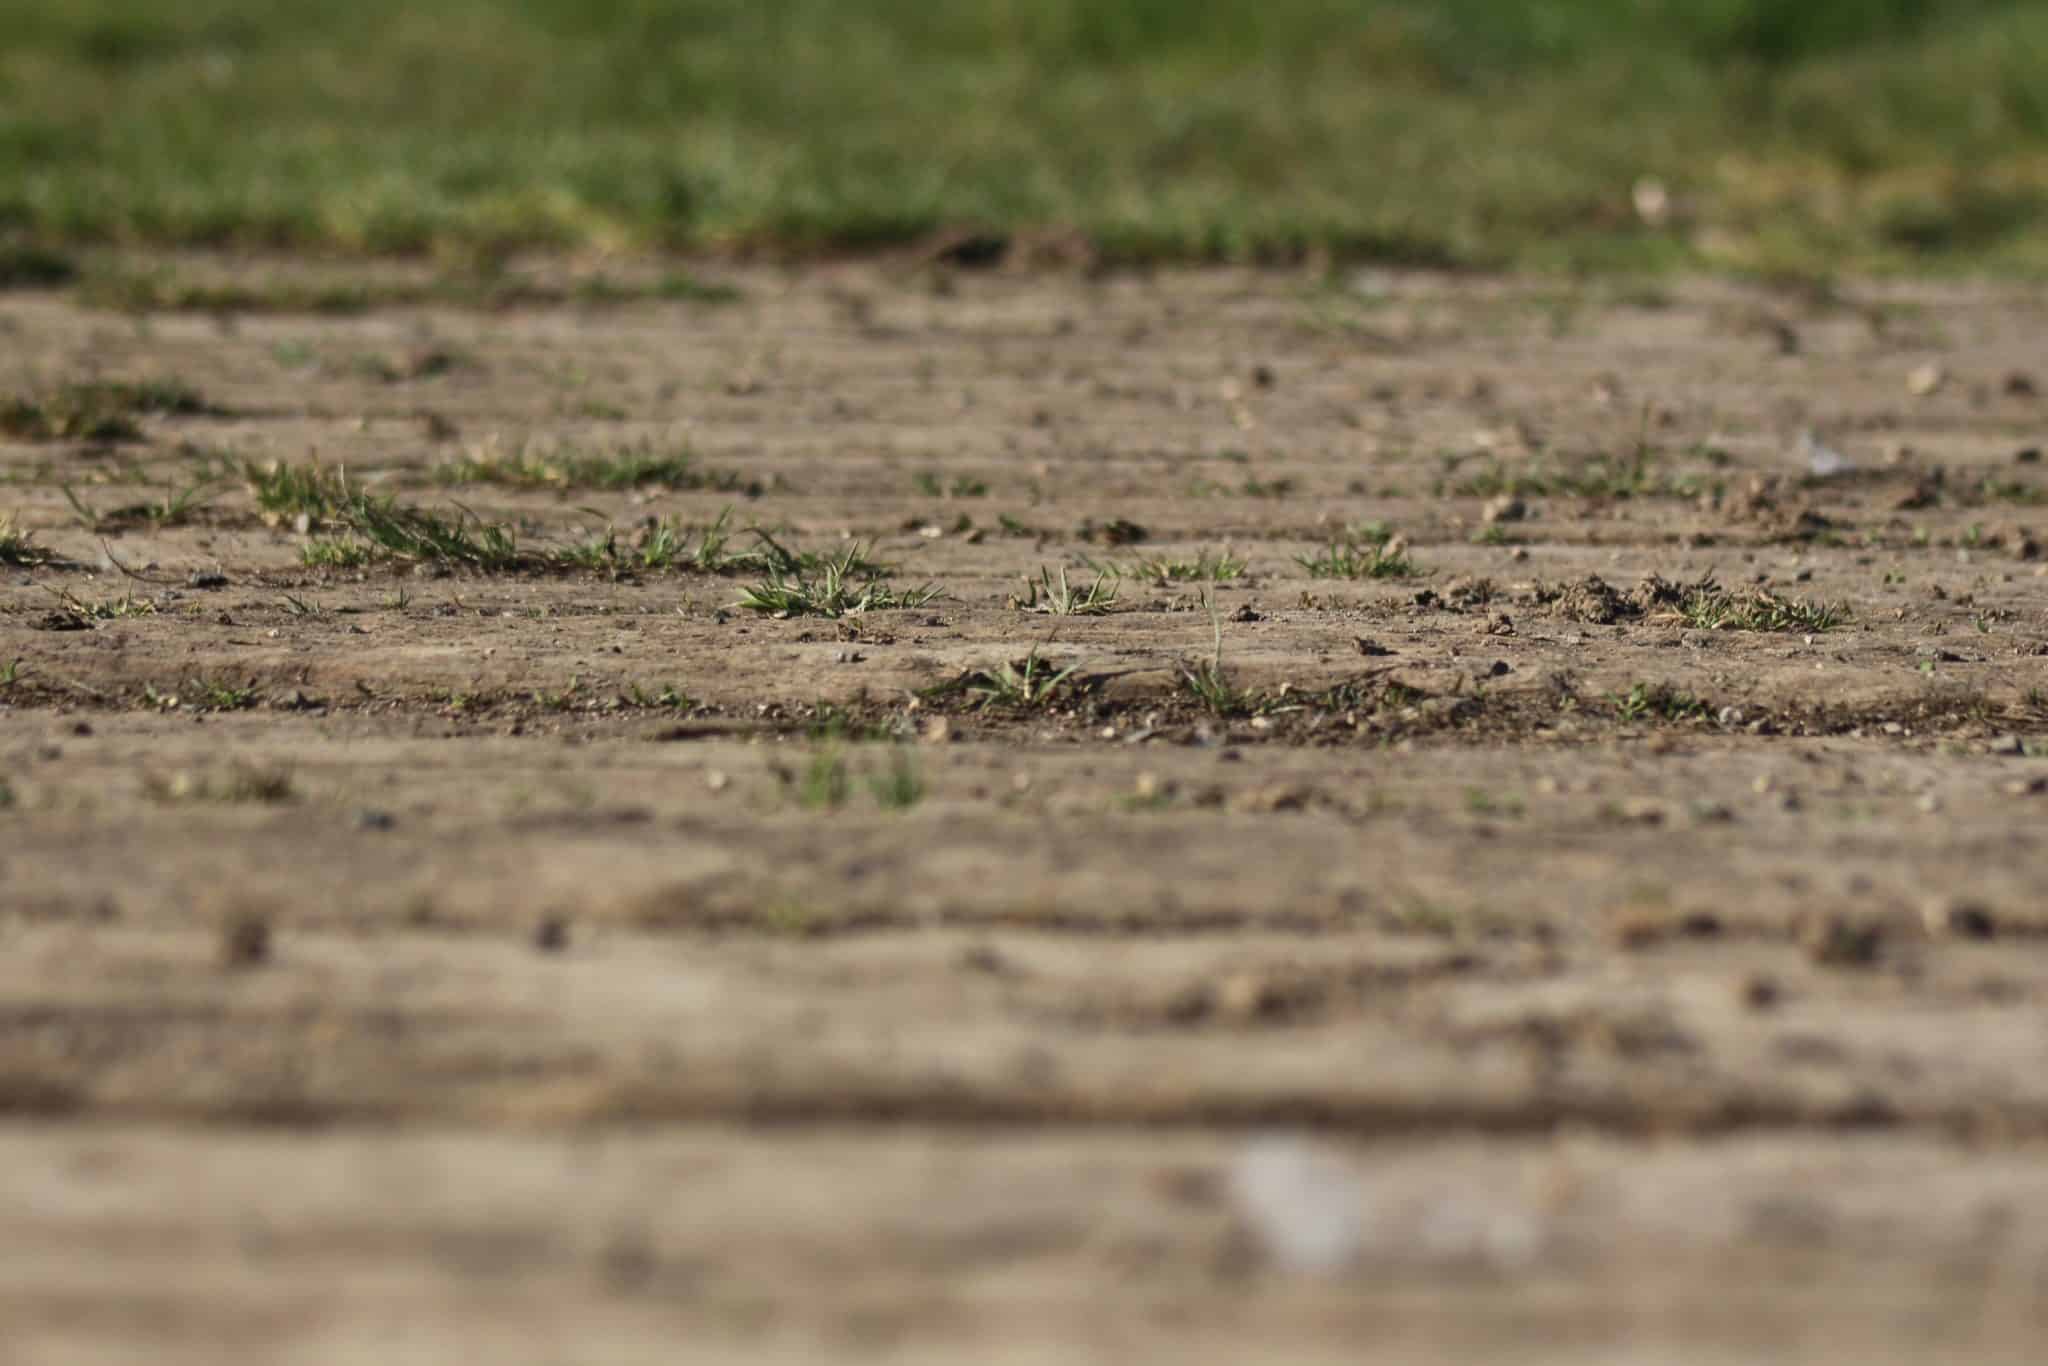
Level the base
If the ground isn’t flat, use your rake to smooth the soil. Here’s the trick: lay a straight bit of 2×4 timber on the ground with a spirit level on top.
This will show you any dips or bumps. Scrape away the high spots and fill in the low spots until that bubble sits dead centre.
When the surface is level throughout, the ground is ready for the base.
Choose and lay your base material
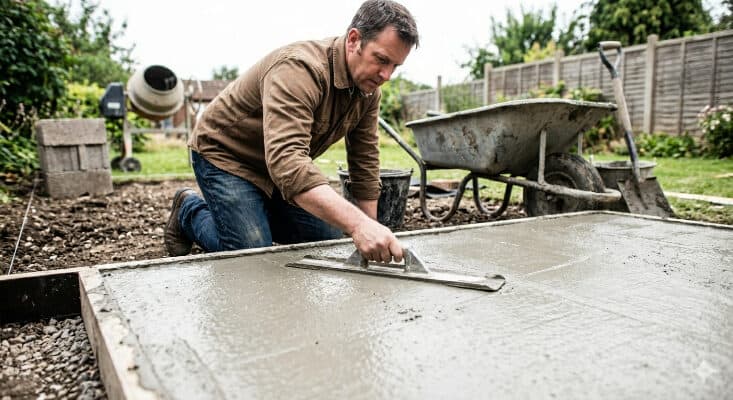
Here are the three best options we recommend to customers:
- Gravel/crushed stone: Best for drainage. Dig out the area to a depth of 4-6 inches and fill with compacted, angular stones (these lock together better than round pebbles).
- Paving slabs: Best for heavier sheds. Strong and stable, but require a more precise level of earth underneath.
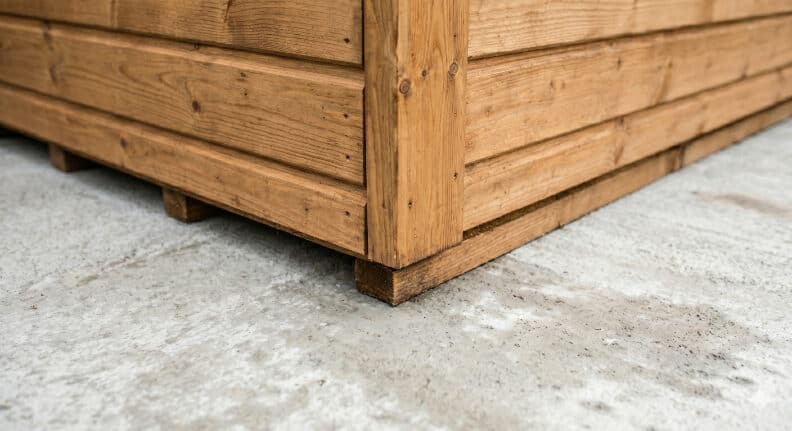
- Timber bearers: Great for keeping the shed off the damp ground. Use pressure-treated wood to ensure they don’t rot.
- Concrete base: Best for long-term stability.
Always give yourself an extra 1-2 feet of base material around the shed perimeter. This extra space helps give you maintenance access, which is essential for wooden sheds.
Check this guide on how to build a shed base for step-by-step instructions.
Why a proper shed base matters
A few bricks or a patch of grass that looks flat may be enough, but it rarely is. What’s underneath the shed does most of the work.
- Prevents rot: Wood and water don’t mix well. A proper base helps rainwater drain away instead of sitting under the shed.
- Doors and windows stay aligned: If the ground moves or sinks unevenly, the frame can shift. That leads to doors sticking, windows being hard to open, and gaps that let in wind and rain.
- Keeps the structure strong: A level base spreads the weight of the shed and whatever you store inside it. That helps stop floorboards from bending or breaking over time.
- Protects your warranty: Most shed makers require a solid, level base. Without it, warranty cover may not apply if something goes wrong.
Prepare the Shed’s Surrounding Area
Consider how the area around the shed will affect its lifespan and your use of it.
- Access and paths: Walking across wet grass will track mud and moisture into your shed, which can lead to the floor rotting from the inside. If possible, lay a path of gravel or stepping stones. Keep it slightly lower than the base to allow water to drain away from the timber.
- Power and utilities: If you need lights or use power tools, run underground armoured cables before the shed is installed. It’s much easier to dig a trench across a clear site than to work around a standing building. Learn more about adding electricity to your shed here.
- Drainage: To prevent rain from splashing mud onto your new walls, add a narrow gravel border around the perimeter. This acts as a soakaway and keeps the lower panels ventilated.
Round-up
Most shed problems trace back to the base. Take time with the groundwork, and you avoid most of the common issues once it’s built.
If you want something solid on a proper base, our wooden shed kits are made for straightforward assembly and long-term use.
Get more inspo here to look after your investment: Garden Design Ideas Surrounding a Shed
FAQ
Can I put a shed straight onto grass?
No. Grass holds moisture and will rot your floorboards. It also shifts over time, meaning your shed won’t stay level. Always clear the turf first and use gravel or bearers for the base.
A little prep work goes a long way. Our guide to building a shed on grass covers this with expert advice.
How far from a fence should I put my shed?
For maintenance, aim for at least 2 feet. This gives you enough elbow room to treat the wood with preservative and prevents dampness from building up between the shed and the fence.
However, keep planning laws in mind: in England, if any part of your shed is within 2 metres of a boundary, the total height of the building cannot exceed 2.5 metres. If your shed is taller than that, you’ll need to move it further away or apply for planning permission.
See the full details on ‘How Close Can Your Shed Be to a Fence?’ next.
How deep should I dig for a shed base?
For most garden sheds, you only need around 2-4 inches deep to remove the top layer of grass and soft soil until you reach firm, stable ground. If you’re building a gravel base, you’ll need to dig a bit deeper, around 4-6 inches, to make room for the gravel and help with drainage.


