Jump to:
The mere thought of moving a shed can be daunting, especially if it’s your first time attempting such a project. But fear not; we’re here to help. These steps will guide you from start to finish so your transition goes smoothly.
How to Move a Garden Shed
There are 8 steps to follow, and they’re best done with an extra pair of hands (or even better, a few more). Ready?
Step 1: Evaluate its movability
Not every garden is suitable for moving. Assess its suitability before you move yours to a new location. Several factors, such as the shed’s size, weight, and material, will influence this.
It’s also helpful to determine if your garden storage shed falls into one of these categories:
- Moveable in a truck bed: A small shed can fit into an average-sized flatbed truck, around 6″ long. Unlike a bigger unit, it can also be lifted by a group of people instead of using special equipment. Measure your shed size to work out what size truck bed you’ll need.
- Moveable in a trailer bed: We recommend this option if your shed is over 8″ long or wide and weighs more than a tonne.
- Moveable with a forklift: Forklift prongs are a great tool if the shed weighs half a tonne. For this method, though, you’ll need some experience or assistance. It might be worth enlisting help from a licensed forklift operator.
- Not movable at all: If it’s cemented into the ground, chances are you won’t be able to move it at all. It can be frustrating to have to leave a quality shed behind. However, it might be best to invest in a new one if you’re moving into a new home.
- Your shed can only be moved after disassembly: If you can take your shed apart, it could be worth doing so. This can help save on expenses incurred for experts and vehicles.
Step 2: Empty the garden building
Empty the shed completely to minimise its weight as much as possible. Remove all stored items, creating ample space to work without any obstructions. With a clear workspace and some helping hands, your shed relocation will be much easier.
Tip: Even when empty, a shed might weigh around 8 or 9 tonnes. While this might not seem heavy, it can be challenging to move without assistance. Consider asking your family or friends for help to ensure a successful move.
Step 3: Gather the supplies for moving
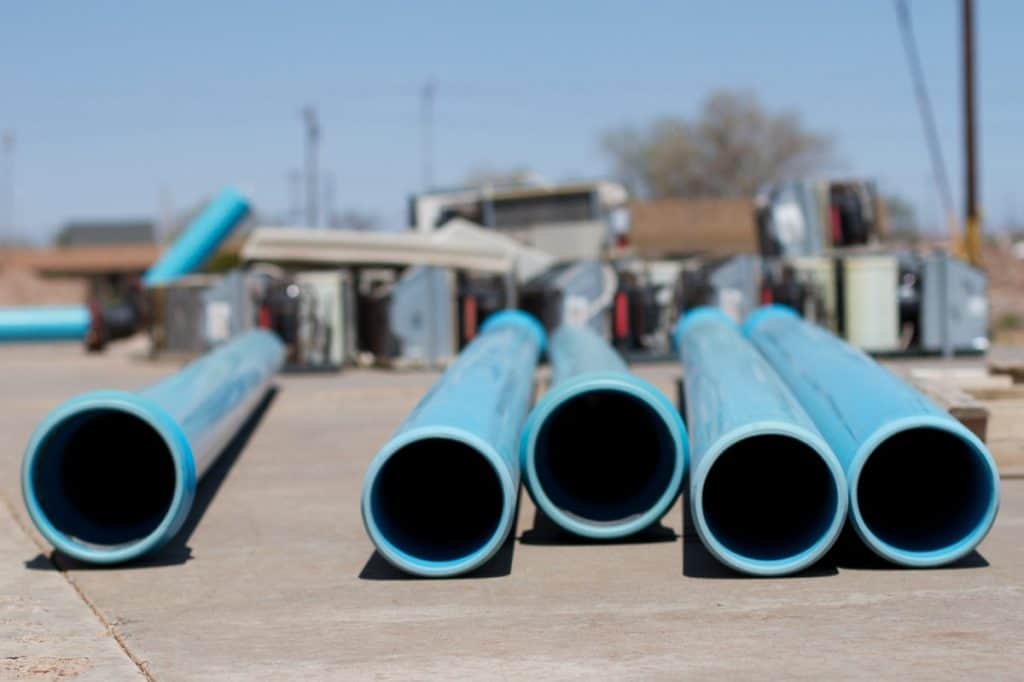
Gather the necessary tools and additional equipment if required. If you’re considering using the roll-over pipes method, you’ll need a dozen or more PVC pipes. Lightweight pipes are also effective, and a standard home toolkit will suffice.
For medium-sized structures, you may require a forklift or a heavy-duty jack to lift it off the ground. Consider visiting your local rental centre for professional help.
Note: These are general recommendations. Feel free to use whatever method works best for your situation.
Step 4: Prepare the new location
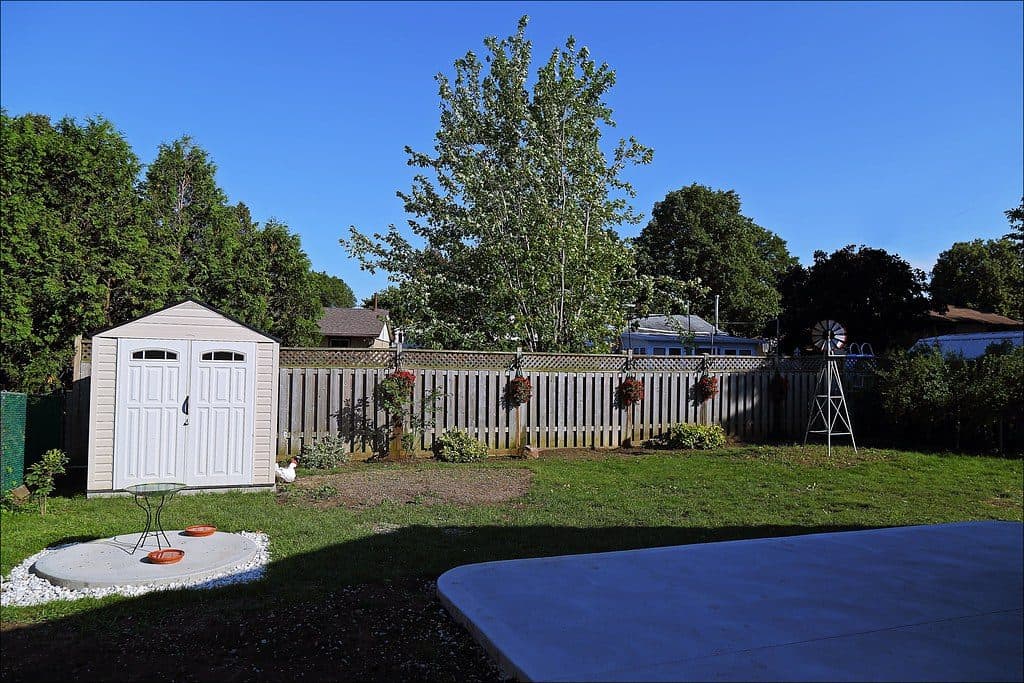
Prepare the area, including the new shed spot, for a seamless moving process. Pay attention to potential obstacles, such as lumps of grass in overgrown areas. Rake and mow the grass, or do whatever is necessary.
Once you’ve cleared any debris, prepare the garden building. If possible, remove the window frames and doors from their hinges. This will prevent them from being warped and twisted during moving. Remember, access to a clear path is essential when you move a shed, so you won’t trip over obstacles you can’t see.
Step 5: Dig it out from the shed base
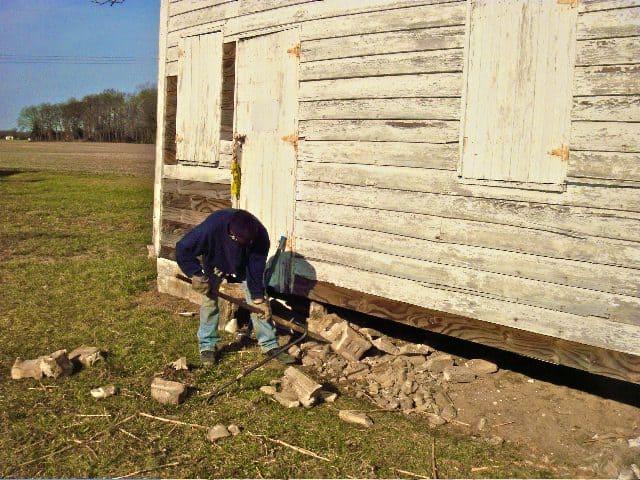
(Image Credit: Wikimedia Commons)
If your shed is anchored to the ground, use a shovel to dig it out. Experts recommend creating “gripping points” at intervals around the shed. This method involves digging downward, so take precautions if the unit isn’t on a level surface.
Create divots in the soil where you can place your hands or a jack to lift the shed from underneath. Repeat this process from corner to corner, ensuring each point is at least half a foot deep.
Get more info here:
Step 6: Roll over scaffolding pipes (skip if unnecessary)
If you plan to move the shed manually, rolling pipes are your safest bet. The first step is to get some scaffolding pipes, whether PVC or metal, about 4 inches in diameter.
Slide these pipes underneath the shed and position them around four feet apart. They should be perpendicular to the direction in which you intend to move the shed. Typically, only two poles are necessary.
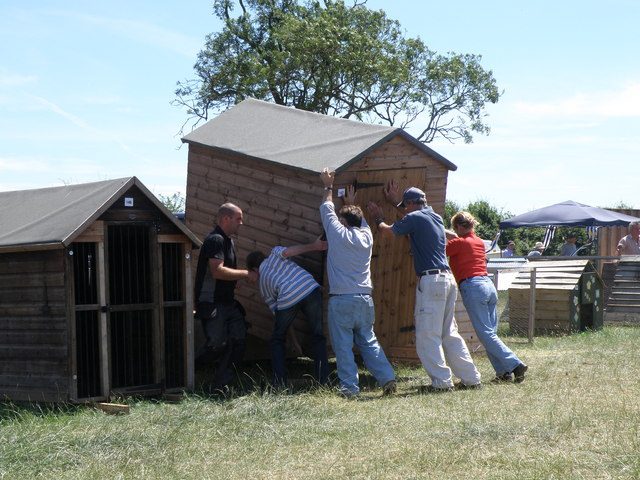
Once the poles are in place, roll the shed with people pushing from the back and providing support at the front. The pipes will then roll out from underneath it at the back. As they become free, assign someone to pick up and reinstall the pipes at the front.
Tip: Note that there might be a risk of the poles slipping if the ground is soft. In such cases, lay down two flat wooden beams parallel to the direction of the movement.
Step 7: Load your shed onto a vehicle (skip if unnecessary)
If you’re thinking of using a vehicle to move a shed, you can skip step #6 and proceed to this one. This method is particularly effective if you’re moving to a different property. There are several ways to do this, such as:
- Using an automobile jack: If you can lift your shed high enough with the jack, slide it onto the truck with the jack. Ensure you park the vehicle adjacent to the shed for easy access.
- Use a mini forklift: Slide the prongs under the raised shed and lift it onto the vehicle.
- Up a ramp: If your vehicle has a ramp, you can slide the shed onto the truck or trailer using brute human force. Position as many people as possible around the shed, with a few at the back ready to push. Exercise utmost caution during this procedure.
Consider it done with enough muscle power!
Step 8: Transport and move
Congratulations — you’ve reached the final step! If you’re moving the shed to a new property, drive it there cautiously. Use straps or ties to fasten the unit securely to the vehicle. Double-check that all doors and windows are secured.
Once you arrive, you may reverse step six to unload the structure from the truck or van. Take a moment to inspect it for any signs of damage incurred during transit. If everything looks good, position it in its new location. Use a level to ensure the shed is placed on a flat and table surface.
With the unit in its designated spot, you can now put back whatever you wish to store inside. Take the opportunity to organise and maximise the storage space available.
Finally, step back and admire your handiwork. It can be a challenging task to move a shed. But with the right planning and execution, you’ll be just fine.
And if you’re getting ready for a new shed, our selections below come in easy-to-assemble kits, so you can set it up in place once the old shed is moved.
If you have any further questions, contact us and don’t hesitate to give us a call at 01909 768840. Up next on your reading list: How Close Can Your Shed Be to a Fence?


