Jump to:
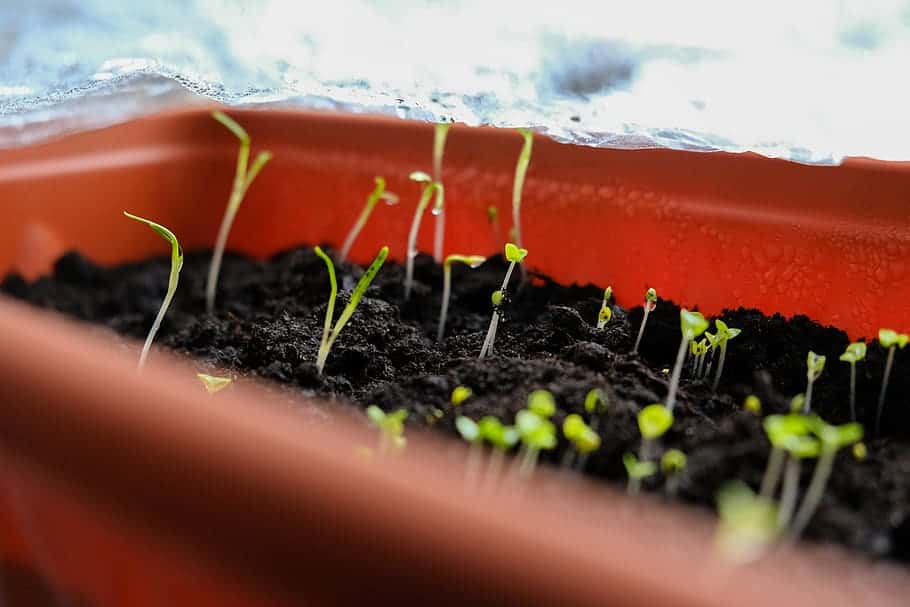
Growing your own seedlings may seem challenging for beginners. Selecting starter trays and nurturing seeds until they germinate might feel overwhelming. Plus, considering the potential cost, such as with commercial seed starting mixes, you might wonder if this is the right choice for you.
The good thing is that there’s a cost-effective and rewarding alternative. Enter — creating your custom seed starting mix. In this guide, we will provide you with a budget-friendly recipe. And, of course, we’ll delve into the essential principles of nurturing plants from seed to harvest. Read on, and empower yourself with the knowledge and skills!
The Benefits of Making Your Own
Making your own seed starting mix has many advantages beyond just saving money. First, it allows you unparalleled control over the quality of the medium. This ensures that it aligns precisely with the needs of your specific plants. By customising the mix, you can cater to the unique requirements of different seeds.
Moreover, homemade seed starting mixes empower you to embrace eco-friendly practices. You can select locally sourced, sustainable ingredients. You can reduce your carbon footprint. Even better, you contribute to a more environmentally conscious approach to gardening. This benefits your local growing environment and supports wider efforts for sustainable living.
Additionally, the DIY approach fosters a deeper connection with your gardening journey. It transforms the cultivation process into a hands-on, rewarding experience. In turn, it allows you to witness the entire lifecycle of your plants from the very beginning. Ultimately, it’s a fulfilling endeavour that promotes environmental responsibility and enhances your gardening experience.
Essential Components
In this section, we’ll explore the ingredients vital for a successful seed starting mix. Each plays a crucial role in providing the ideal environment for your seeds to sprout and thrive.
1. Vermiculite or Perlite

Vermiculite and perlite are lightweight, mineral-based additives. Both help improve aeration and drainage in seed-starting mixes. Vermiculite has water-retaining properties, ensuring a consistent moisture level. In contrast, perlite promotes airflow, preventing compaction. Their combined presence creates an optimal environment for root development. They facilitate healthier and more resilient seedlings in return.
2. Peat moss or Coco peat
Peat moss and coco peat retain moisture and enhance nutrient retention. Peat moss, derived from decomposed plant matter, offers excellent water-holding capacity. Coco peat, made from coconut husks, adds structure and nutrients. Together, they create a well-balanced mix. They provide a nurturing foundation for seeds to germinate and flourish.
3. Compost
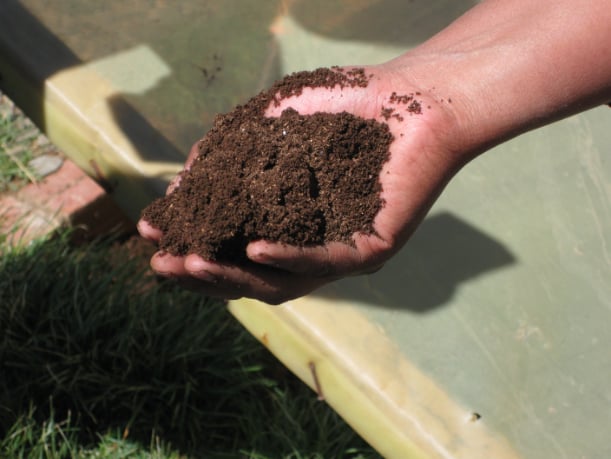
(Image Credit: Wikimedia Commons)
Compost, also known as “black gold,” is decomposed organic matter rich in nutrients. It improves soil structure and enhances water retention. Ultimately, it provides essential elements for plant growth. Incorporating compost into your seed starting mix introduces a natural source of nutrition. It fosters robust seedling development and lays the groundwork for a thriving garden.
Tailored Recipes for Success
Whether your seeds demand high, medium, or low energy, these recipes ensure the right blend. So, take notes as they guide you towards a flourishing garden from the very beginning.
High energy requirement seeds
High-energy requirement seeds demand a nutrient-rich foundation for robust germination and early growth. Take, for instance, tomatoes and peppers. The specialised recipe for these seeds combines the following for a well-balanced mix:
- 1 part vermiculite
- 1 part perlite
- 2 parts compost
This ratio ensures optimal aeration, drainage, and nutrient availability. Best practices for sowing involve maintaining a consistently moist environment. Moreover, using high-quality seeds and providing ample light to kickstart photosynthesis. Ensure success by avoiding overwatering and maintaining a warm environment. This method ensures your high-energy seeds get a strong start for a healthy garden.
Medium energy requirement seeds
For seeds with moderate energy needs, like herbs and greens, a well-balanced mix is crucial. Our recommended recipe involves combining:
- 2 parts peat moss or coco peat
- 1 part perlite
- 1 part compost
This precise ratio offers balanced moisture retention and essential nutrients. When it comes to germination tips, ensure a consistent 65-75°F temperature. Also, keep the soil consistently moist but not waterlogged and provide indirect light. These practices help seeds germinate and set the stage for a healthy, balanced garden.
Low energy requirement seeds
Seeds with low energy needs, such as lettuce or radishes, thrive with a gentle approach. This means slow but strong growth. Our suggested mix includes equal parts of one:
- vermiculite
- coco peat
- compost
This light blend provides a nurturing environment for these seeds. Care instructions for healthy seedlings include gradual acclimatisation to outdoor conditions. Ensure the soil remains consistently moist but not waterlogged. Finally, employ a gentle watering routine. By following these steps, you’ll give gentle care for your low-energy seeds to grow well. The next thing you know, you have a garden with thriving plants.
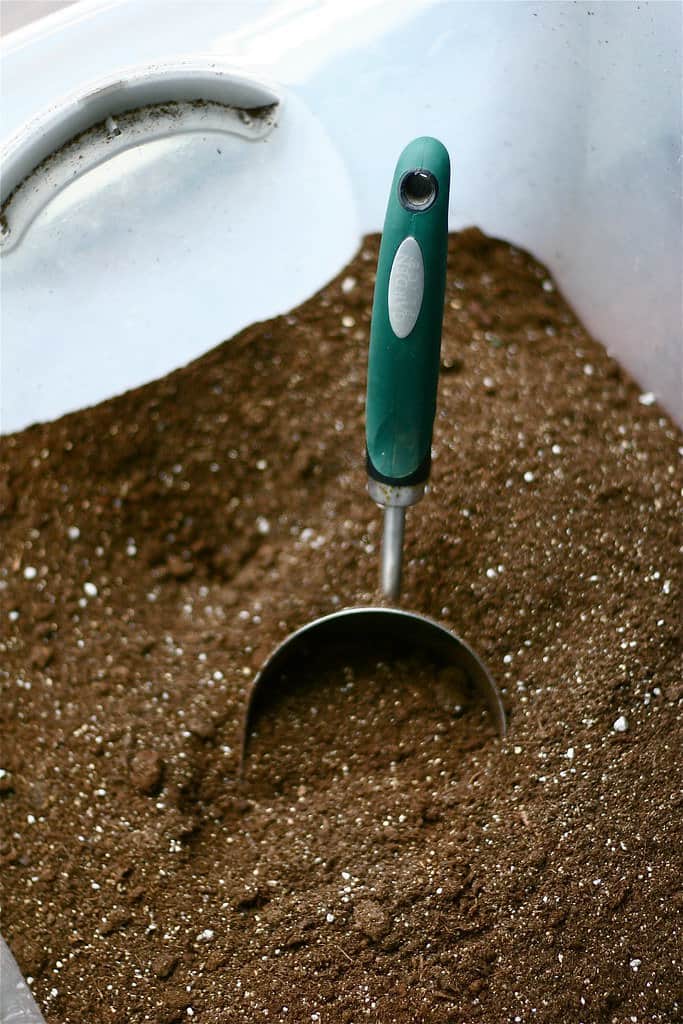
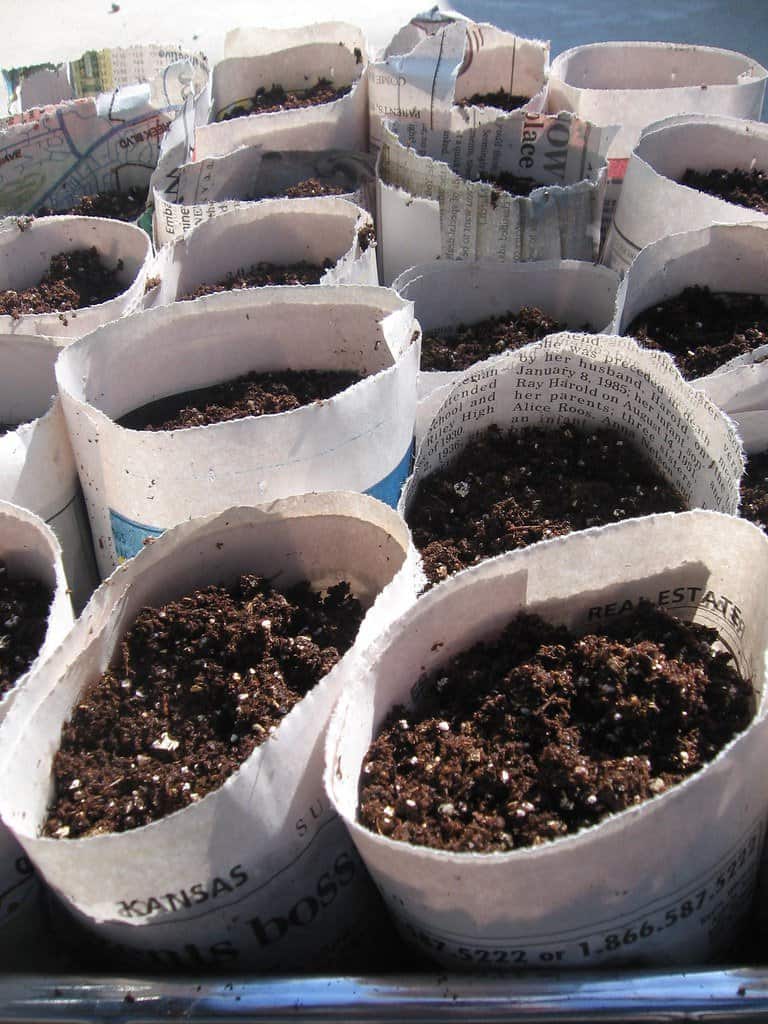
Step-by-Step Mixing Guide
- Begin by gathering all the necessary components. Make sure they are of high quality and free from contaminants.
- Measure each ingredient accurately. Follow the recommended ratios for your specific seed type: high, medium, or low energy.
- In a clean container, combine the components thoroughly. Ensure an even distribution of each ingredient.
- Test the moisture level of the mix; it should be slightly damp but not overly wet. Adjust as needed by adding small amounts of water or dry components.
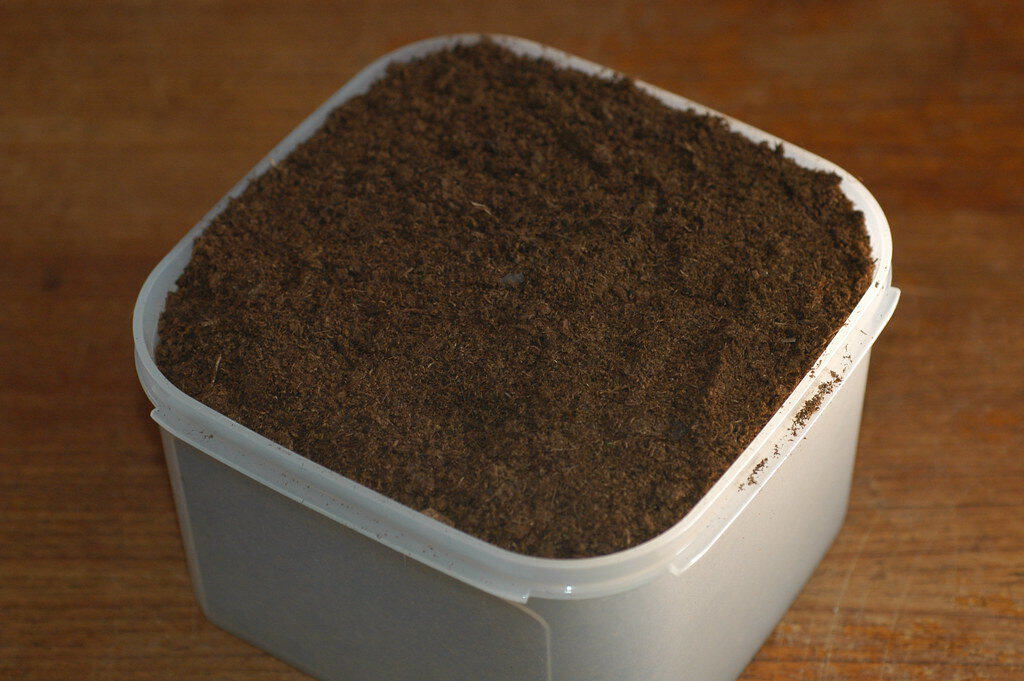
- Store the prepared mix in a sealed container to maintain its freshness until use.
- Label the mix with the seed type and date of preparation for easy reference.
Troubleshooting tips
- If the mix is too compact, add extra perlite or vermiculite to enhance aeration.
- Adjust moisture levels gradually if the mix becomes too wet. Allow it to dry slightly between adjustments.
- If experiencing poor germination, reassess seed quality. Also, consider environmental conditions and ensure proper seed depth in the mix.
- Regularly inspect for signs of mould or pests, taking corrective action promptly.
These techniques help you become skilled at making an ideal seed starting mix. They ensure your seeds sprout well and your plants grow healthily.
Pro Tips for Optimal Results
(Image Credit: Wallpaper Flare)
For additional enhancements, consider the following tips below:
- Boost nutrient levels: Add organic fertilisers or specialised nutrients to your mix. This will add an extra nutritional boost.
- Incorporate mycorrhizae: Introduce beneficial fungi like mycorrhizae. They help enhance nutrient absorption and promote overall plant health.
- Use seed starting heat mats: Great for maintaining an ideal temperature for germination. Such additions ensure faster and more uniform seedling development.
Common mistakes to avoid:
- Overwatering: Resist the urge to overwater, as it can lead to damping off and other fungal issues.
- Inadequate light: Ensure adequate light exposure for seedlings to prevent leggy growth. Consider supplementary grow lights if natural light is insufficient.
- Ignoring seed depth: Plant seeds at the recommended depth. This is to prevent issues with germination and early growth.
- Neglecting ventilation: Provide proper air circulation. Otherwise, the development of mould is likely to encourage sturdy seedlings.
Round-up
Making your own seed starting mix is a rewarding journey. Customise it for your seeds, follow instructions, and use helpful tips for success. Nurturing seedlings becomes a joyful experience. Understand the basics, follow guidelines, and avoid common mistakes for a flourishing garden.
Enhance your DIY seed-starting mix adventure by exploring the benefits of a potting shed. It offers an ideal workspace for this endeavour, plus ample storage. For a more expansive solution, explore our high-quality greenhouses for sale. Elevate your gardening experience with Garden Buildings Direct!
Up next on your reading list: Lawn Care Ideas for a Healthier Landscape


