Jump to:
Installing electricity in your shed or other garden building greatly increases its functionality. This guide will take you through what you need to know.
This advice also applies to log cabins, summerhouses, and all types of garden rooms.
Add Electrics to Your Shed
Installing electricity can also apply to these applications:
- Adding wired lighting for interior or exterior light fixtures
- Using a computer in your garden office
- Running a washing machine and dryer in your laundry shed (also requires a water supply)
- Using power tools in your garden workshop
- Adding a refrigerator to your garden bar
- Running electrical gym equipment such as a treadmill in your gym shed
- Adding electrical entertainment to your family garden room.
Important: depending on exactly how it is installed, adding electricity might count as a modification to your building which could void the manufacturer’s warranty. Be careful installing cable conduits along the walls of wooden buildings, as this can interfere with natural timber expansion and contraction, leading to damage.
Struggling to fit everything in your current shed? A fresh one gives you the space you need.
Options for Running Power to Your Shed
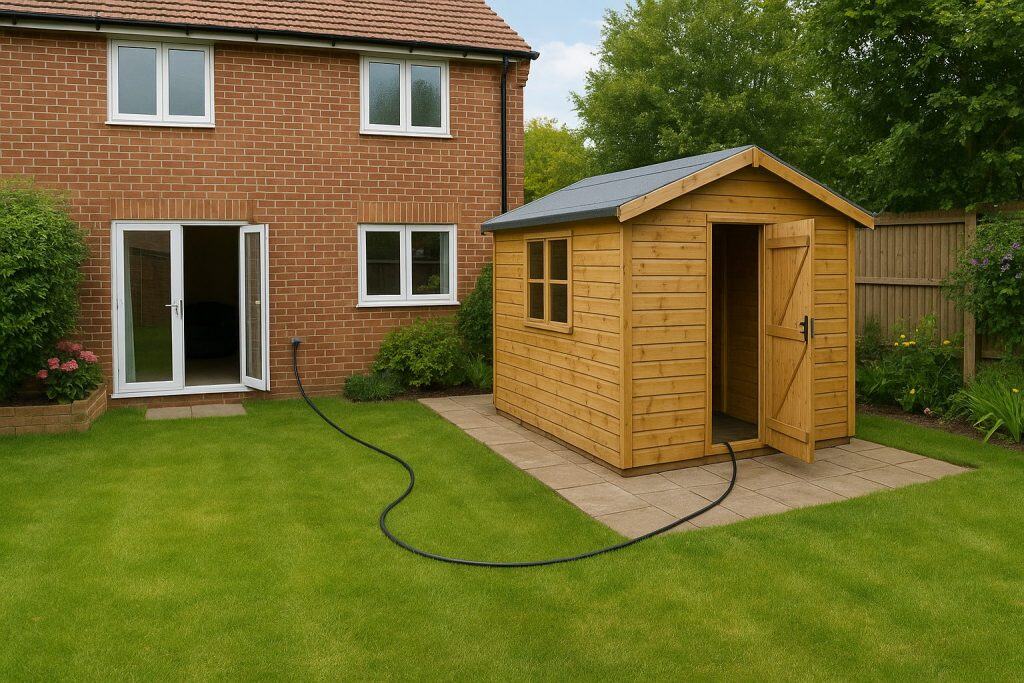
The extension cable method
This is the simplest, but not necessarily the best, method of adding electricity to your outbuilding. It requires you to have a waterproof outdoor mains power socket on the outside of your house (unless you’re happy to run it through an open door or window).
Simply run an extension cord of a sufficient length from this socket to your building.
On a wooden shed or a summer house, you can cut a hole for the cable to enter through a wall, mount the socket module on the interior wall if you wish, and fill the hole.
This provides you with mains sockets to use with your electrical devices, whether that’s a drill, a computer or your lawnmower.
Don’t want a cable running across your garden? You could bury it underneath the soil, but there are some risks to this.
There are a few problems with the extension cable method you need to bear in mind:
- If you have the cable under the ground, you need to be careful about any future digging projects when you do your gardening. If an underground plant were ever to push the cable up, a lawnmower could cause damage.
- If the cable were to stop working, you would have to repeat the work to replace it.
- Extension cords have an amp limit. You need to ensure the cable and the wall socket can handle all the equipment you plan to use at the same time. Overloading this can damage the cable and wall socket, and potentially cause a fire hazard.
- It only provides mains power, so you can only use items with a standard 3-pin plug. Built-in lighting with a wall switch normally uses a separate electricity supply.
The extension cable method is best for short-term use only, not as a permanent power supply.
Get an electrician to do it
A qualified electrician is the best solution for providing a proper electrical supply to your garden building, connected from your home’s fuse box. This means you can have not only wall sockets, but properly integrated ceiling lights with wall switches that don’t also have to take up a power socket.
An electrician will run more specialist cabling under the ground to your log cabin in such a way that will likely be safer than doing it yourself. The safety element is a crucial component for staying compliant with the Building Regulations. Hiring a qualified professional is not only for your own benefit, but it is a legal requirement.
Note that for cabling that runs underground, you will also need to consider how this will interact with the base that your garden building sits on. It would be very difficult to run a cable through concrete.
In most cases, the cable can emerge from the soft ground next to the base. But for new buildings, it might be worthwhile to have the cabling installed first and then build the base around it.
Regulations for Adding Electricity to Outbuildings
Providing an electrical supply to your garden building is subject to Part P of the Building Regulations. This covers electrical works for both the home and the garden.
The important parts of the regulations you need to know for garden purposes are:
- You must inform the local authority about the works being undertaken – after all, future owners of the property will need to know about any cables running under the ground.
- The electrician doing the work must be properly registered.
- You are protected in case there are any issues with the work meeting the legal standards.
How Much Does It Cost to Add Electricity to a Shed?
Getting an electrician to install your garden electrics usually ranges from £500 to £2,000.
Of course, this varies based on factors such as the distance from the main supply, the complexity of the installation, and any additional features or upgrades you want.
They may charge an hourly or daily rate. This may seem expensive, but the alternative could be to have to invest in your own power tools to do the ground work.
Frequently Asked Questions
Do I need permission to add electricity to a shed?
You do not typically need planning permission, but you must follow Building Regulations. You must notify your local authority building control if you're installing a new electrical circuit to an outbuilding.
What are the options for powering a garden shed?
Common options include:
Extension leads (temporary use)
Armoured cable with underground installation (permanent)
Solar panel systems (for off-grid solutions)
Can I bury an extension cord to power my shed?
Technically yes, but it is not recommended. Extension cords are not rated for permanent underground use and pose fire and damage risks. For underground wiring, use armoured SWA cable installed to code.
What kind of cable do you need to power a shed?
A qualified electrician will usually use Steel Wired Armoured (SWA) cable, buried at a depth of at least 600mm and protected by conduit where appropriate.
Can I use solar panels instead of mains electricity?
Yes, solar panels are a good alternative if you want an off-grid or eco-friendly power source. However, the upfront costs and power limitations may not suit all use cases.
What are the risks of using extension cords long-term?
Fire hazard from overheating
Tripping over exposed wires
Limited power capacity
Damage from weather, rodents, or gardening tools
Is It Better to Run Electricity Underground or Overground?
Generally, it’s best to run electricity underground for better safety and long-term use, although it can be more expensive to install. This is because of the additional labour and material required for digging trenches. Despite the upfront expense, underground wiring reduces the risk of electrical hazards. Plus, it keeps your garden clutter-free from exposed wires. A tidy, cable-free garden is much better when you want to enjoy your summer house.
In contrast, overground wiring is the other way; it is quicker to install and more accessible for repairs. However, it may be more susceptible to damage from weather and thus may require more maintenance.
Essential Garden Building Guides
If you need advice on buying or looking after your garden building, these are the guides you should read next:
Log Cabin Maintenance Checklist
Expert Guide to Garden Rooms & Outdoor Offices
Planning Permission for Sheds | Rules Governing Outbuildings


