Jump to:
Metal sheds often suffer from roof water damage despite their sturdy construction. This damage can occur due to various factors, especially when maintenance is neglected. Repairing metal roof panels, a common challenge, will be discussed in this post. We’ll break down the guide into four categories:
- The importance of roofing panel maintenance
- The different types of shed roof repairs (such as roof coating)
- How to repair roof shingles
- Steps to consider for a lasting metal shed
Let’s get started, shall we?
The Importance of Metal Roof Maintenance
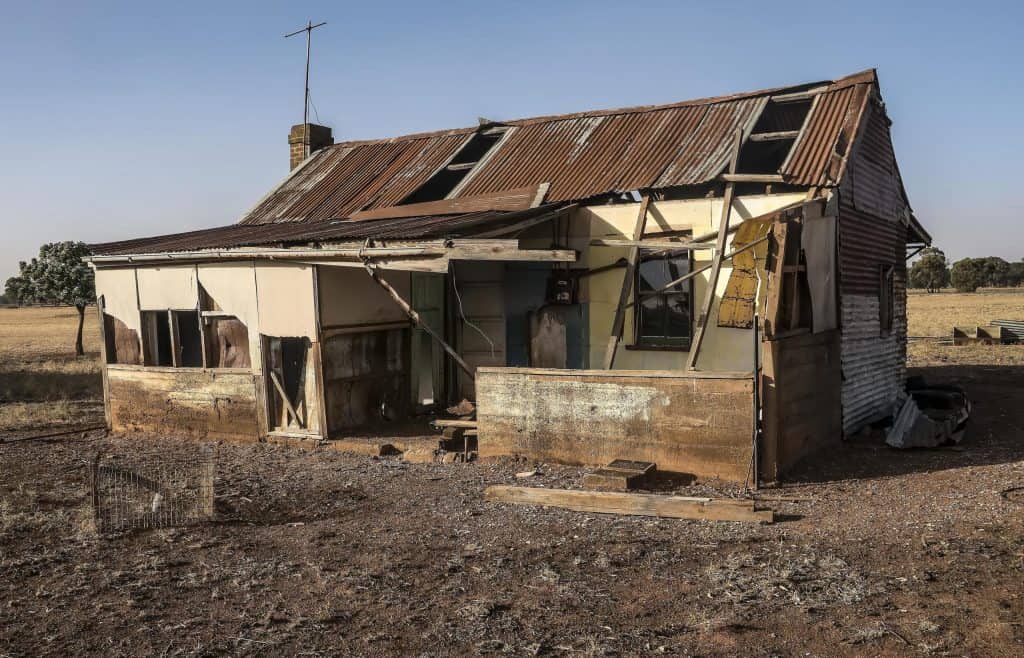
The structural appearance of a metal shed roof can deteriorate over time. This makes regular maintenance a crucial part of preserving your investment. Doing so will help you save time and money on repairs and make sure your shed roof continues to serve its purpose. The small investments in periodic basic repairs will also be well worth it.
Types of Shed Roof Repairs
Shed roof repairs fall into three categories:
- Roofing and underlayment
- Roof sheathing or plywood repair
- Roof rafters
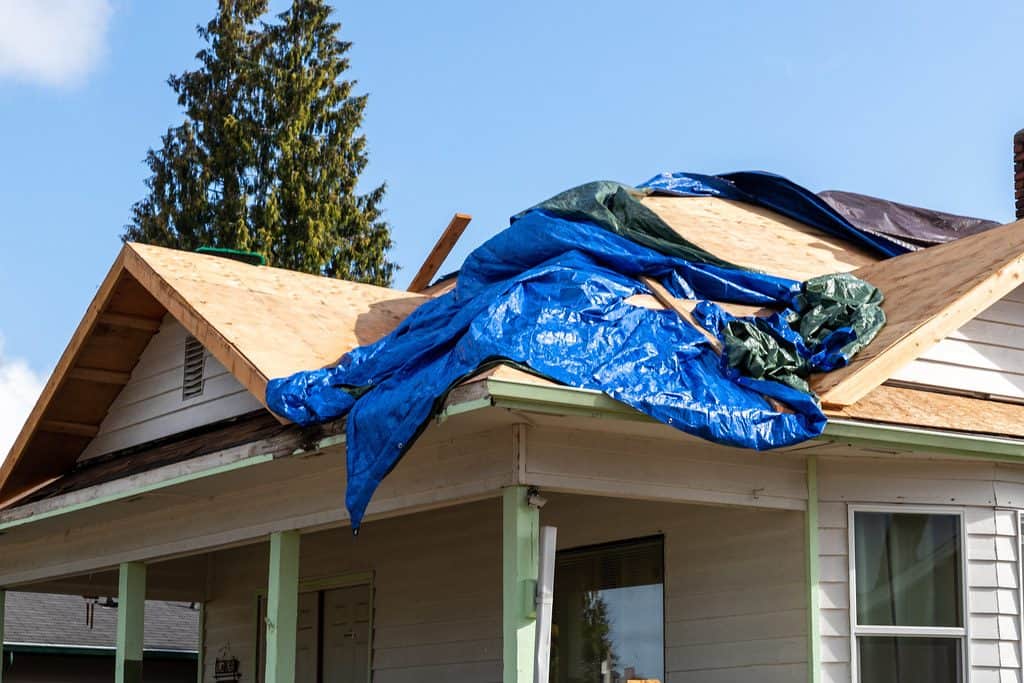
1. Roofing and underlayment repair
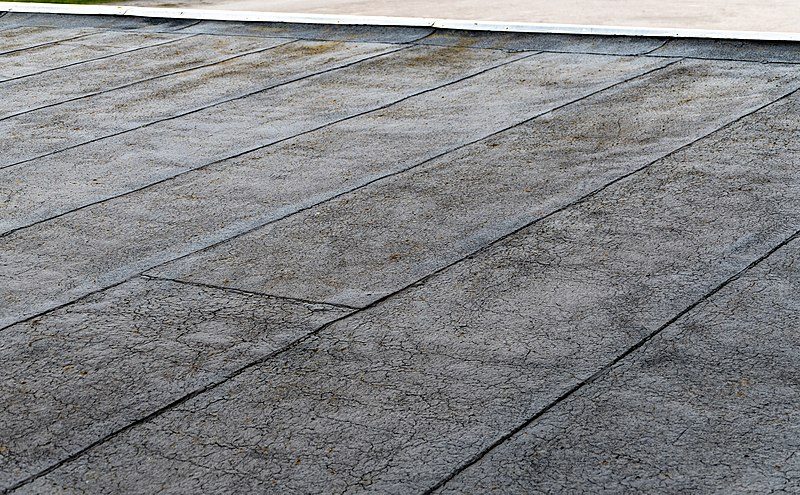
If the shingles or underlayment of your shed roof are damaged, you might notice water dripping inside. There may also be stains on the roof sheathing when you look up. Repairing this can usually be done by patching the hole or replacing the torn shingle. This way, you won’t need to replace the entire roof.
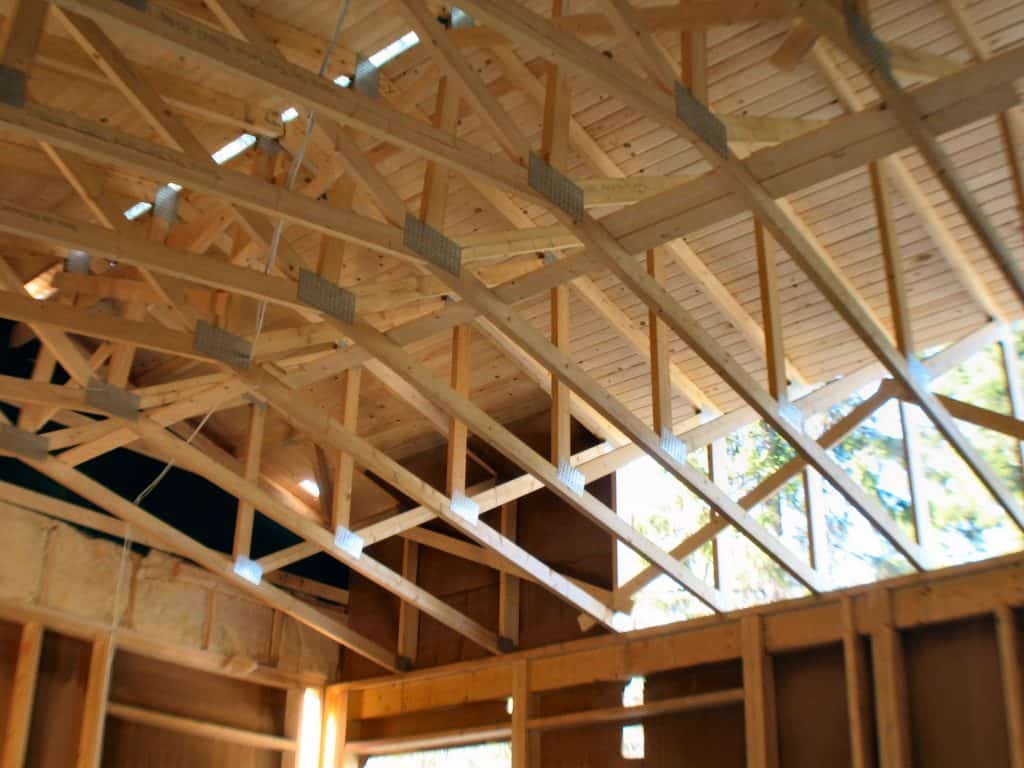
2. Roof sheathing or plywood repair
If leaks have been happening for a long time, you might need to replace the sheathing underneath. A hole or leak near the roof vent may also harm the sheathing, but it doesn’t always require a full replacement.
To check the plywood, take off the outer roofing material and underlayment from above. This will show you how much damage there is. If it feels wet and soft, it’s a sign you need to replace it.
To replace a section of plywood, you’ll need to remove all the material covering that area. This involves taking off some or most of the roof. Depending on the type of roofing material you have, it might be simpler to replace the entire roof.
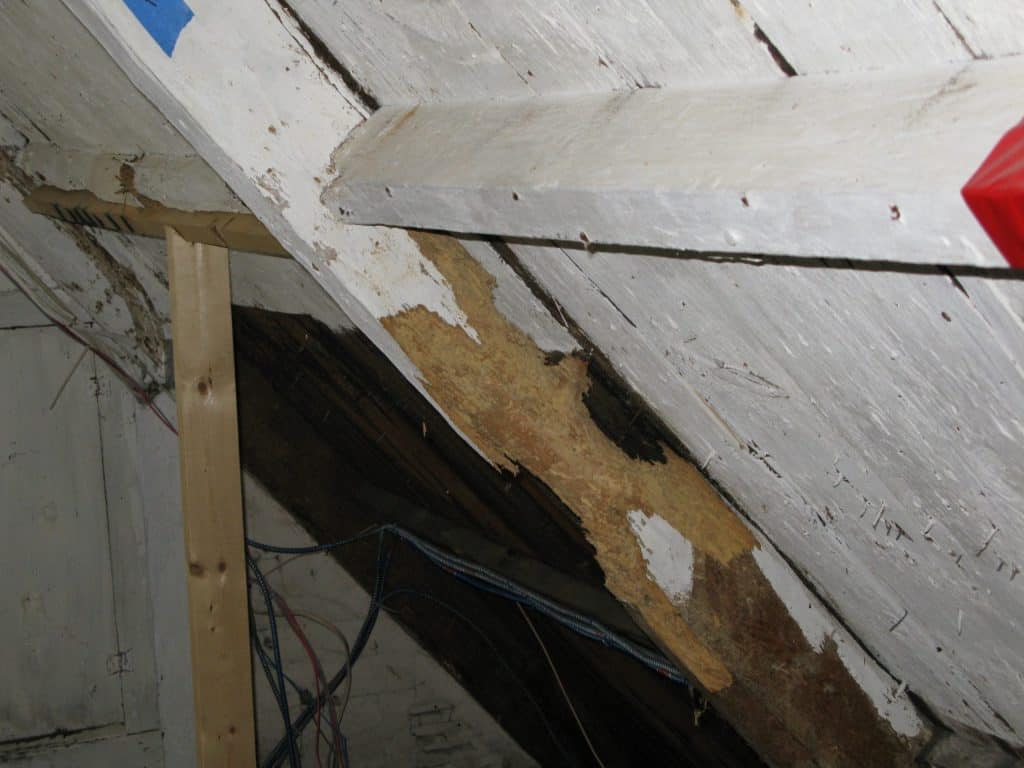
3. Roof rafters
Delaying fixing the leak on your shed roof can damage the roof boards and rafters. If this happens, you’ll need to address the sheathing first (see #2).
When repairing a rafter, you may connect it to the existing damaged one. This involves cutting it to match the dimensions of the other rafters and then attaching it. As a result, the new rafter will sit next to the damaged one.
Note: If your shed roof has multiple damaged rafters, you might need to dismantle it.
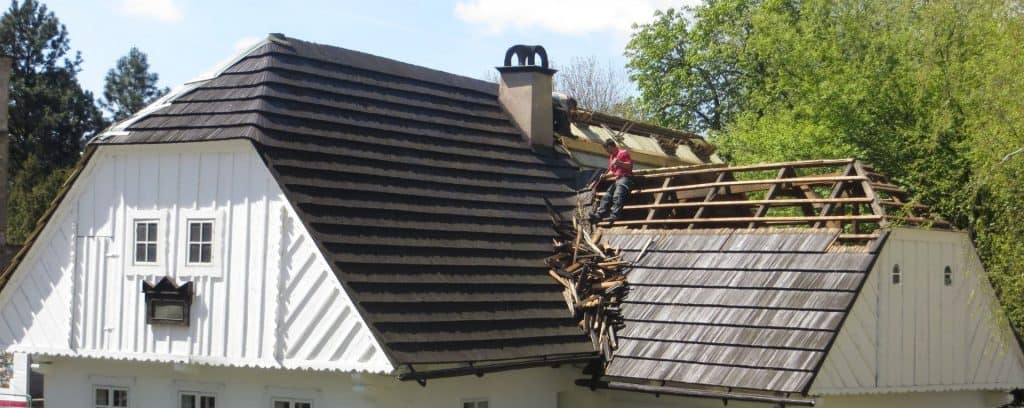
How to Repair Roof Shingles
Roof shingles are affordable, easy to install, and sturdy. However, prolonged exposure to sunlight or strong winds can cause them to deteriorate. This can leave your roof sheathing vulnerable, with cracks or blowing away. Here’s how to repair them:
Step 1: Remove the damaged shingle
If a shingle is blown off, install a new one underneath. Make sure the new shingle matches the old one exactly. Nail it into place on the tar strips, and you’re done!
If the shingle is damaged, use a 24” flat-end crowbar to pry it off. Alternatively, you can use a roof ripper or a hammer with an extended claw.
Tip: Remove the old shingle slowly, ensuring the crowbar lifts it from where the existing nail is. This helps prevent tearing the underlayment or sheathing further.
Step 2: Inspect the sheathing and underlayment
After removing the shingle, inspect the area underneath for additional damage. Ensure there are no leaks near any roof vents. If there are, examine the flashing surrounding the openings.
Shingles should cover the flashing around the vent on the top and sides. The bottom of the vent flashing is visible and positioned above the shingles below it.
Step 3: Replace the shingle
After removing the damaged shingle, check if the roof boards are still in good condition. They shouldn’t show signs of dampness or rot. If the boards are okay, replace the shingle. Be careful not to damage the shingles above. Use a flat pry bar or roof ripper to gently lift each nail.
Tip: Re-insert the nails through the original holes to prevent roof leaks caused by the shingle above.
Ways to Ensure a Long-lasting Metal Shed Life
Identify the problem area
Act promptly to address any issues with your metal shed roof. Use a wire brush to remove as much rust and corrosion as possible. Once you’ve loosened the rust, sweep away the debris and ensure the roof is clean and dry.
Prepare your metal shears
Use metal shears to cut two patches of roofing mesh. These patches should be identical squares large enough to overlap the damaged area by at least two inches on all sides.
Use urethane roof cement
This cement is essential for maintenance and repair tasks. Begin by applying a uniform layer of cement around the hole in your roof. Use a trowel to spread more cement over the mesh, ensuring the material permeates it. Make sure to follow the manufacturer’s instructions for proper adhesion and effectiveness.
Replace leaking screw holes
Metal roofing uses hex head screws with thick rubber washers. However, these washers can harden and wear away due to extreme weather conditions.
To fix this problem, replace the screw with a new one. Also, apply roof sealant to the screw hole to ensure a tight seal and prevent further leakage.
Remove metal roof rust
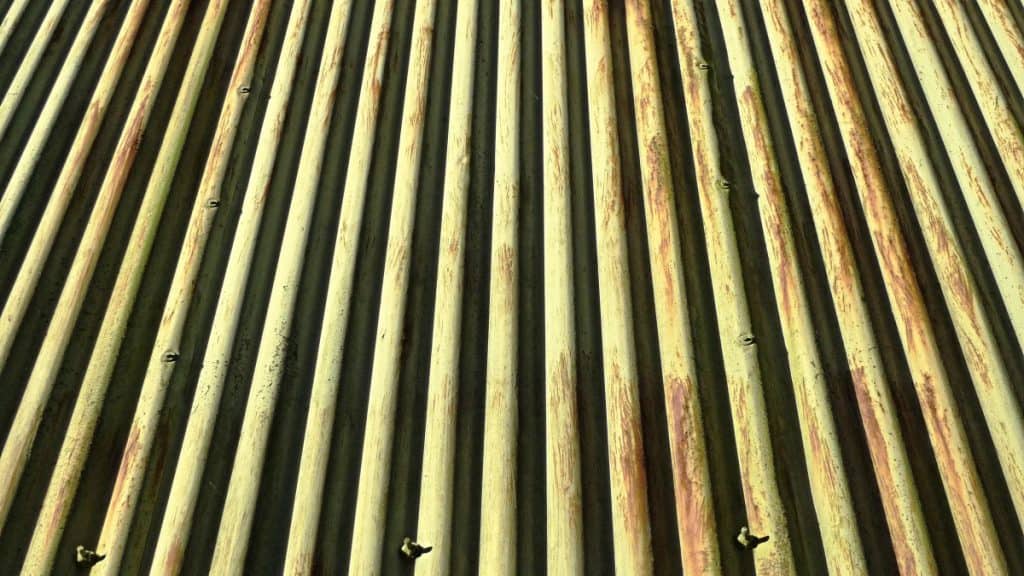
Galvanised flat roofing materials have a zinc coating to prevent rust. However, scratches from tree branches or other impacts can expose the steel underneath, causing rust. Neglecting this can result in holes in your shed roof. In such cases, you may need to replace one or more metal roof panels.
Consider waterproofing
Another option is to paint the metal roof panels. Waterproofing involves two essential weather protection methods: sealing and painting. Regularly doing so will prolong its rust-free lifespan. Tip: Use roofing paint or sealants designed specifically for waterproofing purposes.
Round-up
With these steps, you can ensure your metal garden storage roof remains in top condition. The maintenance process should take less than an hour to complete. Results may vary depending on the size, complexity, and other factors of your shed.
For more information, check out our ultimate guide to metal sheds! If you have any further questions, contact us and don’t hesitate to give us a call at 01909 768840.
