Jump to:
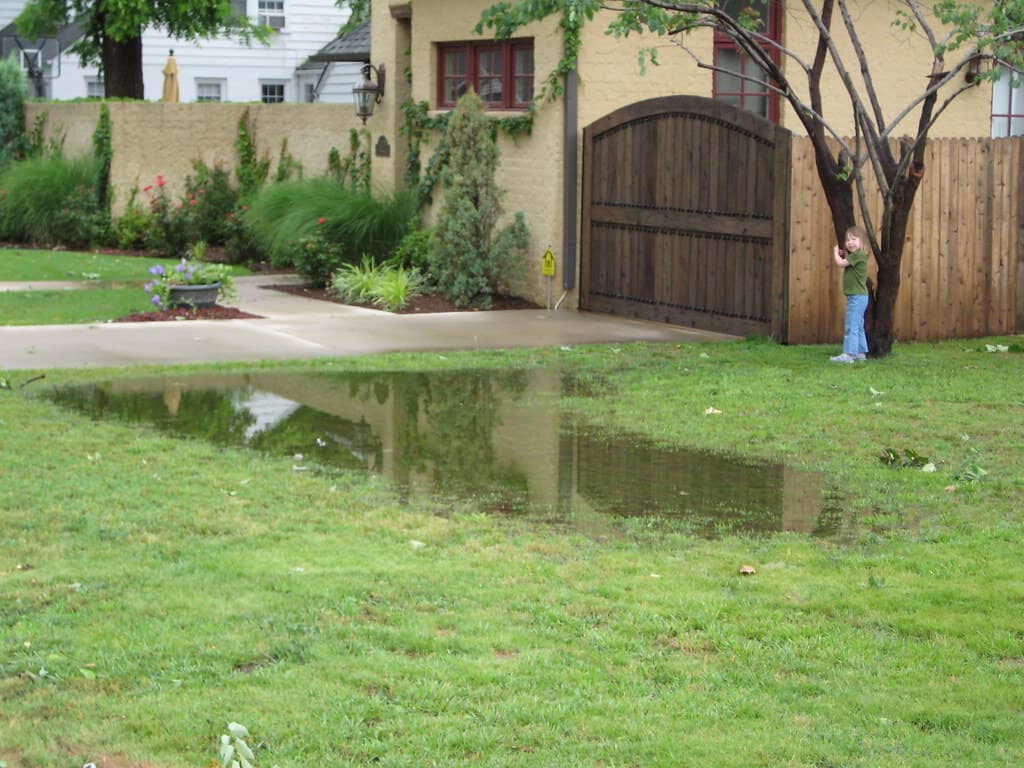
Flooding might not seem a worry if your home is dry, but it can spell disaster for your garden. Prolonged periods of sitting in waterlogged soil limit oxygen for the roots. This leads to yellow leaves, root rot, and even lawn death. And that’s just one of the risks your green space could face.
In this guide, we’ll share some tips to help protect your garden from soaking.
Improve Your Drainage
Blocked drains are common, but they shouldn’t be overlooked. When the rain is too much, the drains can’t handle it. If water is spilling over, it may be due to a blockage. Don’t leave it until the garden floods.
Most blockages come from leaves, twigs, mud, moss, or litter. If it’s only a small problem and not a shared drain, you can fix it yourself with steps like these:
- Use a flat-head screwdriver to remove the drain cover, and be careful not to let it fall down. If it’s too heavy to lift on your own, ask a mate to give you a hand.
- Clear as much of the blockage as possible by hand. Wear gloves and a mask, and keep a bucket nearby for the waste. It’s not the nicest job, but you’ll save good money doing it yourself.
- Use a drain rod to clear what’s left. Push it into the blockage and twist it clockwise. Those blockages can sometimes be really stubborn. Keep at it until the rod moves more freely—that means the blockage is breaking up.
Don’t attempt anything you’re not confident in. Call a plumber or drainage expert. Or check with your local water company; they’ll tell you if the drains are shared and who’s responsible for them.
Aerate the Lawn
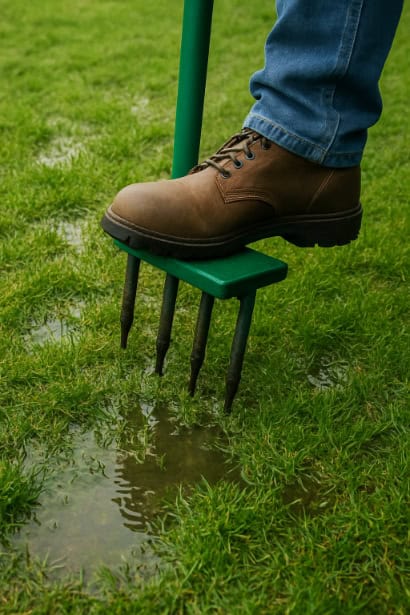
Soil gets packed down over time, and when that happens, water has nowhere to go. You’ll notice puddles, footprints, moss, and thin patches on paths or play areas. To aerate your lawn:
- Water the lawn the day before to soften the ground, but avoid making it muddy.
- Push your fork or aerator in about 8 to 10 cm deep, spacing the holes 10 to 15 cm apart.
- Start with the heavy-use areas first, then cover the rest of the lawn. If you’re using a hollow-tine machine, go up and down once, then across the lawn for good coverage.
- After making the holes, brush in a mix of coarse sand and compost, or topsoil to keep the gaps open. For bare patches, scatter seed before giving the lawn a light watering.
- Keep the soil moist for the next couple of weeks, then go back to your usual routine.
A garden fork is fine for small patches, while a hollow-tine aerator is best for bigger lawns or clay soil. A hand aerator or spike tool works on lighter ground. Keep a broom and bucket ready if you’re top-dressing after.
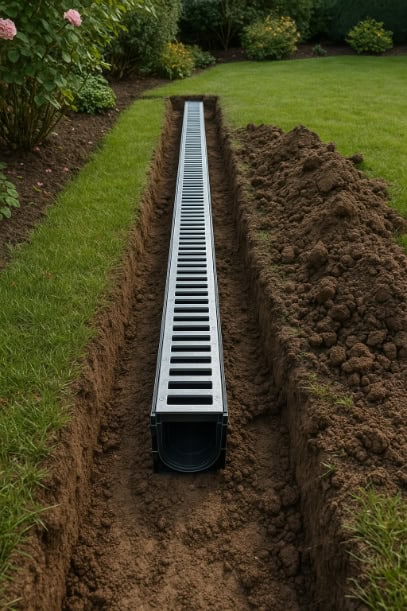
Install a French Drain
A French drain carries water away from soggy spots or the base of walls. It collects water, carries it through a gravel channel and drops it at a lower point or soakaway.
- Plan the route. Lay a garden hose or string where the drain will run and choose an outlet that’s lower than the wet spot. Do not point the outlet at a neighbour’s yard or a public surface drain without permission.
- Check the slope of the trench, and aim for at least 1 cm drop per metre.
- Check for underground utilities, such as cables, pipes, and roots.
- Dig the trench to a depth of 30 to 45 cm and a width of 15 to 20 cm. Scoop out a small inlet pit at the high end to catch silt and leaves.
- Place geotextile fabric in the trench, pull the edges up the sides, and add 5 to 10 cm of gravel on the base.
- Place a perforated drainage pipe on the gravel. Wrap with fabric or a filter sock to reduce clogging. Keep bends gentle.
- Add more gravel until the pipe is 10 to 15 cm below the top. Fold the fabric over and fill with soil or turf. Leave the inlet pit open or with a removable cover.
- Pour water into the inlet and watch the outlet. If the flow is slow, check the inlet pit or flat sections and clear any silt.
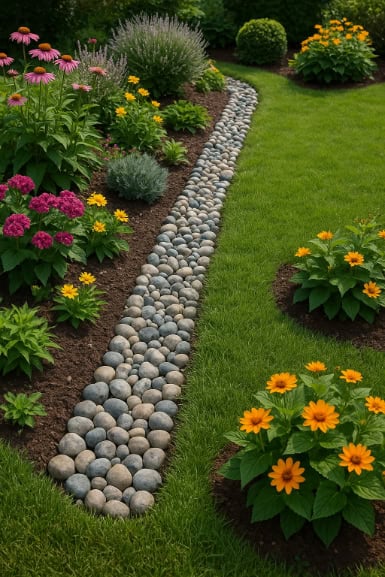
Cut a Drain Channel
When water keeps sitting in one spot after rain, cut a shallow channel to carry it away. This is simpler than a French drain and works as a good alternative when flooding in the garden is only minor.
- Mark the route using a string or garden hose to show where the water should run. Ensure it slopes downhill to a safe outlet, such as a soakaway or another low-lying area.
- Shape the channel with a spade to cut a trench about 15 to 20 cm deep. Keep the slope gentle but steady so that water continues to move.
- Finish the base by leaving it bare soil for a quick fix. Alternatively, line it with stones to slow erosion and make maintenance easier.
- Sweep out leaves, silt, or debris after heavy rain to keep the flow open.
Fit a Sump System
This is a last resort option when you have water routinely collecting in one spot for days at a time. It requires an electric power supply. A sump system can give the water a proper exit, protecting the area from continued submersion. Here’s how to set one up:
- Pick the lowest spot where water collects and mark out a square or circle that will fit a bucket or sump liner.
- Cut down at least 50 to 60 cm, wide enough to hold the liner with space around it. The deeper the pit, the more water it can hold before the pump kicks in.
- Drop in a heavy-duty plastic bucket or sump liner with holes drilled in the sides near the bottom. Pack gravel around the outside to steady it.
- Set the sump pump inside the liner. Most pumps have a float switch that turns them on when the water reaches a set height.
- Connect a hose or pipe to the pump outlet and run it to a soakaway, drain, or lower ground where water can discharge. Keep the outlet away from house walls or your neighbour’s boundary.
- Fill around the liner with soil. You can either leave the top open or add a cover for safety and access.
- Pour water into the pit, check that the pump switches on, and adjust the float if needed.
Dig Your Own Soakaway
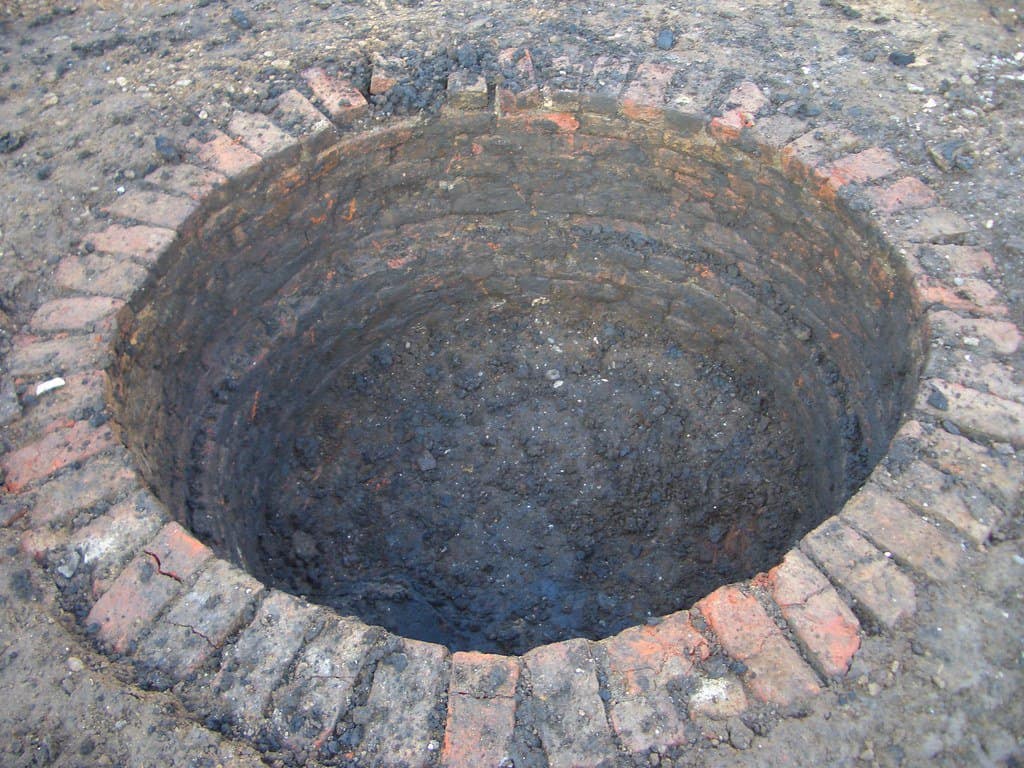
A soakaway is a hidden drainage system that collects excess rainwater and allows it to slowly disperse into the surrounding ground. It’s typically used to manage surface water from roofs, patios, or waterlogged garden areas. A well-built soakaway can relieve pressure on drains and reduce flooding risks.
To install a basic soakaway:
- Choose the right spot – Pick a low point in the garden, at least several metres away from any buildings, fences, or other structures. The area should be where water naturally collects.
- Dig a deep pit – Aim for a hole at least 1 metre deep and 1 metre wide, or larger if the garden gets frequent heavy pooling. The more water you need to drain, the larger the pit should be.
- Line the base – Pour in a layer of coarse gravel or hardcore at the bottom of the hole to help water flow out from the base.
- Install soakaway crates – Use specially designed plastic soakaway crates (also called attenuation crates). These are strong, stackable, and hold more water than rubble alone. Place them in the centre of the pit.
- Wrap in geotextile fabric – Cover the crates with permeable geotextile membrane to prevent soil and silt from clogging the system, while still allowing water through.
- Backfill and cover – Fill in the sides with gravel, then cover the top of the fabric with soil. You can then turf or plant over it as normal.
Water from a French drain, drainage pipe, or sump system can be directed into this soakaway. Over time, water stored inside the crates gradually soaks into the surrounding soil, helping to keep your garden surface dry and usable.
Take Advantage of Water Butts
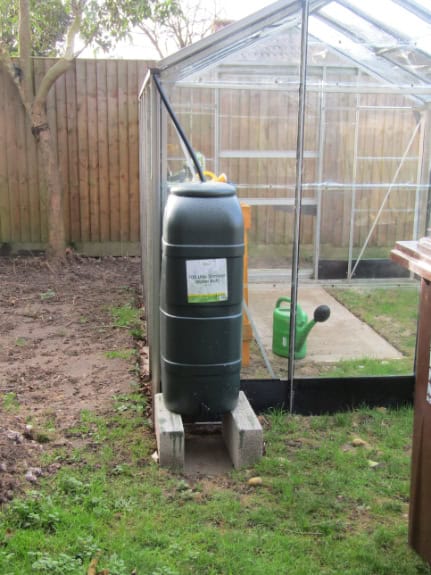
(Image Credit: Wikimedia Commons)
Using a water butt collects rain that would otherwise end up on the ground or contributing to your already-taxed drains. Rainwater falls from the roof of your home, shed, or greenhouse into the gutter. But instead of running off onto the ground, the water flows through the downpipes and into the water butt.
It can hold anywhere from 100L to 1000L. The larger the butt, the more water you can collect. The water gathered in the butt can be used later, like watering plants or washing the car.
You can also fit a pump and micro-irrigation system to your water butt. This spreads the water around the garden and helps prevent flooding. Plants prefer it too, as rainwater is better for them than tap water.
Move Your Plants into the Potting Shed or Greenhouse
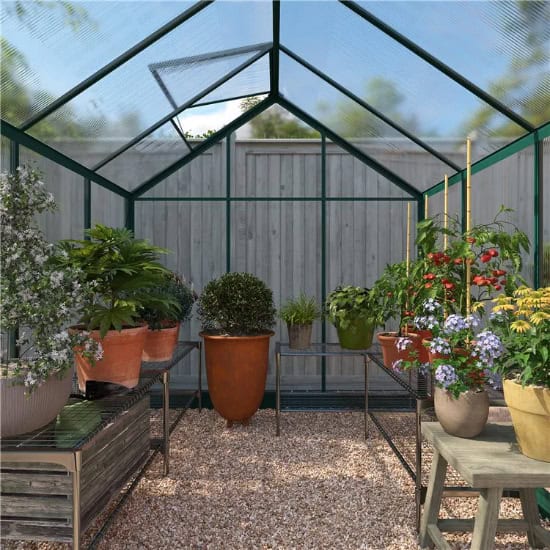
There are instances when you can’t clear your drainage right away. For instance, you might discover a blockage but lack the right tools or help to clear it immediately. Or, a sudden downpour can occur, causing water to accumulate quickly and pool in your garden. In situations like these, your shed or greenhouse is your last resort to save your plants.
Potted plants are easier to relocate, but you need to be quick with those planted directly in the soil. Get pots or containers and saucers ready, and transfer them as soon as possible so they won’t end up drowning. Choose elevated shelves or stands to keep them off the ground. Waterproof mats or trays under pots can also work in catching any excess water.
You’ll also want to ensure the structure is safe. It should be situated on an elevated foundation, higher up, or away from water runoff areas. Avoid letting it become submerged. Even a pressure treated shed can suffer from moisture or rot damage if exposed for too long.
Round-up
Floods and waterlogging can happen during heavy rain, which is quite normal. What’s not is allowing it to happen and leaving it that way.
Make it a habit of checking on your drainage, not just when there’s a storm on the way. This also keeps your potting shed or greenhouse in good shape. They’re there to protect your plants, but they can’t do that if they’re neglected.
Looking after your lawn helps stop waterlogging and keeps the garden healthy. A soakaway can take in extra rain, and a water butt is a simple, sustainable way to collect it.
We hope these tips and ideas will help keep your garden safe from floods! Looking for a new home for your plants? Check out our range of quality greenhouses for sale.
If you want to explore alternatives, don’t miss our guide: What You Should Look For In A Potting Shed


