Jump to:
Four things make the difference between a cabin you avoid in January and one you use all year: sealing the gaps, the glazing, insulating the roof and floor, and the type of heater. This guide covers each in order of what pays back fastest.
Over the years, we’ve helped plenty of customers turn their cabins into spaces they use year-round, including the colder months.
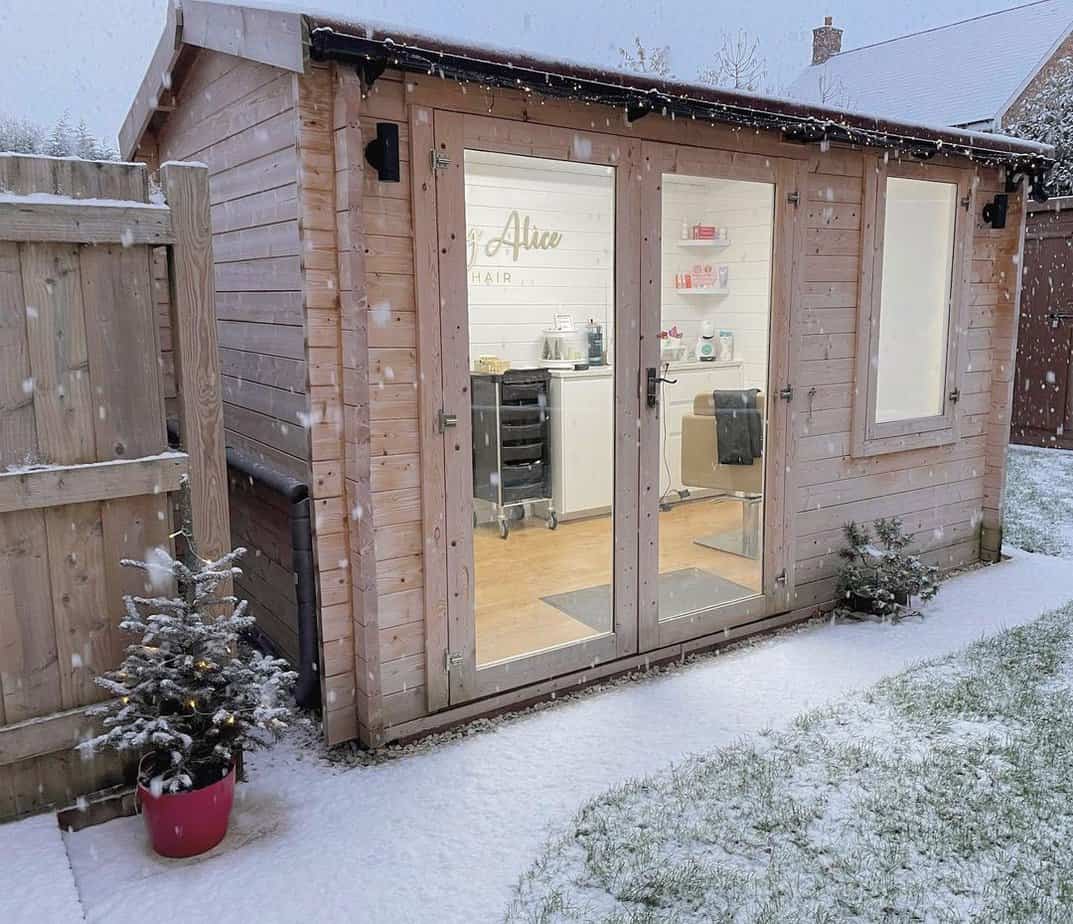
(Customer’s image: BillyOh Devon Log Cabin with 44mm log thickness)
This guide is for garden log cabins you own, not holiday rentals.
If you’re still deciding whether a cabin will be warm enough for what you want, start here instead: are log cabins cold in winter?
Seal the Gaps (The Right Way)
Timber is a living, breathing material, and it expands and contracts with the seasons. Over time, this movement can create gaps that pull warm air out. The most cost-effective way to warm it up is to ensure you aren’t heating the outside air.
- For the walls: If you see a gap between the flat parts of the logs in the middle of a wall, don’t use sealant. You just need to find what’s holding up the log (e.g., a tight screw or bracket) and loosen it so the log can drop back down into its slot.
- For the joints: Use an exterior-grade silicone sealant or professional chinking. Unlike standard caulk, chinking is designed specifically for timber. It stretches and moves with the wood, ensuring the seal doesn’t snap when the temperature drops.
- For the base: Pay attention to the perimeter. This is a common entry point for rising damp and cold air.
- For the frames: Check the interface between your window frames and the log walls. Even with double glazing, a gap in the framing will negate your insulation efforts.
Pro tip: When checking your frames, ensure they haven’t been screwed into the wall logs, as this is the #1 cause of gaps appearing in the winter.
By sealing these points, you create a thermal envelope, making insulation and double glazing more effective. Learn the correct way to fix log cabin wall gaps here.
Upgrade to Double Glazing
A 44mm log cabin is a good thickness, but it won’t do much for heat retention if it only has single-pane glass. It not only loses heat but also draws cold air inside. This makes a downdraught that makes the room feel cold even with the heater on.
Upgrading to double glazing creates a sealed air sandwich between two panes of glass. This air pocket creates a thermal barrier and gives your cabin these benefits:
- Heat retention
- Condensation control
- Noise reduction
There’s no need to endure another freezing winter because of thin glass. If you’re planning to upgrade your cabin, we offer double glazing as standard on many models, plus easy upgrade options for the rest.
Layer Up the Roof, Floor, and Walls
Think of insulation like a thermal vest for your building.
Before you fix anything to the logs: insulation that alters the structure — drilling into logs, or fixing an internal frame directly to the timber — can affect your guarantee. Check with your supplier before starting.
Roof insulation
Since heat rises, an uninsulated roof is responsible for roughly 25% of your total heat loss. To stop this fit PIR foam boards or mineral wool between the roof rafters.
- If you’re building the log cabin from scratch, place your insulation on the outside of your tongue-and-groove roof boards before you lay your felt or shingles.
- If the structure comes in a kit or is already built, you’ll need to insulate from the inside. Fit PIR foam boards between the roof rafters and then cap them with a secondary layer of T&G cladding or plywood.
This doesn’t just keep the heat in during winter; it also prevents the cabin from becoming an oven during the summer months.
Floor insulation
Cold air under the cabin can chill through the floor and make the cabin feel colder, while also being an area heat can escape.
If you’re still building, foil-backed insulation between the floor joists is the best option. If the cabin is already finished, use a thick foil underlay with laminate flooring or a heavy carpet. Even a large, dense rug can help block some of the cold coming through.
Wall insulation
While 44mm+ logs have the thermal mass, thinner logs allow energy to vibrate straight through to the outside. To fix this, you need to create a secondary barrier using an internal timber frame (a stud wall) and fill it with breathable insulation (like rock wool or PIR boards).
However, because log cabins move, you can’t just nail this frame to your walls. Keep these in mind:
- Leave at least a 25mm to 50mm air gap between the external log wall and your new insulation. This allows air to circulate, preventing moisture from becoming trapped and causing the timber to rot.
- Use sliding brackets to attach your internal frame. This ensures the external logs can still expand and contract vertically without being held up by your new interior wall.
Choose the Right Heater
Avoid “wet heat” such as portable gas heaters in timber buildings. They add moisture to the air, which can cause condensation, dampness, and mould in confined spaces. Use a steady, dry heat source instead, such as:
- Oil-filled radiators: These are arguably the best choice for log cabins. While they take a little longer to reach temperature, the oil inside retains heat for a significant amount of time after the power is cut. The heat is ambient and doesn’t dry the timber out too much.
- Electric convection radiators: If you use your cabin as an office and need heat quickly, these are a good option. They warm the space fast and usually come with timers.
Tip: Set the timer to switch on 30 minutes before you start work so the room is already warm when you sit down.
- Infrared heating panels: A modern, space-saving option that’s becoming popular in garden rooms. Infrared panels heat objects, including you, rather than just the air. They’re slim, wall- or ceiling-mounted, and energy efficient.
Paired with double glazing, your log cabin retains heat even on a low setting.
Go Fully Insulated and Skip the Retrofits
If all of this sounds like a lot of hard work, we hear you. Retrofitting insulation can be a bit of a risk that might not end up as warm as you’d like. That’s what makes a fully insulated garden room or 44mm log cabin a better investment.
Browse Insulated Garden Rooms
Browse 44mm Log Cabins
These are built to handle cold weather without extra layers. The insulation is already built into the walls, floor, and roof, with double glazing fitted as standard or an add-on (upgrade).
You can still add heating, such as infrared panels, if you want more warmth in winter, without having to carry out sealing or insulation work.
FAQ
Will adding insulation to the log cabin void my warranty?
Adding insulation in a way that alters the structure of the cabin (for example, drilling into logs or fixing internal walls directly to the timber) can affect your warranty in some cases. If in doubt, check with the supplier or manufacturer before starting any DIY work.
How thick should my cabin logs be for winter use?
At least 44mm for comfortable winter use. Full thickness comparison here.
Will my log cabin shrink in the winter?
It’s actually the opposite. Timber expands in winter because the air is more humid and the wood absorbs moisture. In summer, the heat dries the logs out, and they shrink.


