Jump to:
It only takes four steps to dismantle a shed, especially if you have a handy guide like this. Call a friend, prepare a few basic hand tools, roll up your sleeves, and let’s get into it!
Here’s What You Need
Here’s a list of tools you’ll need to dismantle your wooden shed, from removing the windows and door to taking apart the floorboards:
- Drill
- Screwdriver
- Claw hammer
- Crowbar
- Safety gloves
- Safety glasses
- Temporary timber supports
Once you have everything, you’re ready to start the first step.
Step 1: Remove the windows and doors
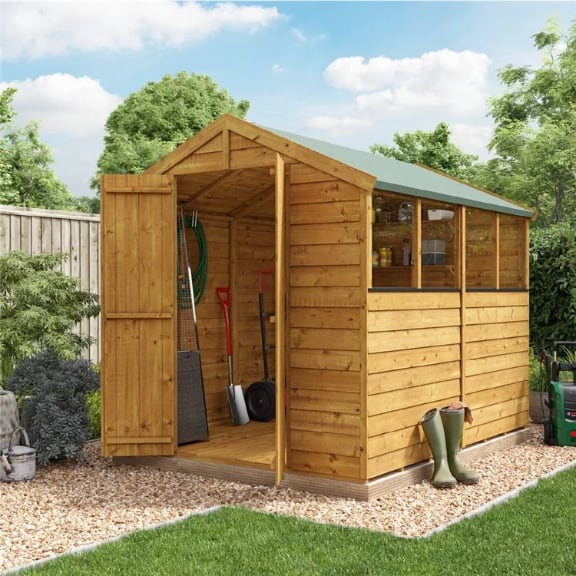
Dismantling a shed starts with getting the windows and doors off first. Remove the glass from the windows before anything else to ensure nothing will shatter or break, then tackle the frames. Repeat the same procedures for the doors.
Take out the hinges and screws from the frame or structure using a drill or screwdriver. You may slip the glass from the window and/or door frames after. Once you’ve got the pieces off, move them out of the way so they don’t get damaged.
Taking out the windows and doors shows just how much work old sheds can be. A wooden shed kit with windows makes building and taking it apart later much easier.
Step 2: Clear the roof boards
This part will probably be the toughest and heaviest, so don’t hesitate to get some help. Start by removing the roof covering with a hammer — it’s likely nailed down. Use the back of the hammer to pry out the nails one by one.
Once the covering’s off, you can move on to the roof itself. It’ll usually come in sections, and the boards are likely screwed in, so grab your drill for that. Take down each roof panel and set them aside so they don’t get damaged while you keep working. Then, use your claw hammer again to pull out the remaining nails.
Note: If you own an apex garden shed, you’ll need to remove the gables too. Grab your drill, unscrew them, and you’re good to go!
Step 3: Dismantle the walls
Depending on the type of shed, you can pry off the wood panels easily. Grab a hammer to pull out the nails and remove each panel if it’s an overlap shed. You can still use the hammer for a tongue and groove shed or go with a crowbar to lift the panels.
You might also need some temporary timber supports to keep the walls up while you work. Just be sure to start from the outside and remove the nails one by one.
If the structure is older, a crowbar will make tearing down the walls easier. But if you’re planning to move it to another spot, it’s better to undo the fixtures and fittings piece by piece so you can keep everything intact.
Some shed walls can be tricky, with all those heavy panels, stubborn nails, and tight fits. Wooden shed kits use pre-cut panels that fit together, making both assembly and dismantling much easier.
Step 4: Take down the floorboards
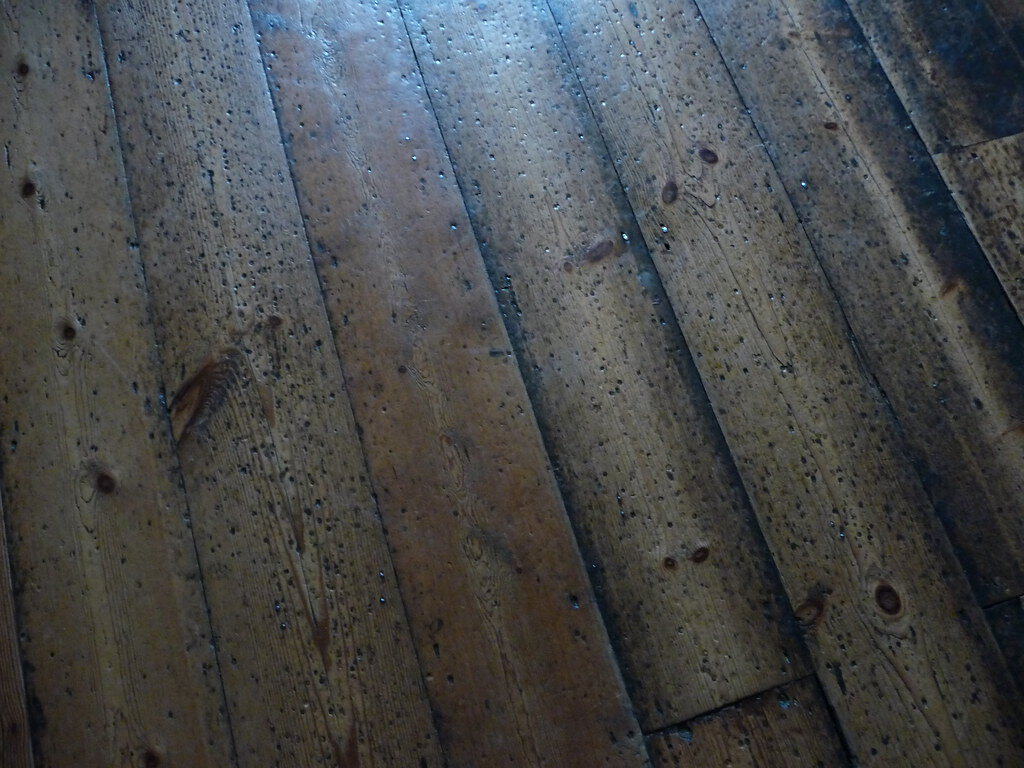
You’re almost done! Now, for the last step — move onto the floorboards once you’ve taken down the walls. Most likely, they’re screwed in, so your drill will be your best friend here. Position the tool on each screw, remove it, and keep the screws in a safe spot. Repeat this until all the screws are out.
The floor will likely be in sections; just remove each panel and set it aside to keep it from getting damaged. Once the floorboards are out, uninstall the shed base if needed.
Round-up
Congratulations on completing this task! It should take less than a day, especially if you have an extra pair of hands and the structure is small. It might take a bit longer, however, if it’s larger and you have fewer people helping. Overall, you can get it done with these four steps.
Dismantling your garden building might mean you’re looking to replace a shed. If that’s the case, we have quality selections for you to choose from:
Note: If you plan to get rid of your old shed, make sure it’s recycled instead of just ending up in a landfill. For shed recycling, you can visit Biffa’s ‘rethink waste’ initiative to see how you can be part of it.
Up next on your reading list: How to Move Your Garden Shed


