Jump to:
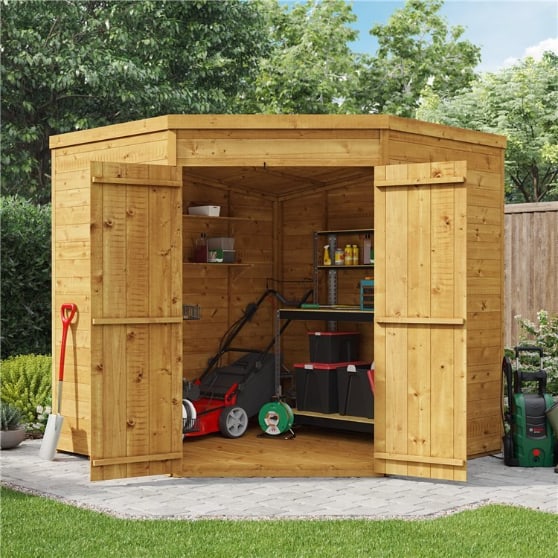
A well-maintained garden shed can be a valuable addition to your property. However, its durability largely depends on one critical element: the roof. Neglecting this structure part can lead to leaks, damage, and costly repairs. Protecting it with shed felt is the natural solution.
In this guide, we’ll walk you through the essential steps of roof felting, but in this case, for corner sheds. Our instructions will help you achieve a sturdy and weatherproof outcome. Let’s get started!
Step 1: Gather your materials

Before you begin felting your corner shed roof, gather the following items:
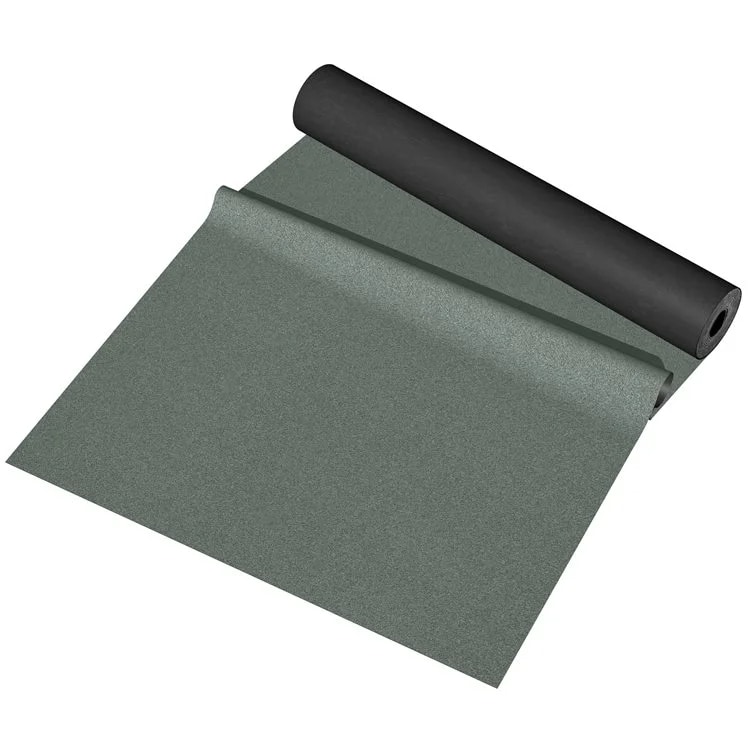
- Shed roof felt (bitumen or felt rolls)
- Roofing adhesive or nails/staples
- Hammer or staple gun
- Measuring tape
- Utility knife or scissors
- Straightedge or chalk line
- Roofing gloves
- Safety goggles
- Ladder or scaffolding (for access)
Having all these items ready ensures a smoother, more efficient process. It guarantees that you can complete the project effectively and without unnecessary delays.
Step 2: Prepare the roof surface
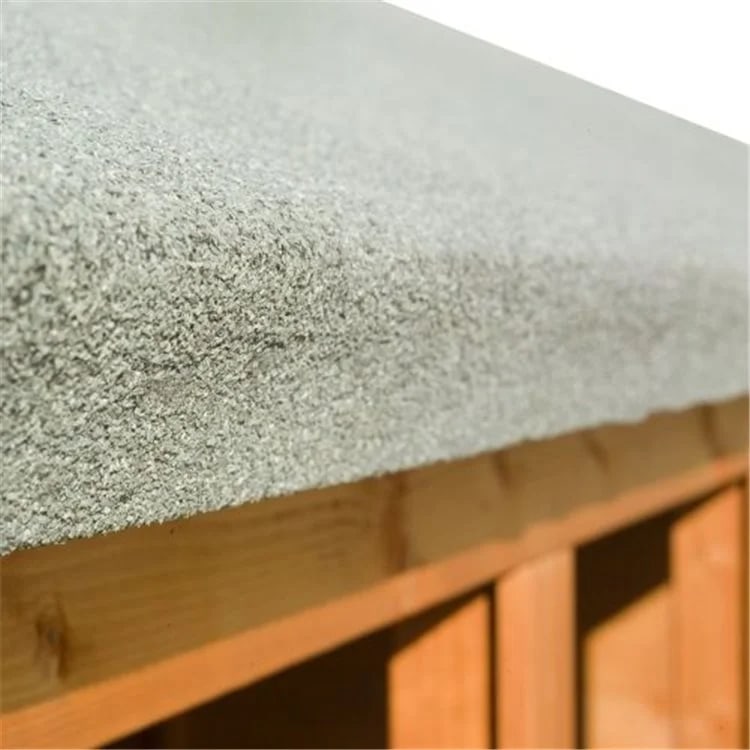
Cleaning and inspecting the roof are crucial initial steps. First, it allows you to identify any existing damage. This helps prevent the issue from worsening once the new felt is in place. Second, a clean surface ensures proper adhesion and prevents imperfections in the application.
How to clean and inspect:
- Begin by removing any debris, leaves, or moss from the roof surface using a broom or leaf blower.
- Carefully inspect the roof for protruding nails, screws, or other hazards.
- Repair any damage by replacing missing or damaged roofing boards. Secure loose screws or roof felt tacks (nails).
Always prioritise safety during this process. Wear appropriate safety gear, including gloves and safety goggles. Exercise caution when working on the roof, especially when it’s wet or slippery. Use a stable ladder or scaffolding for safe access.
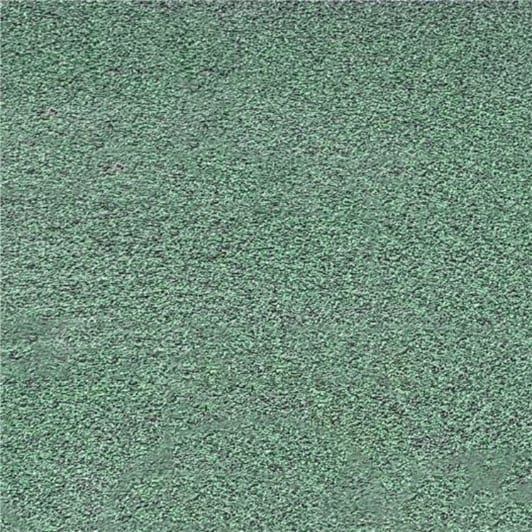
Step 3: Measure and cut the green roofing felt
Measuring and cutting the felt material correctly is vital for seamless felting. Follow these steps:
- Measure carefully: Start at one corner and unroll the roofing felt along the roof length. Make sure it covers the entire area. Use a measuring tape to verify the length. This allows for a slight overlap at the edges for optimal coverage.
- Cutting tips: To achieve the right size and shape, use a straightedge or chalk line as a guide. When cutting, make clean, straight cuts with a utility knife or scissors. Ensure the corners are neatly squared off.
- Precision matters: Inaccuracies can lead to uneven coverage and potential leaks. Take your time to measure and cut precisely, as it will save you headaches later in the project.
Step 4: Apply adhesive
For felting a corner garden shed roof, it’s crucial to use a bitumen-based roofing adhesive. Bitumen is durable, weather-resistant, and provides excellent adhesion to roofing felt. It creates a strong bond that ensures long-lasting protection against leaks and moisture.
Application process and even spreading:
- Apply a generous layer of roofing adhesive to the cleaned and prepared roof surface. Do this using a trowel or a suitable applicator.
- Spread the adhesive evenly, covering the entire area where the felt will be laid. An even layer ensures proper adhesion and minimises the risk of air pockets.
Working in small sections is essential to maintain control over the adhesive application. It allows you to work efficiently, ensuring that the adhesive doesn’t dry before you have a chance to lay the felt.
Step 5: Lay the felt
To lay the felt securely, follow the steps below:
- Begin by carefully unrolling the roofing felt over the adhesive-coated surface. Start from one edge of the roof. Ensure the felt aligns with the edge of the roof.
- As you unroll the felt, press it down gently, allowing it to adhere to the adhesive smoothly.
- Continue unrolling and pressing the felt, working your way across the roof’s length. Ensure there’s a slight overlap at the edges to prevent water ingress.
To smooth wrinkles and bubbles:
- To eliminate wrinkles or bubbles, use a soft broom or a roofing roller. Start at the centre and push outward, gently smoothing the felt as you go.
- Pay special attention to the corners and edges. Make sure they are snug and flat against the roof’s surface.
Tips for proper alignment:
- Periodically check and adjust the felt’s positioning as you work. It’s crucial to maintain a consistent overlap and alignment for a watertight seal.
- Trim any excess felt along the roof edges for a neat and secure finish.
Step 6: Secure the felt
To secure the felt with roof tacks or staples:
- Secure the felt by using roofing nails or staples. Place fasteners at regular intervals along the edges and seams. Make sure they penetrate both the felt and the roof’s surface.
- Be mindful of spacing. Typically, roofing felt tacks or staples should be spaced approximately 6-8 inches apart. This ensures a secure attachment while preventing potential tearing or sagging.
For corner areas, fold the felt carefully, ensuring it lies flat and forms a neat edge. Secure the corners with additional nails to prevent lifting or water infiltration. Properly sealed corners are crucial for weatherproofing your corner shed UK roof.
Step 7: Trim excess felt
- After attaching the felt, use a utility knife or scissors to trim any excess material. Focus along the roof’s edges.
- Ensure a clean and straight cut, following the roof’s outline precisely.
- Neatly trim any overhanging felt along the corners and edges. Doing so will create a tidy and professional finish. This step also prevents wind damage and water seepage along the edges.
Step 8: Final inspection and maintenance
After completing the felting process, thoroughly inspect your work for any imperfections. This could be loose areas or potential issues that require immediate attention.
To ensure longevity, conduct periodic inspections and repairs as needed. Remove debris, clean gutters, and check for wear and tear. Promptly address any damage to maintain the shed’s integrity and extend the roof’s lifespan.
Round-up
Felt roofing might seem daunting, but with the right guidance, anyone can master it. Remember, a well-felted roof provides not just protection but also peace of mind. Regular inspections and maintenance will ensure its longevity. So, take pride in your corner DIY accomplishment!
Discover a wider selection of garden rooms, including corner summer houses, at Garden Buildings Direct. And for your next read, don’t miss out on this “How to Build a Corner Summer House” guide!


