Jump to:
Transform your garden into a thriving, growing space with a low-cost solution — homemade garden mulch. Whether you’re a seasoned gardener or just starting, making your own is an easy and rewarding DIY project. In this guide, we’ll walk you through the steps. Here, you’ll also discover the benefits of this sustainable practice, so keep reading!
Why Create Your Own Mulch?
DIYing mulch comes with tons of benefits, starting with significant cost savings. The secret is utilising readily available organic materials from your garden and kitchen. With this approach, you can minimise expenses compared to store-bought alternatives. Moreover, homemade mulch allows for customisation, such as adjusting nutrient levels and texture. This means you can tailor the mix to suit your plants’ needs for optimal growth.
Beyond personalisation, embracing this DIY approach contributes to sustainability. Recycling kitchen scraps and garden waste reduces environmental impact, promoting eco-friendly gardening practices.
Make your garden thrive by using homemade mulch. It’s cost-effective, lets you customise, and is eco-friendly.
Materials Needed
To craft effective garden mulch, gather essential materials such as:
- Organic matter: Use kitchen scraps like fruit peels, coffee grounds, and eggshells. These provide valuable nutrients for your plants.
- Leaves: Collect fallen leaves to add bulk to your mulch. Shred them for faster decomposition and improved texture. Top tip: Check out our autumn gardening essentials guide for useful leaf management tips. This can be particularly helpful when gathering leaves for your compost pile.
- Grass clippings: When used in moderation, grass clippings provide nitrogen. They help enhance the mulch’s nutrient content and ensure they’re dry to prevent clumping.
- Other materials: This includes shredded newspaper (black & white, without coloured ink), cardboard (cut into small pieces), and straw or hay.
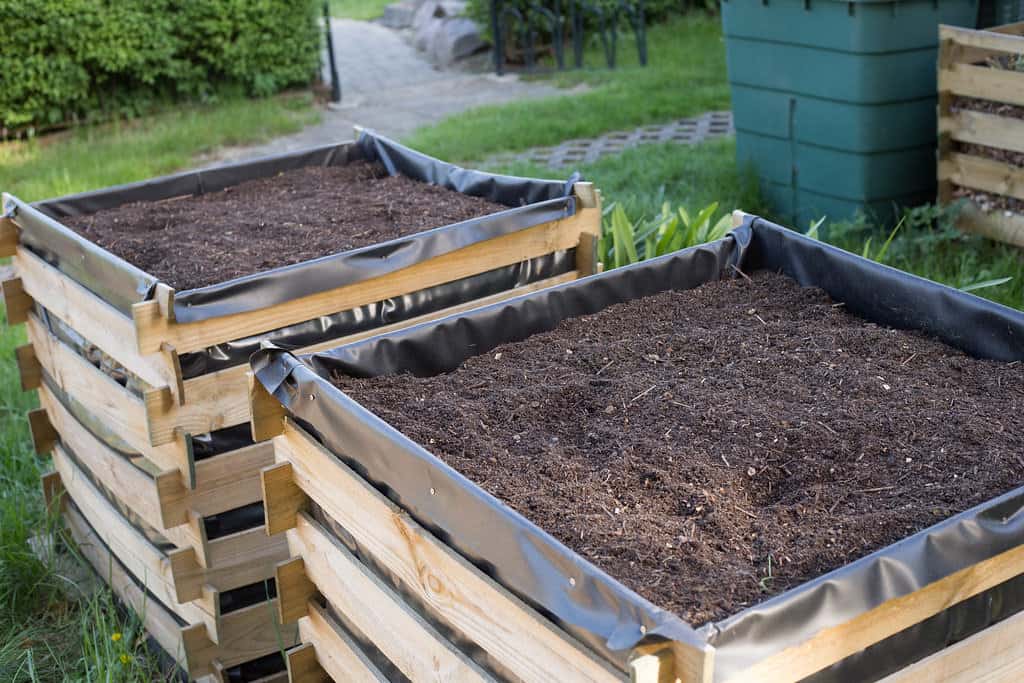
- Compost bin: A garden compost bin is indispensable for creating a controlled environment. It’s where these materials decompose into nutrient-rich mulch. Turn the contents regularly for optimal results. Top tip: Place it near your garden greenhouse or potting shed for convenient access.
Incorporate a diverse mix to produce well-balanced, homemade garden mulch.
Choosing the Right Ingredients
Selecting the right mix of materials is crucial for effective homemade mulch. Aim for a balanced combination of green and brown materials. Green materials, like kitchen scraps and fresh grass clippings, are rich in nitrogen. This specific element helps promote plant growth. Brown materials, such as dried leaves and straw, are high in carbon. They’re excellent for enhancing the mulch’s structure.
Consider the nutrient content of each component. Kitchen scraps provide essential minerals, while leaves contribute organic matter. Balance is key to preventing an excess of nitrogen, which can hinder plant growth.
Additionally, factor in the decomposition rate. Finely shredded materials decompose faster, releasing nutrients more quickly. Coarser materials, like branches, contribute to long-lasting mulch.
Experiment with ratios, aiming for a mix that suits your plants’ needs. This thoughtful approach ensures a nutrient-rich and well-balanced homemade mulch for your garden.
Creating Your Own Mulch
To get started, we’ve broken down the process into clear steps for you:
Step 1: Collecting materials
Begin your mulching journey by amassing a diverse array of materials. In your kitchen, collect nutrient-rich eggshells and fruit peels. From the garden, gather a mix of dried leaves, grass clippings, and small twigs. This varied combination provides a rich blend of essential nutrients for the plants.
Step 2: Creating a compost pile
Build a compost pile by layering the collected materials. Alternate between green materials and brown materials. Ensure proper aeration by turning the pile regularly. This encourages decomposition, fostering a healthy environment for beneficial microbes.
Step 3: Turning and monitoring
Regularly turn the compost to enhance aeration and speed up the decomposition process. Monitor the moisture level, aiming for a damp but not soggy consistency. A well-maintained compost pile generates heat, indicating active decomposition. Adjust the balance of green and brown materials if needed.
Step 4: Harvesting your mulch
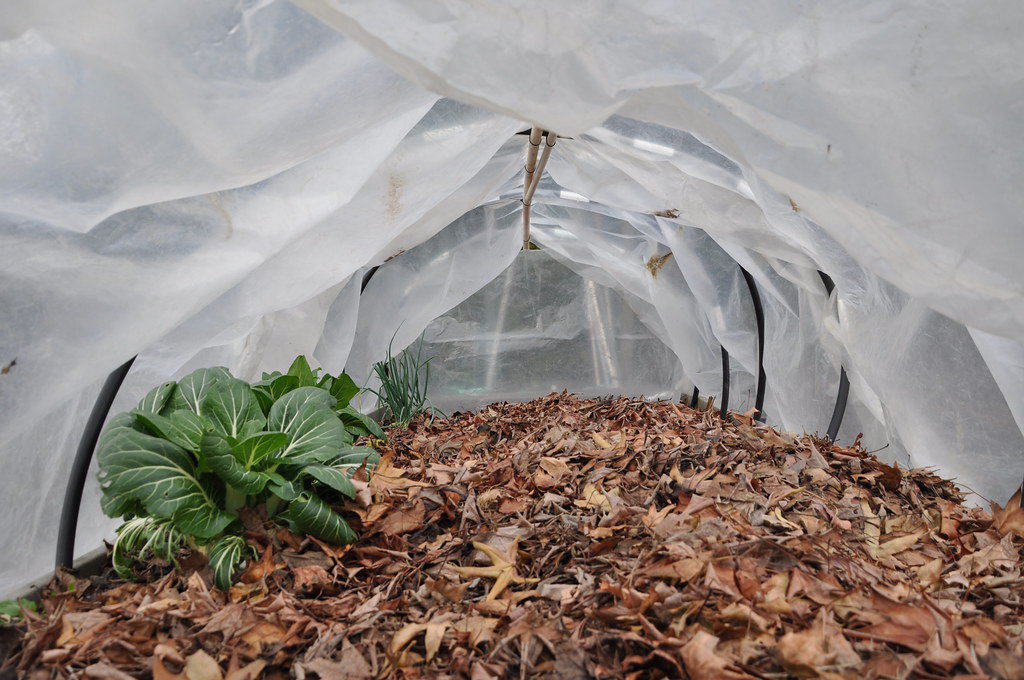
Harvest the finished mulch when it has a crumbly texture and an earthy smell. The duration varies, typically taking several weeks to months. This is influenced by the materials used and environmental factors. Once ready, apply this matured mulch around your plants. Doing so not only enriches soil fertility but also aids in retaining moisture. This step completes the cycle, creating an optimal environment for plant growth. It also ensures your garden thrives with the benefits of your nutrient-packed mulch.
Tips for Success
Achieve mulching mastery with these tips. Maintain an ideal moisture level in your compost pile to foster effective decomposition. Ideally, damp, not soggy. Steer clear of materials treated with pesticides or herbicides to prevent harmful residues. Regularly turn the compost for optimal aeration and decomposition speed. Consider using a compost thermometer to monitor temperature. A range of 120-160°F indicates active decomposition. Finally, try different material ratios to discover the ideal mix for your garden.
Following these tips ensures a successful and rewarding mulching experience. They can help you cultivate a garden brimming with vitality and sustained health.
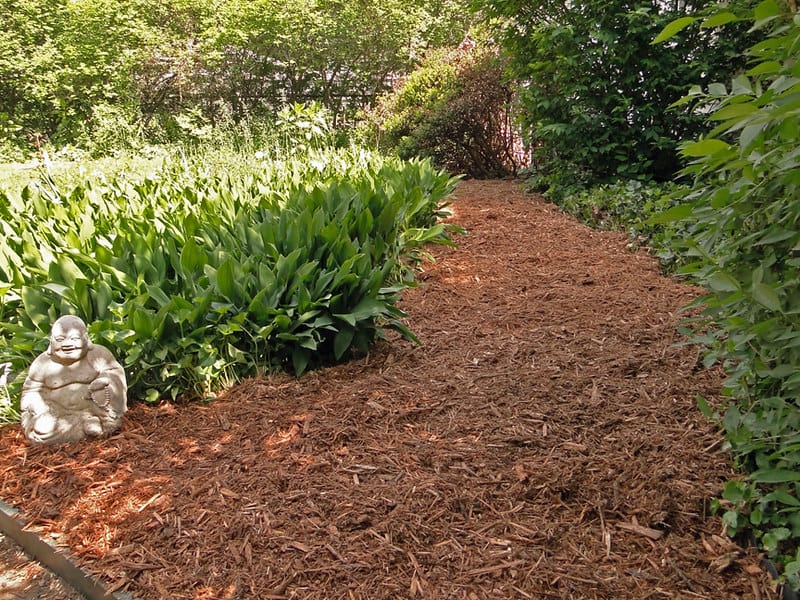
Using Your Homemade Mulch
Maximise the benefits of your homemade mulch in the garden and in your greenhouse. Apply a generous layer around plants to suppress weeds and conserve moisture. This barrier also regulates soil temperature, promoting a stable environment for root growth. As the mulch decomposes, it enriches the soil with valuable nutrients. Embrace its versatility by using it in flower beds, around trees, and in vegetable gardens. This technique allows for an all-encompassing enhancement to your garden’s health and vitality.
Round-up
Creating your own garden mulch is a simple yet impactful endeavour. This DIY approach not only saves costs but nurtures an eco-conscious garden. Embrace the rewarding cycle of sustainability. And watch as your plants flourish in the nutrient-rich embrace of your homemade mulch. Elevate your gardening experience, one compost pile at a time!
For your gardening companion, check our greenhouse buildings only at Garden Buildings Direct. Available in three quality materials, including wooden, metal, and polycarbonate greenhouses. Up next on your reading list: How a Greenhouse Can Help Your Garden this Autumn


