Jump to:
Woodworking, repairs, and crafty DIYs—just a few of the things a shed workshop brings together. No deadlines, no distractions, just a space to focus and experiment. This guide shares helpful tips to set up yours, along with project ideas you can start straight away.
How to Turn a Shed into a Garden Workshop
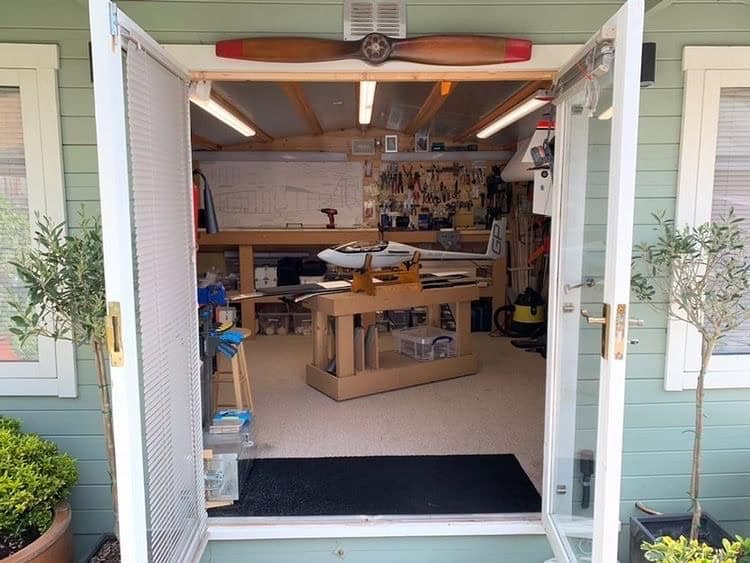
Start from the basics, then build from there to create a space that suits your projects.
Set up the electricity
With your shed cleared out, you can plan where to put the sockets. This will power the lights, tools, and other equipment you might use. Place them near your workspace, so you don’t need to have cables running across the floor or work surfaces. Also, while an extension cable from your house can help for one-off projects, get a proper installation done for long-term use.
This guide walks you through it: How to Install Garden Workshop Electricity
Arrange your workbench for maximum use
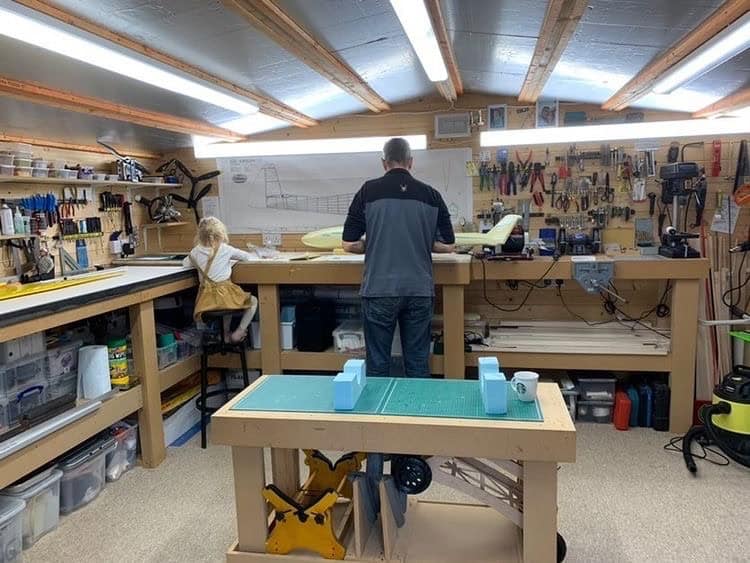
Your workbench is where you’ll be spending most of your time. Sometimes you need a big one for heavy builds, other times a smaller, flexible table is enough. But why not have both? As long as they’re near the sockets, you can keep any tool running.
You can never go wrong with a few hooks and a pegboard above for easy access and storage. And if you’re using power tools, a mat under the bench can make standing for long periods easier on your legs.
Lay it out like a pro!
Install insulation and garden room heating for year-round use
You don’t have to abandon your projects during the colder months with insulation. Foam boards or reflective foil panels are the best choice for the walls and roof. Double glazing the windows also helps, but may be tricky on certain shed models. If you’re converting your shed into a permanent workshop, consider breathable membrane or PIR insulation for better long-term temperature control. For the flooring, see how it’s done in this guide: How to Insulate a Shed Floor
A small electric heater or oil-filled radiator is enough for most sheds. It won’t make your electricity bill feel like a DIY horror story, either. Draught-proofing doors and windows also helps; even a door seal and a floor mat can make a big difference.
Turn corners into storage spots
When floor space is tight, go up instead of out. Put pegboards on bare walls, ideally above your main bench. Then hooks along the side walls or even on the side of your bench if you need the space. Hanging shelves can go anywhere the walls are strong enough: above a bench, along a wall, or near the door.
Get a more detailed list of the essentials here: Everything You Need in a Garden DIY Workshop
Shed Workshop Ideas
Now your shed is ready, it’s time to put it to work, and there’s plenty you can get stuck into. This list is useful whether you’re starting out or have just finished and are itching for more.
DIY woodworking

Woodworking in a shed doesn’t have to be massive. You could knock together a few simple shelves for the garden, a small stool, or a planter box that doubles as a bench. It’s a handy excuse to play with power tools and call it “research.”
Gardening prep and potting station
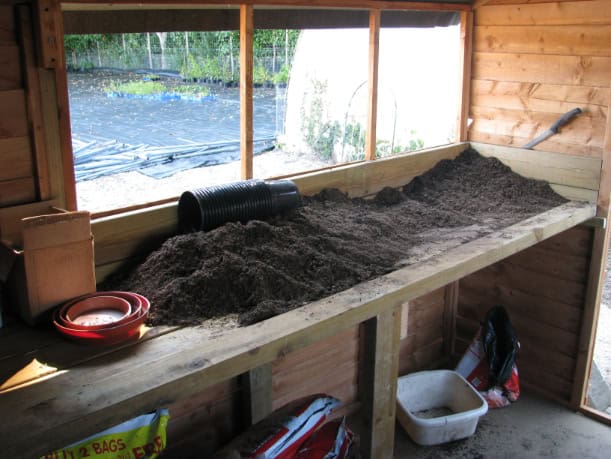
(Image Credit: Wikimedia Commons)
Yes, a shed workshop is where garden prep can happen, too. Pot plants, sort seeds, or give tools a quick check, all without bringing dirt indoors. The space is yours to use however you need, so a little soil on the bench is no problem at all.
Painting and craft projects
From painting figurines to making your own home décor, a shed workshop handles all kinds of creative projects. You can leave paints, brushes, and ongoing work inside, and any mess stays contained. It’s easy to pick up where you left off and leave the mess behind.
Bike maintenance and repairs
![Close-up fixing a bicycle rear wheel.]](https://blog.gardenbuildingsdirect.co.uk/wp-content/uploads/2021/08/turn-shed-into-workshop-5.jpg)
No more juggling tools across the garden when a tyre goes flat. Prop the bikes on a stand or lean them against the wall while you work. It’s also a spot where a quick tune-up won’t turn the garage into a cluttered mess.
If your garden has space, you might even consider a separate room just for your bikes. Take a look at: Is It Worth Buying a Separate Shed to Store Your Bike
There’s more to explore, so keep your creative juices flowing. You might be surprised at what you can make. Get more inspo on how to maximise your new workspace with these Garden Workshop Ideas
If you love your shed workshop but want something more comfortable, a garden log cabin offers greater heat retention with thicker walls. And yes, we have options for you to choose below:


