Jump to:
Has the time come to dismantle your greenhouse for relocation or replacement? Either way, we’re here to guide you through the process step by step. Ready?
Note: This guideline is a general reference. Always conduct your own safety risk assessments. If you’re uncertain or lack confidence in your ability to do so, we recommend entrusting the task to experts.
Step 1: Take out the roof portion
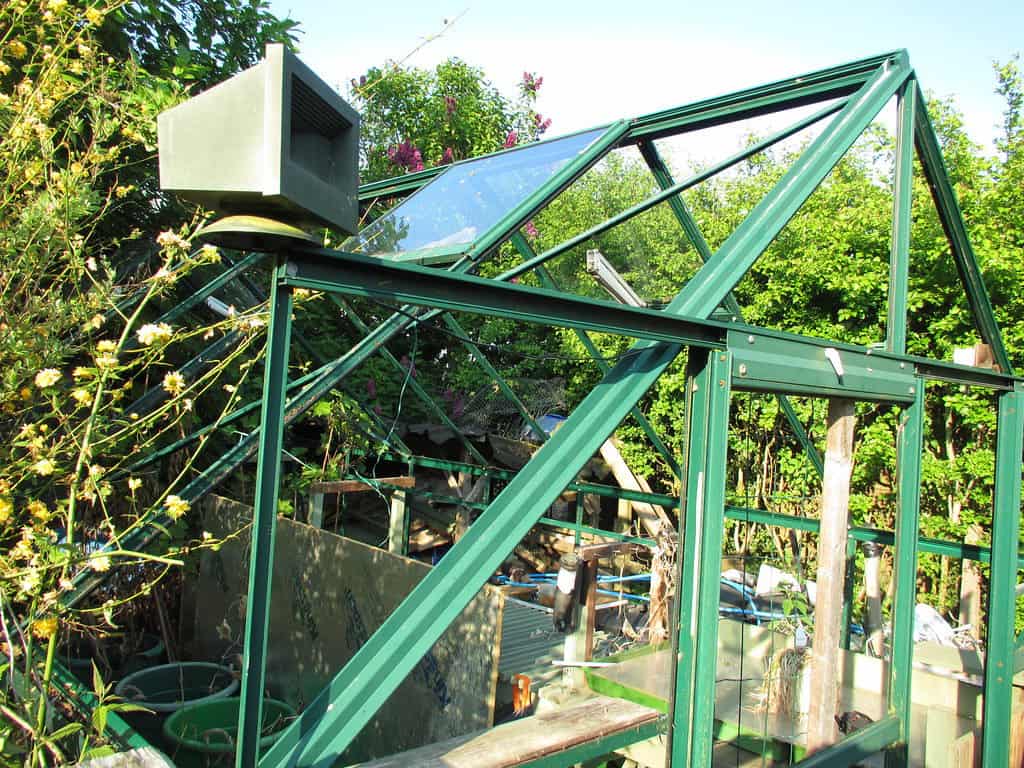
As a rule of thumb, begin clearing out the greenhouse’s content, then work from the top downward. This means starting with the roof part, such as wooden shingles, in the case of a wooden greenhouse.
Have an extra pair of hands and exercise caution to ensure the task is carried out safely. Use a ladder for accessibility and wear safety equipment like eyewear and gloves.
Step 2: Proceed to the side walls
Once the roof structure is clear, tackle the side walls before moving on to the frame. Depending on the greenhouse material, various fasteners will be affixed to the frame. This could be clamps, brackets, or tongue or groove for a timber model. Glass and metal greenhouses commonly use “G” clips to secure panels in place.
To remove the panels, unscrew or detach the clips using a screwdriver or any appropriate tool. Once the clips are removed, lift and disengage the panels from the frame. Start at one end of the greenhouse and work your way to the other end. If you have big panels that are hard to handle alone, ask someone to help you to make the job easier and safer.
Step 3: Move onto the frame
Your garden greenhouse should be well on its way to being disassembled. Begin by removing the door: take off the bracket and slide the door off the track.
If the structure has roof vents, handle them next. Lift the vent and slide it along the ridge bar, although the method may vary depending on the vent type. Then, loosen the bolts securing the slam bar of the vents. Slide one side down until it detaches from the roof glazing bars. Some models may need removing a nut, while others have a slot for loosening.
Disassemble the remaining components, including the corner posts, anchor plates, or base rails. Unscrew or detach any fasteners securing it to the frame, lift and remove. Store them safely for reassembly later.
If you’re unsure about these steps, consider hiring professionals for assistance.
Step 4: Address flooring or grounding structures
If your greenhouse has a flooring system, dismantle it according to its construction. Carefully remove each panel, board, or tile that comprises the flooring. Start from one end and proceed systematically to avoid damaging the components.
If anchored, remove the anchors, stakes, or bolts securing the frame to the foundation. Use appropriate tools to loosen and uninstall, being mindful not to damage the frame. Do a final inspection of the base frame for any remaining fasteners or hardware. Unscrew or detach these components as needed.
Step 5: Disconnect utilities
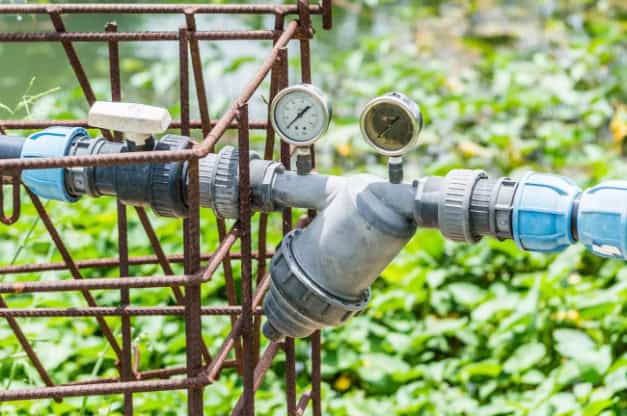
(Image Credit: Dicla Horticulture)
Safely disconnect any utilities your greenhouse has and remove them for complete dismantling. For instance, a water supply. Shut it off using tools and techniques to loosen fittings and disconnect pipes. Next, cap or seal any open ends of the pipes to prevent water leaks.
If you want to use the utilities again later, label each part with where it goes and what it does. This helps when putting them back together.
Round-up
There may be extra steps, depending on your greenhouse, but these will get you started. Remember to start from the top and work your way down for a thorough dismantling process! After completing these five steps, organise all the dismantled parts in order. Store them safely for future use and dispose of any unnecessary items.
Browse our greenhouses for sale if you plan to invest in one soon. And if you have any further questions, please don’t hesitate to contact us at 01909 768840.
Not sure about picking your new greenhouse? Our greenhouse buying guide has everything you need.


