Jump to:
Adding windows to a garden shed brightens the inside, ventilates the space, and turns a dim storage box into somewhere you actually want to spend time. Whether you’ve already got a shed and want to brighten it up, or you’re planning windows into a new build, this guide walks through both routes:
- Retrofitting an existing shed
- Building a wall panel with a window frame from scratch
Disclaimer: This is a structural modification, so you do it at your own risk. It can also void your manufacturer’s warranty. Check the instructions and make sure you understand each step before cutting anything.
How to Retrofit Windows into an Existing Shed
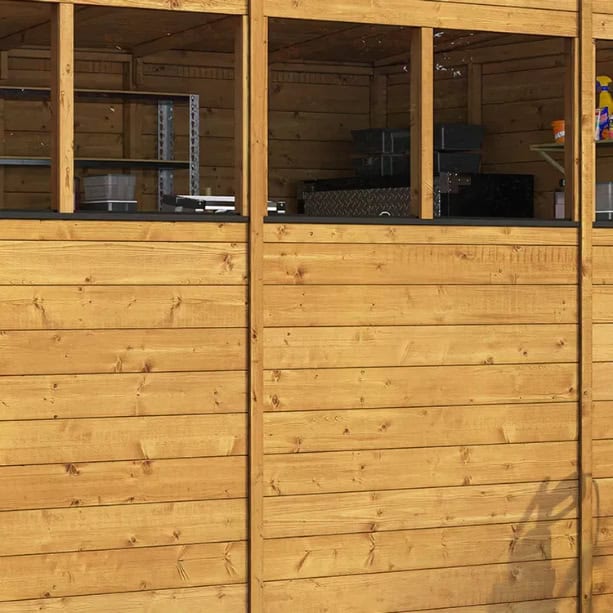
Retrofitting involves more than cutting a hole. The structure needs to stay sound to support the roof. Follow these steps:
- Locate your vertical studs from the inside first. Use a stud finder or the tap test to find the solid timber supports. Your goal is to centre the window between two existing uprights, not through one. Cutting through a main stud without transferring the load to a new frame first can cause the wall to bow inward or the roof support to drop — which tightens the window frame and eventually cracks the glass.
- Draw your opening on the interior wall. Before cutting, screw temporary horizontal braces across the area to keep the cladding from flapping or splintering while you work.
- Cut your opening with a jigsaw or a circular saw (set to the correct depth). Start from the inside so you can see exactly where the studs are, but finish the corners carefully to avoid over-cutting.
- Frame the hole with 2×3 timber to create a solid rough opening that the window unit can screw into. Check it’s square before fitting the window.
- Install, seal, and trim. Once the window is in, run a bead of silicone around the join, then add external decorative trim (architrave). This covers the gap between the window and the cladding where driving rain loves to hide.
Swap the shed wall panel instead of cutting it
Before you take a jigsaw to your timber, check if your shed is modular. If you bought a modular building (like many of our BillyOh ranges), the walls are made of interchangeable panels.
Instead of cutting a hole, you can swap a solid panel for a pre-made window panel. If you’ve got one of our modular sheds, get in touch with our team on 01909 768840.
Unfortunately, removing a panel does mean taking the roof off your shed first, and then putting it back on afterwards. This can make the task more time-consuming, and you also need to avoid damaging any parts as you dismantle it.
If you’ve bought a modular shed from us, you can get in touch with our team about switching to a windowed wall panel.
How to Build a Shed Wall Panel with a Window Frame
If you’re building a shed from scratch, this lets you plan windows in where you want them, with proper structural framing from day one. The key is making sure the window opening doesn’t compromise the wall’s ability to carry the roof load.
The simpler route — start with a kit
Most people who reach this stage of planning end up choosing a wooden shed kit where the framing, window panels, and cladding are already cut and squared at the factory. You skip the structural framing entirely and head straight to assembly — the studs are in the right places, the openings are pre-cut, and the windows fit. For most builders, it’s the fastest route to a finished shed with windows exactly where you want them.
If you’d rather build the framing from scratch, here’s how.
Framing the rough opening yourself
A window opening in a load-bearing wall needs four components: a header to carry the load above the window, jack studs to support the header, king studs running full-height on either side, and a sill at the bottom.
- Plan your stud spacing. Standard shed wall studs sit at 400–600mm centres. Your window opening needs to sit between two king studs, with jack studs added inside them to support the header. Measure your window unit’s rough opening dimensions and add 10–15mm clearance all round for adjustment and insulation.
- Install the header. This is a horizontal timber beam that transfers the weight from the roof above the window onto the king studs either side. For a typical shed window, two pieces of 2×4 timber sandwiched together is enough; larger openings need a deeper beam. The header sits above the window opening, resting on the jack studs.
- Add your jack studs. These are shorter vertical timbers that sit just inside the king studs and stop at the underside of the header. They carry the header’s load down to the bottom plate. Cut them to fit snugly — too short and they won’t carry the load; too long and they’ll force the header upward.
- Install the sill. This is a horizontal piece at the bottom of the opening, sloped slightly outwards (around 5°) to encourage water to run away from the building. Use pressure-treated timber here — the sill sees more moisture than the rest of the wall.
- Wrap and seal before fitting the window. Run a breathable membrane around the rough opening and tape the corners. This stops driving rain getting behind the frame and rotting the studs — a mistake that won’t show for years but eventually causes structural failure.
Once the framing is in, install the window unit, seal the perimeter with silicone, and finish with external trim — same process as the retrofit method above.
Which Window Type Is Right for Your Shed?
Whether you’re framing a new wall or cutting into an existing one, match your windows to how you plan to use your garden storage. Common options include:
- Fixed windows: The easiest to install. Perfect if you just want light. Most budget-friendly sheds use shatterproof styrene, which is safer for gardens with kids or pets.
- Opening windows: You can control how much ventilation you get. They combat condensation and keep the air fresh — essential if you plan on spending time inside.
- Double glazing: If you’re converting your shed into a year-round garden office, don’t settle for less. Double-glazed windows are made with two panes of glass separated by a small gap. This space is filled with air or, in higher-spec units, an inert gas like argon to slow heat transfer. The surrounding framing does need to be thick enough to support the added window thickness.
Single-glazed windows can lose up to 20% of a building’s heat. See how double-glazed garden rooms create a workspace that stays warm year-round.
Round-up
Adding windows to your shed can be a game-changer. It might take time and effort, but you get more light and better air inside. You can go the easy route and fit a ready-made wall panel, or take on a full DIY job if you’re confident with tools. Whichever way you go, take your time with measurements, sealing, and upkeep.
When it’s time for a new shed, take a look at our best options here: Garden Sheds Buying Guide


