Jump to:
A garden shed is meant to keep your outdoor items organised. But when it comes to storing smaller items, that’s where shelves come into play.
Here’s our expert advice on choosing shed shelves, along with some steps to install them and organisation tips.
Decide Which Shelves Work for Your Needs and Your Shed
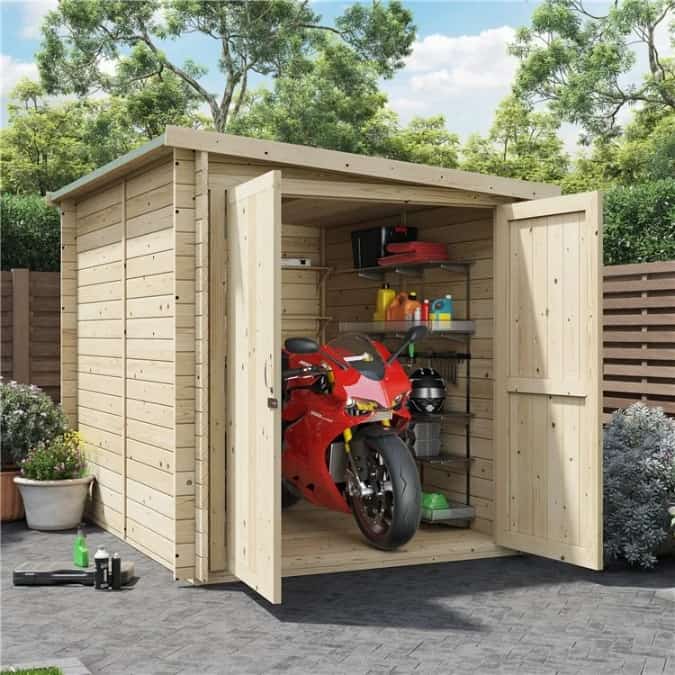
Alright, let’s start with the basics. Take a good look at what you actually need to store in your shed. The amount of things you can stash inside will depend on the structure’s internal space, so it helps to know what your shed size is. From there, you can figure out what kind and how many items you can keep inside, such as gardening tools, pots, and other supplies.
Consider how big they are, how many of them there are, and what shapes they come in. This will help you figure out the kind of shelving you’ll need. It could be adjustable, fixed, or perhaps a hook style.
How much weight will you be storing on your shelves? Tools and pots of paint can be quite heavy, so you’ll want to choose shelves that can withstand what you’ll be putting them through for a long time.
Once you sorted out the type of shelves you’ll go for, measure the walls, corners, and any little nooks that could work for them inside. Check the shed’s height and width, too, so you don’t end up having to redo it all later. And keep an eye out for anything that might get in the way, like doors. That way, you’ll get a clearer idea of how to arrange your shelves.
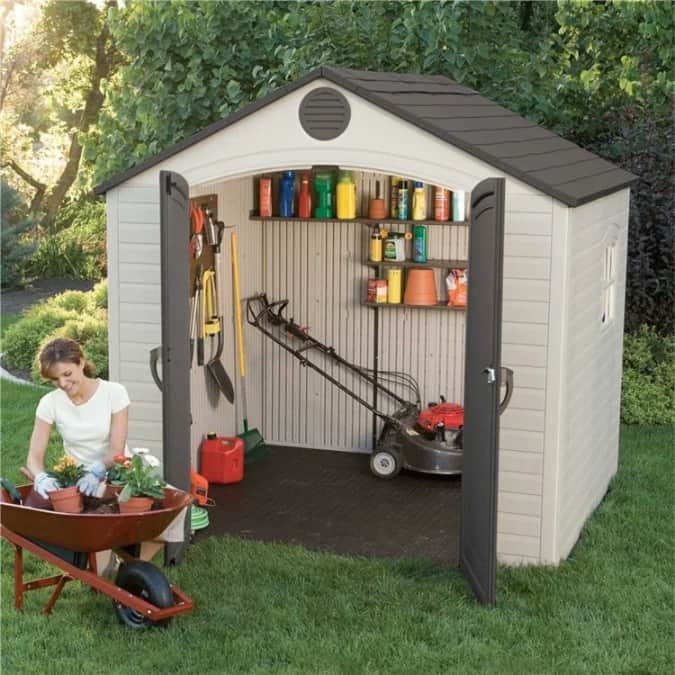
Tip: Pick shelves that suit your shed. For instance, timber types are a good fit for a wooden shed, metal for steel sheds, and plastic for plastic sheds—you get the gist.
Turn Your Shed into a Blank Canvas
If your garden workshop is newly purchased, you’ll have a blank canvas to work on. But if it’s an existing one filled with random outdoor essentials, clear it out and declutter. That way, you won’t be restricted when marking and installing the shelves, and nothing will get in your way. This also lets you fill the shelves with only what you need and use often.
Once cleared, mark the spots where you want to install the shelves. A level is really useful here to ensure the marks are straight and aligned. Other tools and materials you might need to prepare include:
- Measuring tape
- Stud finder (if wall-mounted shelves are preferred)
- Screws or brackets
- Power drill
- Hammer
Install the Shelves
Metal and plastic sheds should already include mounting holes on their frames to make it easy to add shelving to the walls.
Here’s how to get those shelves up in a wooden shed:
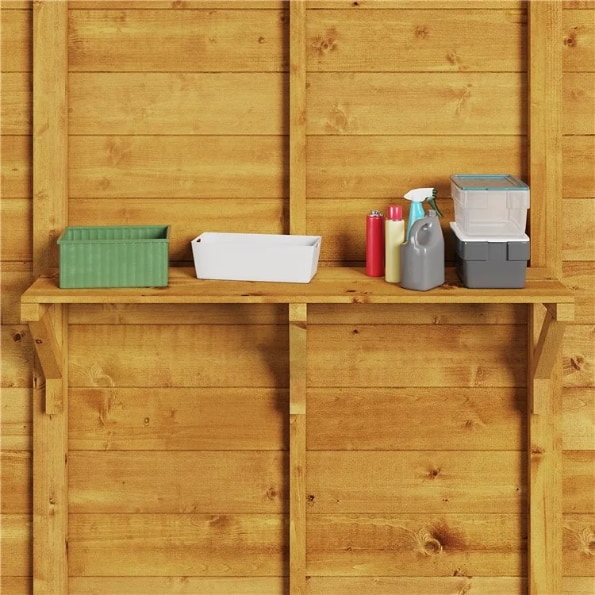
- Place the first shelf at the height you want and line it up with the marks on the wall. Again, we recommend using a level to make sure it’s straight.
- Mark the screw or bracket holes on the wall through the pre-drilled holes in the shelf.
- If needed, use a stud finder to locate the studs behind the wall. For a solid fit, see to it that the screw or bracket holes line up with these studs.
- Drill pilot holes where you’ve marked and use wall anchors if necessary. Then, attach the shelf with screws or brackets, making sure it’s secure.
- Repeat for each shelf, making sure there’s consistency in spacing and alignment.
If your shed’s got a wooden or concrete floor, consider using floor anchors or brackets. These are great for adding stability to the shelves. As always, follow the manufacturer’s instructions.
Tip: If you’ve gone for wall-mounted shelves, look out for any cracks for maintenance. You can paint or seal the walls if you fancy, but it’s up to you.
Organising and Categorising Items
Once the shelves are up, get everything sorted out. Group similar tools together so they’re easy to grab. For instance, a shelf for the pots, another for cleaning supplies, and so on.
In addition to shelves, add some bins or containers for the smaller bits and stack them to save floor space. Hooks and pegboards are excellent for wall organisation, too. This is where you can hang hand tools, as well as those long rakes, brooms, and hoses.
Round-up
Start with the basics and decide which shelves work for your needs and your shed. If you’re working on an existing shed, clear it out so you’ll have plenty of space to work during the marking and installation process. Then, follow the general steps we’ve listed above, but feel free to make adjustments as needed. Consider a few organisation hacks for smart shelving to keep things from getting out of hand.
Looking for a reliable shed? Check out our range of garden storage, available in wooden, metal, and plastic variants, plus a variety of sizes to suit your needs.
Next up: The Benefits of Tall Garden Storage


