Jump to:
Felting a wooden shed roof adds an extra layer of protection against the harsh elements and weather. Installed correctly, it will also give your garden shed a neat appearance. While the process may seem tedious, it can be quite straightforward with a guide like this to follow. Here, we’ll walk you through the steps to replace your roof felt or to felt a new shed roof, so let’s get started!
To start, prepare these items:
- Ladder
- Gloves
- Eye protection
- Craft knife
- Tape measure
- Hammer
- Roofing Felt
- Felt and wood nails
- Paintbrush
- Felt Adhesive
It is best to commence work on a shed roof only on a dry day where rain cannot impact the exposed roof boards.
Step 1: Removing old shed roof felt if necessary

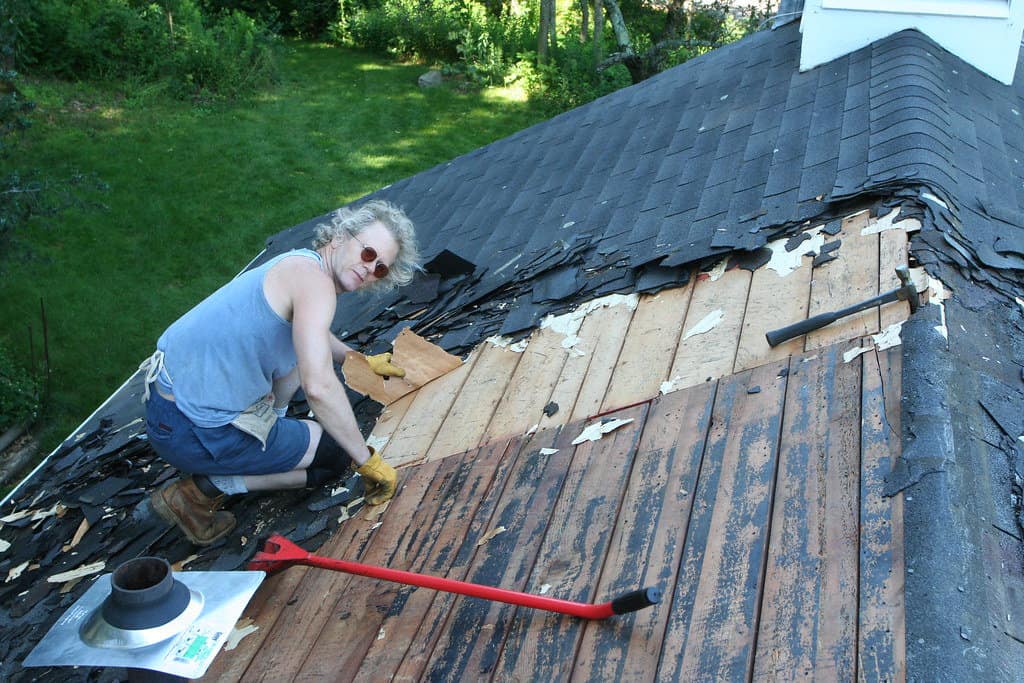
Dismantle any existing timber fascia boards and set them aside. Using a claw hammer, remove any nails holding down the old roofing felt. You should be greeted by a clear surface, free from nails sticking out and other debris.
At this point you should also check for any damage to the roof boards. Repairing these is important before refelting.
Step 2: Measure the amount of felt you will need

Before installing the felt, measure the dimensions of the roof to determine how much you’ll need. Start with the width — measure from the eaves on one side, up and over the apex (if necessary), and down to the other edge. Then add 10 centimetres to account for a 5 cm overhang on each side for tucking it underneath the purlins.
Next, measure the roof from front to back, gable to gable. Add 15 cm to accommodate tucking the felt under the fascia boards (equivalent to 7.5 cm on each side).
Note: Felt rolls may vary in width, typically around 100 cm. Most shed roofs have three lengthwise strips of felt: one on each side and one spanning the ridge at the centre. Allow the central strip to overlap the side strips by approximately 10 cm.
Step 3: Cutting
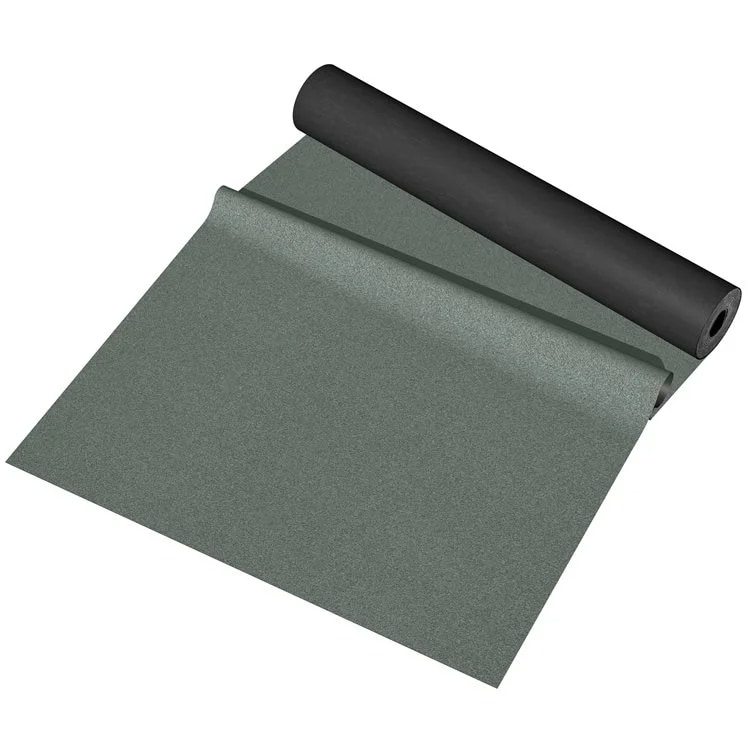
Cut the felt lengthwise while allowing for the extra overhang. Your width measurements will determine how many rolls of felt you need. Plus, your length measurements will dictate where you need to cut each strip.
Step 4: Applying the new felt roof covering

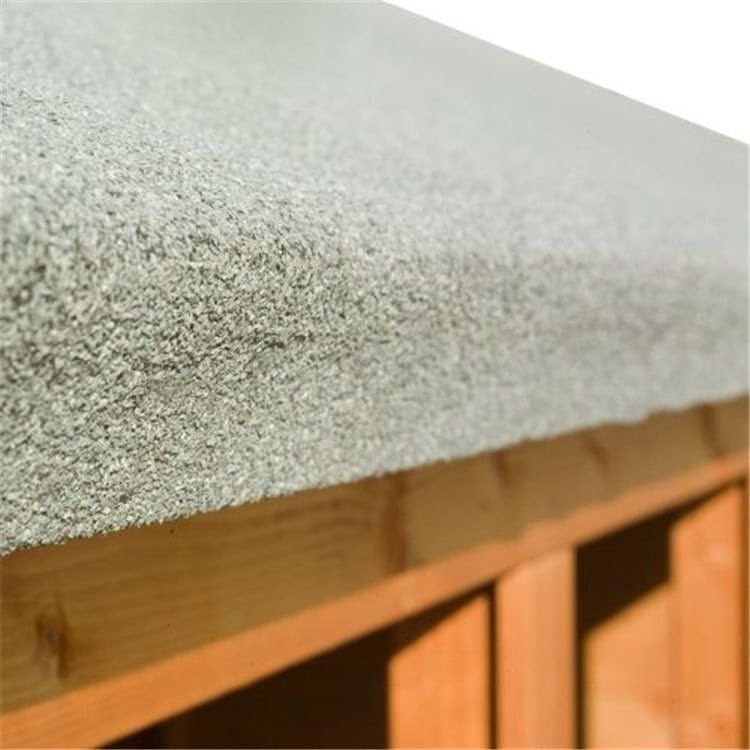
Once you’ve cut the felt to the right size, roll it up again and position it on your shed’s roof. Start with one of the edge rolls, then unroll it across the roof until it extends 5 cm beyond the eaves.
Next, mark a pencil line along the length of the roof to guide placement. Roll out the felt in a straight line and nail it at 10 cm intervals across the roof’s length. After securing it on the inner side, pull the felt taut to ensure it lies flat along the shed roof’s length. Then, nail along the eaves, spacing the nails wider — use one every 30 cm. Clout nails especially designed for roofing are recommended.
Step 5: Felting in the middle
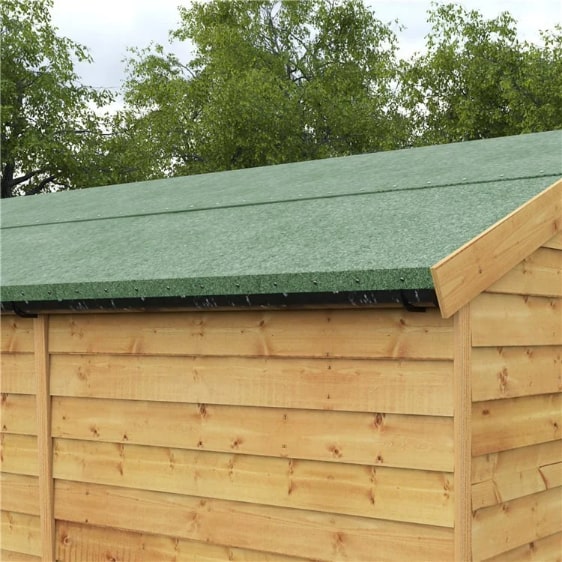
After securing the side panels, place the final felt strip over the ridge at the apex. Make sure this overlaps the two adjacent felt strips. Use felt adhesive to secure it between the middle and outer strips. Apply adhesive with a paintbrush to the two outer strips where the middle strip will overlap. Finally, secure the edges of the middle strip where it meets the outer strips using nails at 5 cm intervals.
Step 6: Tidy the corners of the overhangs

Fold the excess felt at each corner of the roof outwards to make a flap. Then, fold it back along the eaves and nail it into place. See where the overhang creases at the apex. Is it at the front and back of the building? Use your knife to cut a slit in the felt at the centre point. Nail either side into the wood, and then flap the other side over, covering it, and nail this in, too.
Along the gables, we recommend nailing the overhang in at 10 cm intervals. Once you’ve nailed it down securely, you can re-attach the fascia boards to keep your shed looking tidy. Doing so can help hide the folded roofing felt at each gable end. Use wood nails to secure it all in place and then trim off any excess material.
Felt a Shed Roof Without Nails
If you’d rather do this without nails, adhesive is another option.
Adhesive selection
- Choose a high-quality adhesive compatible with your roofing felt.
- Look for adhesives specifically designed for no-nail applications.
- Ensure the adhesive is suitable for the prevailing weather conditions in your area.
Applying adhesive
- Begin by cleaning the roof surface to remove any dust or debris.
- Follow the manufacturer’s instructions for applying the adhesive.
- Use a trowel or a suitable tool to spread the adhesive evenly on the roof.
- Pay special attention to the edges and corners, ensuring complete coverage.
Choose the correct adhesive and apply it right for a strong bond between the roofing felt and the shed roof! Allow for excess felt and trim it after the adhesive has set.
When installing it, press the felt firmly onto the adhesive, ensuring a strong bond. Use a flat tool or your hands to smooth out the felt, eliminating air pockets. Work from the centre towards the edges to minimise the risk of bubbles. Apply adhesive generously along the edges of the felt. Use a trowel or another flat tool to spread it evenly.
How do I dispose of old roofing felt?
Old roofing felt should be disposed of at your local recycling centre. It often can’t go in regular household waste due to its bitumen content. Check your local council’s guidelines for disposal.
How long does shed roof felt last?
Standard shed felt lasts 5–10 years, depending on the quality of the felt and exposure to weather. Premium felts or rubber alternatives can last 15–20 years or more.
Can I felt over old roofing felt?
It’s not recommended. Old felt can trap moisture and cause rot underneath. Always remove old roofing material, inspect the roof deck for damage, and start with a clean, dry surface.
Congratulations on successfully installing your new shed roof felt! However, it’s also important to know how to fix a shed roof. If you have any further questions, contact us and don’t hesitate to give us a call at 01909 768840.


