Jump to:
Having a greenhouse means all-weather gardening and an extended growing season. To make the most of these benefits, though, there’s a lot to consider. This begins with choosing the right structure for your needs.
The unit you go for will come down to a few key factors, such as:
- How you want to use it
- Space and location
- Types and materials
- Extra features
- Alternatives
This guide walks you through the key considerations to help you decide. Ready?
How Do You Want to Use Your Greenhouse?

(Image Credit: Wikimedia Commons)
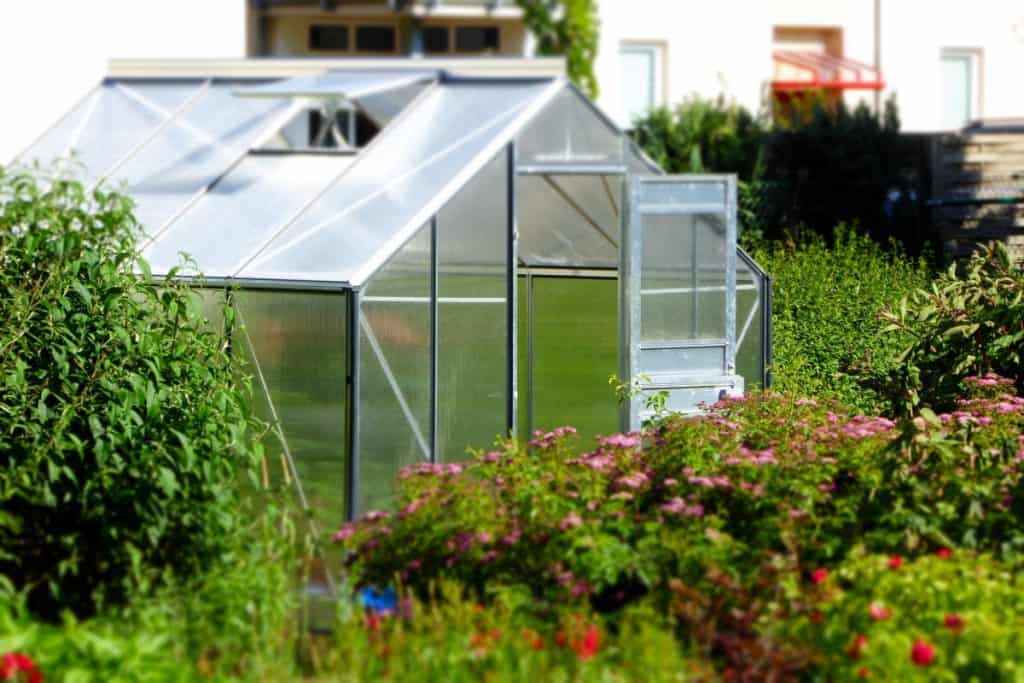
A large greenhouse is great, but it may not be worth it if you only plan to start a few seeds. In that case, a small greenhouse could be the better choice, especially for just a couple of plants.
What types of plants do you want to grow, and what is your growing timeframe? Suppose you are aiming for a year-round harvest, especially in the fall. A larger unit would be a better option if you want to grow a variety of seedlings.
Where Will You Put It?
How much room do you have in your garden for the greenhouse? Small models can fit on porches or in corners, while large units can take up a lot of space.
The location is as just important as the space. This isn’t just an “over here or right there” decision-making. It affects the temperature, light exposure, and humidity, so where you place it can make all the difference.
This guide, ‘How to Position Your Greenhouse: Choosing the Best Spot,’ will give you more information. Don’t miss it!
Which Type of Material Should You Go For?
Focus on the greenhouse’s structure and siding when it comes to the material. The framework is generally made of wood, metal, and aluminium (polycarbonate) or PVC. Here are your options:
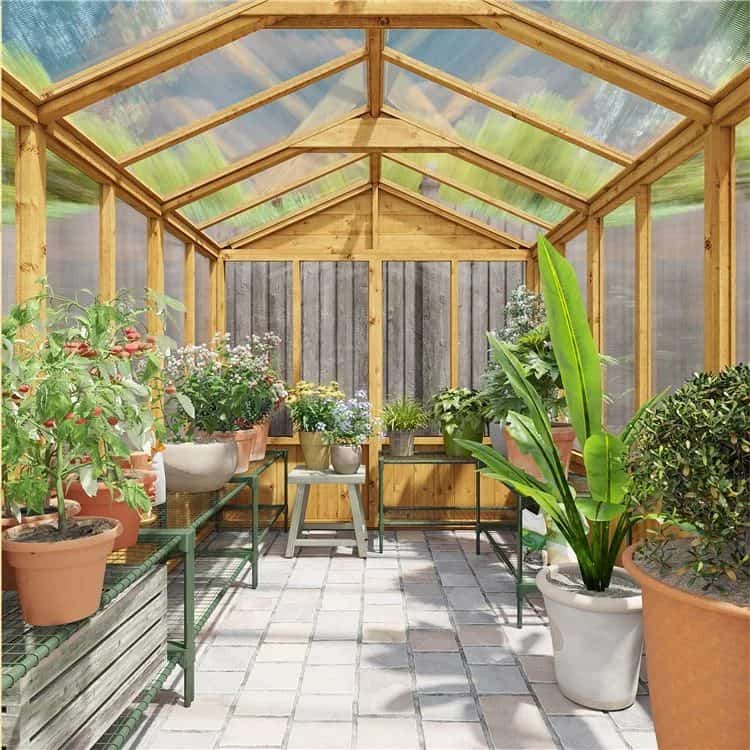
- Wooden greenhouses: Timber is known for its incredible insulating properties. The material helps absorb the rays during the day and contains heat during the night. This makes the structure environmentally controlled, in turn. If you wish to extend your growing season in winter, go for a wooden greenhouse.
- Metal greenhouses: This type offers a solid construction base, making them more load-bearing. One of its main advantages is that the structure is lightweight and almost maintenance-free. Moreover, the aluminium material means they can last longer. A metal greenhouse is your best option if you’re after a portable unit for your gardening needs.
- Polycarbonate greenhouses: Polycarbonate is a durable type of plastic. The material is thicker than glass, which means it provides better light diffusion. Even better, it acts as a natural ultraviolet filter. If you want to save money while giving your plants top-notch protection, you can’t go wrong with a polycarbonate greenhouse. The frame of a polycarbonate greenhouse will be either wood or metal, as above.
Note: The siding can be built with plastic, glass, fibreglass, polycarbonate, or polyethene. The material chosen for one aspect affects the others.
For instance, PVC greenhouses have plastic or polyethene sides, while steel or wooden structures support glass or polycarbonate panes.
Are There Any Extra Features You’re Interested In?
If your greenhouse only comes with the bare bones, like the framing and siding, it might need extra features. For instance, shelving units and a potting shed table must be purchased separately. Additional costs, such as ventilation, are also crucial when deciding on a unit.
A lack of ventilation is like keeping your plants in a sealed plastic bag, suffocating them to death. But with a proper system, your plants will get the right temperature, moisture, and airflow. You can install an automatic vent opener yourself, but you’re lucky if you find a greenhouse that already has one!
Learn more about general costs so you can plan your budget:
[How Much Do Greenhouses Cost?]
What Are Your Other Options?
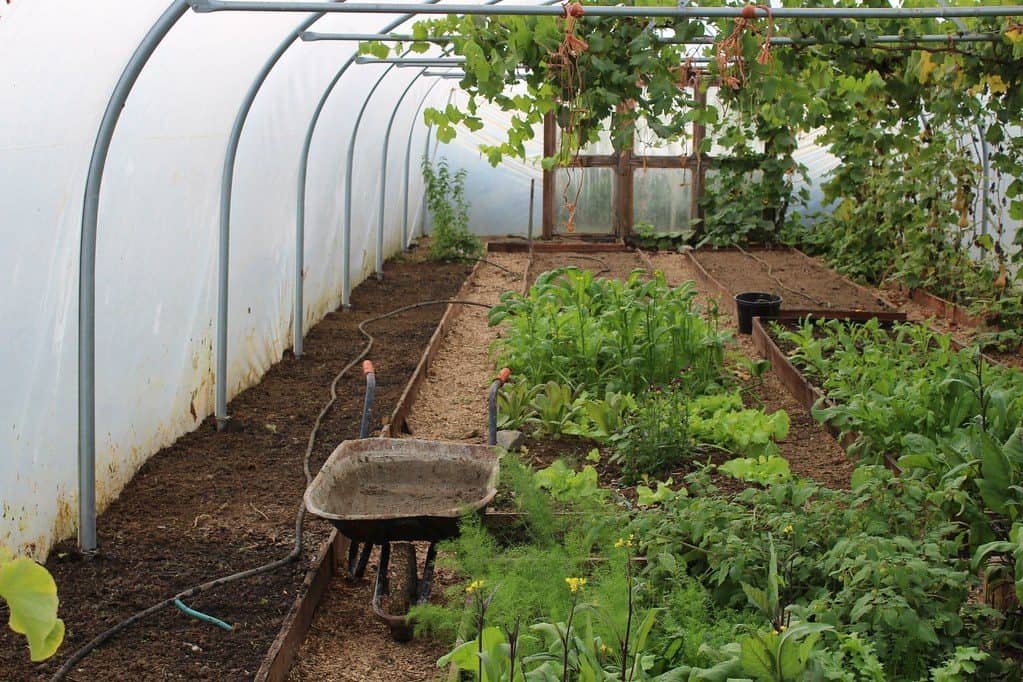
Polytunnel is a cheap alternative to standard glass greenhouses. You can grow summer crops such as tomatoes and winter crops like lettuce in one. But keep in mind it can’t hold heat well in winter, so it may not provide enough protection for your plants.
A combi shed combines the light and heat of a timber-frame greenhouse and the storage of a garden shed. It usually features a section with windows for cultivating and another for storing tools. It’s a great-value option that will save you twice the cost of a greenhouse and a shed.
Where to Buy Quality Greenhouses?
You can find greenhouses at garden centres or online, like at Garden Buildings Direct. Check out some of our BillyOh models below:
BillyOh 4000 Lincoln Wooden Clear Wall Greenhouse with Roof Vent
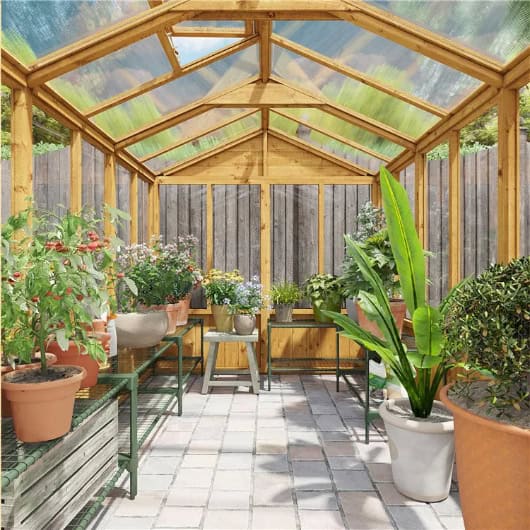
This upgraded version of the Lincoln polycarbonate greenhouse features clearer walls for better visibility. The roof vent has high-quality transparent styrene glazing—a safer alternative to glass. The wide-opening double doors make it easy to move items in and out.
BillyOh Rosette Hobby Aluminium Polycarbonate Greenhouse
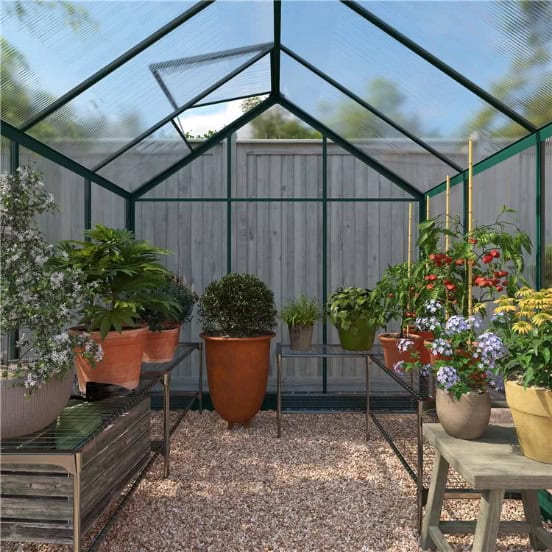
The Rosette is easy to access with its sliding double doors, making it a great fit for your garden. Thanks to the large windows and two opening roof vents, it keeps the inside at an ideal temperature. The shatterproof glazing enhances the greenhouse’s durability and strength. Plus, a galvanised steel base for stability.
Round-up
There’s a wide selection of greenhouses to choose from. Before you invest, take some time to think about your needs and goals. Hopefully, this guide helps you find the right one.
And once you do, it’s all about good management and effective growing. Check out our greenhouse gardening tips next for more information!


