Jump to:
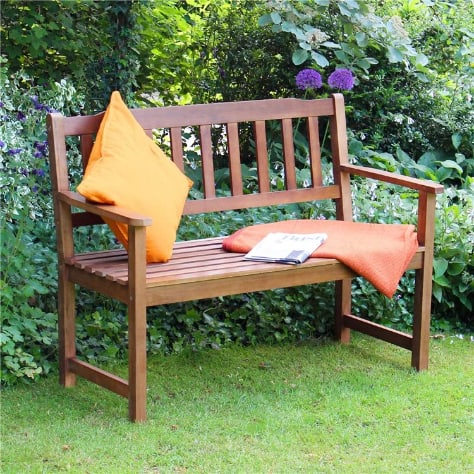
Looking for another DIY project to get busy with this weekend? Why not build a cheap garden bench to add functionality and style to your outdoor space? Imagine having a snug spot to sit and unwind while also having clever storage!
In this blog, we will walk you through the process of crafting your very own al fresco seating. Ready to elevate your patio while providing a practical organising solution?
But before that, here are the tools and materials you’ll need:
- Pressure-treated wood: For the bench frame and storage compartment, providing further durability.
- Plywood: Creates the seat and backrest, ensuring comfortable seating.
- Screws and nails: Secure wood pieces together for a sturdy structure.
- Hinges: Attach the lid to the storage compartment, allowing easy access.
- Wood glue: Enhances joint strength and stability.
- Saw (circular or mitre): Cuts wood to the desired lengths accurately.
- Drill and drill bits: Make holes for screws and assembly.
- Sander: Smooths surfaces for a polished finish.
- Measuring tape: Ensures precise dimensions and cuts.
- Clamps: Hold pieces together while glueing and screwing.
- Royal exterior paint or finish: Protects the wood from weather and adds visual appeal.
Planning and Design
This initial phase lays the foundation for a successful project. It also ensures your wood bench outdoor aligns with your garden’s aesthetics and needs. Below are the factors you should consider:
- Size: Determine how many people you want the bench to accommodate comfortably. Strike the right balance between space and seating capacity.
- Storage capacity: Assess the items you intend to store within the storage bench. This will guide the dimensions of the storage and help you maximise your available space.
- Location: Choose an ideal spot in your garden that complements your outdoor layout.
Sketching and measuring
Begin by sketching a rough design of your envisioned outdoor seating. Take precise measurements to avoid errors during construction. This planning stage ensures that your wooden garden bench with storage:
- enhances your outdoor space
- serves its functional purpose seamlessly
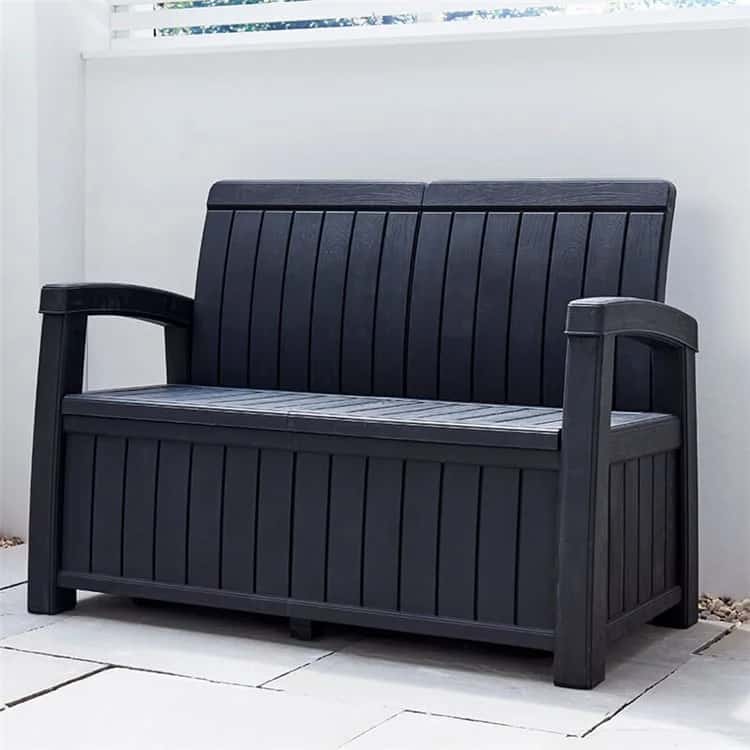
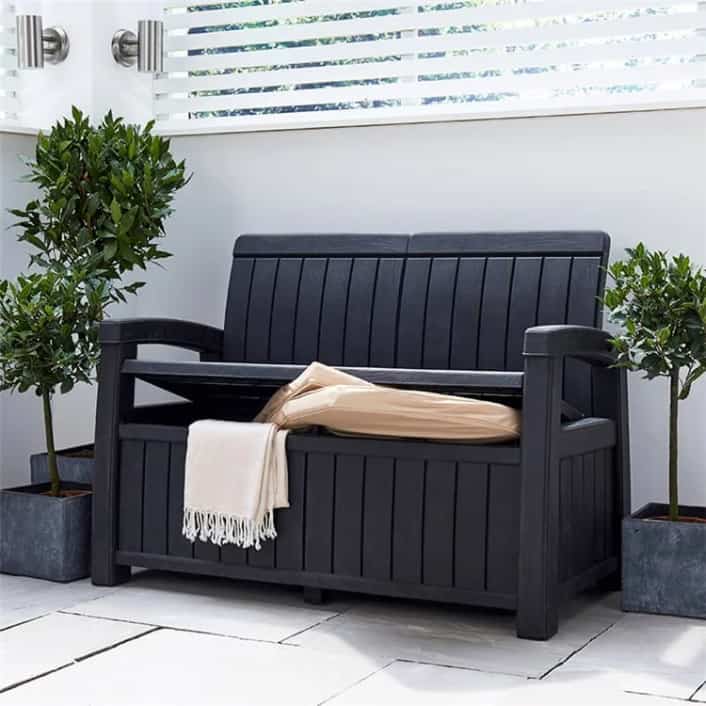
Take inspiration from the BillyOh Outdoor Storage Bench with 184 Litre Capacity. This outdoor storage box doubles as a handy bench to seat two people comfortably. Available in black or grey and made from weather-resistant materials.
Gathering Materials
Gather your assembly kit and essential materials before you begin. Start by acquiring high-quality wood, such as pressure-treated lumber. Select screws, hinges, and nails that contribute to the storage bench’s stability.
Opting for weather-resistant and durable materials, including timber for the bench, is paramount. These elements will withstand the outdoor elements, including rain, sun, and temperature fluctuations. Investing in quality components guarantees your creation will serve its purpose for years!
Cutting and Preparing Wood
Precision is key when measuring and cutting timber pieces. Begin by marking the dimensions directly on the wood using a measuring tape and pencil. Double-check your measurements to ensure accuracy.
Top tip: When cutting, follow your marked lines using a circular or mitre saw. Take your time to achieve clean and accurate cuts.
Safety precautions
Prioritise safety while using saws and cutting tools. Wear appropriate safety gear, including goggles and ear protection. Keep your workspace well-lit and free of clutter.
Maintain a firm grip on the tools and guide the wood steadily to avoid accidents. If you’re new to woodworking, consider seeking guidance or supervision from an expert. Doing so will ensure safe and precise cutting throughout the project.
Assembling the Bench Frame
Constructing the frame of your shed chair with storage requires careful assembly. Begin by attaching the longer side pieces to the shorter end pieces. This should form a rectangular frame.
Use screws and wood glue to secure the joints, creating a strong bond. This foundational step lays the groundwork for the rest of the bench’s structure.
To ensure optimal stability, ensure the corners are squared, and the joints are flush. Utilise clamps to hold pieces in place during assembly. This will help prevent movement that could compromise the frame’s stability.
Regularly check for levelness and adjust as needed. Maintain symmetry by measuring and marking positions accurately before attaching each piece. Remember, a stable and symmetrical frame guarantees a sturdy and aesthetically pleasing result.
Building the Storage Compartment
Beneath the seat lies a concealed storage compartment. Attach the base of the compartment to the frame, aligning the edges accurately. Secure the sides with screws and wood glue, forming a sturdy enclosure.
Attaching hinges and lid
Attach hinges to one side of the compartment’s lid and the corresponding edge of the frame. Ensure the hinges align perfectly, allowing smooth opening and closing. This connection marries functionality with aesthetics.
Enhancing organisation
To optimise storage space, consider adding internal supports or dividers. These elements create separate sections within the storage area. They allow you to categorise and access items with ease. This organisational touch, overall, elevates the practicality of your garden storage bench.
Adding the Seat and Backrest
Securely affix the seat and backrest to the frame using screws. Position the seat atop the frame and fasten it securely along the edges. For the backrest, align it properly against the back support. Then, secure it with screws from the backside. This step integrates the functional elements seamlessly.
Achieving an optimal seating angle is crucial for user comfort. Position the backrest at a slight angle, ensuring ergonomic support. This guarantees your teak bench with storage offers a delightful space to unwind.
Sanding, Finishing, and Final Touches

After construction, sand all surfaces of your garden storage bench using grit sandpaper. Smooth out rough edges and surfaces for a polished appearance.
To safeguard your bench against the elements, apply outdoor-friendly finishes. These include weather-resistant options like the Protek royal exterior paint. These coatings create a protective barrier, preventing moisture damage and enhancing durability.
Also, elevate your garden storage bench by infusing your unique style. Embellish with vibrant cushions, cosy pillows, or charming decorative elements. These will make it a delightful focal point in your outdoor sanctuary!
Round-up
This DIY endeavour lets you create a functional piece that gives you the best of both worlds:
- offers concealed storage
- graces your outdoor space with its presence
As you take a seat on your newly built garden storage bench, bask in the satisfaction of a job well done. If space permits, think about complementing it with additional garden furniture. Enhance your evenings with a cheap fire pit addition, stretching your leisure hours. And for ultimate shade, position your DIY seat beneath a 4×4 gazebo.
What you should read next: What Is a Gazebo and Why Do You Need One?


