Jump to:
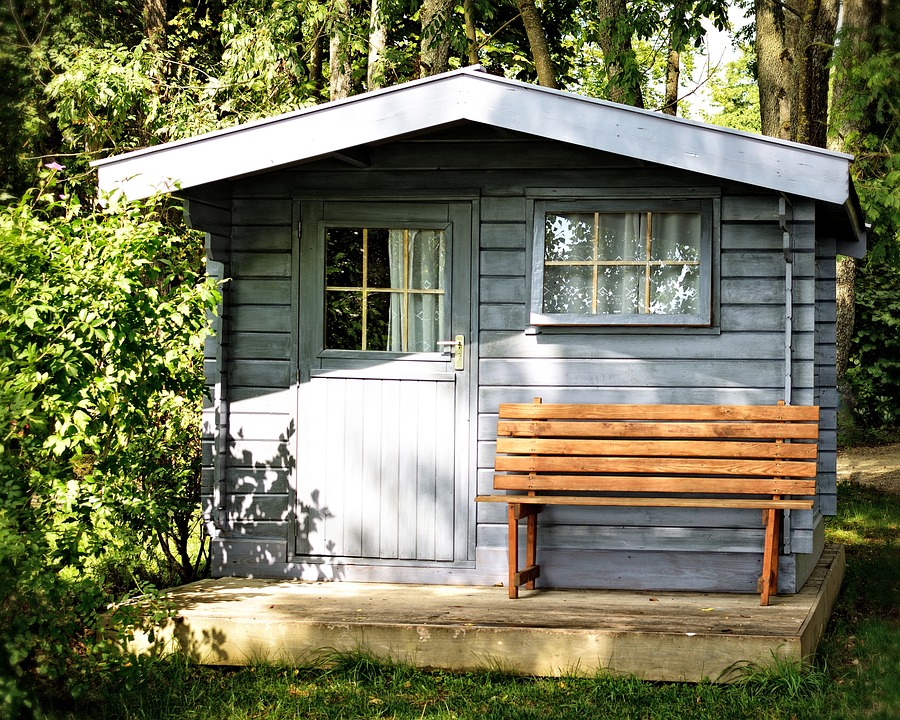
Water leaks can wreak havoc if they get inside your garden shed. Waterproofing (alongside good drainage and ventilation) is the most reliable way to protect both the structure and its contents.
How to Waterproof a Shed
The steps below follow the same order we advise customers to use for their maintenance: start from the ground up, then work your way to the roof and interior.
1. Inspect the building
Before you grab the sealant, you need to find the “weak links”. Focus on corners, panel joints, and the areas around doors and windows. Timber shifts naturally over time, and these gaps are where water loves to hide.
- Check the signs: Look for damp patches, dark streaks under windows, or a faint musty smell.
- The “Floor Test”: Press the boards near the entrance. If they feel soft or springy, water is likely sitting underneath the shed or seeping in through the threshold.
2. Secure the base or foundation

If your shed sits directly on soil or grass, moisture will wick up into the floorboards. This is the fastest way to rot a shed from the bottom up.
- The solution: Ideally, a shed should sit on a slightly raised surface like paving slabs with bearers, a timber frame, or a concrete base. This creates a gap for airflow, allowing the underside to stay dry.
- Safety warning: If your shed is already in place and rotting on the ground, do not attempt to lift it manually. Lifting a large shed can cause the structure to rack or the glass to shatter. In these cases, it is often better to clear the surrounding area for better drainage or consult a professional.
Building a Shed on Grass – Expert Shed Base Advice
Most sheds do better on a solid, slightly raised surface. Timber frames, paving slabs with bearers, or a concrete base all work. Take this opportunity to build a base, with a gap under the floor for airflow. Sort the drainage, too, while you’re at it, to keep dampness at bay.
To install a raised base:
- Clear the area around your shed and remove any debris or vegetation. If necessary, level the ground using a shovel or rake to make it flat and compacted.
- Dismantle the shed — sorry, it will have to be rebuilt. Only the smallest sheds can be safely moved by hand with a team and then put back again.
- Begin placing the first row of your base material around the shed’s perimeter. Use a spirit level to ensure the concrete blocks or lumber are level and aligned.
- Continue adding rows until you reach your desired height. Stagger the joints for stability, especially if using concrete blocks.
- If using lumber, fasten the pieces together with screws or nails. For concrete blocks, ensure they fit tightly together, but don’t use glue if you need to move them later.
- Once the raised base is installed, carefully lower the shed back into its original place. Ensure it aligns properly with the raised base and sits securely on top.
Installing a membrane
A damp-proof membrane (DPM) is used to reduce moisture wicking up from the ground into your shed floor and framing. Some shed base membranes are also vapour-permeable, helping the underside dry out, while still resisting rain splash and surface water.
To install, place the membrane between the ground and a new base (for example, beneath a slab or timber base frame). If your base is a pre-existing hard surface, such as a patio or paving slabs, place it between the surface and the floor bearers (or use DPC strips under the bearers). The point is to keep the timber separated from damp surfaces and standing water, while still allowing airflow under the shed.
3. Seal the walls, windows, and doors
Timber expands and contracts with the seasons, which can open up cracks around frames.
- Sealants: Use a high-quality, flexible exterior sealant to fill gaps around window and door frames.
- Draught tape: If a door isn’t sitting flush, apply draught excluder tape to create a tighter seal.
- Expanding foam: For larger holes, use expanding foam. Once dry, trim it back and apply a layer of sealant over the top for a waterproof finish.
4. Get the roof watertight

The roof is the most exposed part of your shed and the most common source of leaks. Mineral felt is the industry standard, but it must be installed correctly to last.
- Prep the surface: Remove old, damaged felt. Pull out any old nails and use a stiff brush to clear dirt from the wooden roof boards.
- Measure and cut: Measure your roof, allowing for a 50mm overhang at the eaves so water runs away from the walls.
- Use nails, not just glue: Secure the felt using galvanised clout nails spaced every 100mm–150mm along the edges.
- Seal the joints: Use bitumen felt adhesive (cold stick) on the overlapping sections where two pieces of felt meet. This creates a waterproof bond that nails alone can’t provide. Use cloud nails in addition to this, as the glue will melt in the summer.
For older roofs that have endured years of weather, sometimes a replacement is the only way to prevent leaks from returning. Choose felt, a waterproof membrane, or EPDM, lay it flat, and secure the edges so water has nowhere to pool.
5. Keep gutters clear
Leaves, moss, and debris can clog your shed’s gutter, leading to overflow and soaking the walls below.
Use a small trowel or a stiff brush to scoop them out, then flush the downpipes with a hose to ensure nothing is stuck. A garden pressure washer on a gentle setting also works, paired with warm, soapy water, for those stubborn areas.
Tip: Hook up a water butt to catch the rain. It stops water pooling around the shed and gives you extra water for the garden. Make sure the lid fits, and the connection stays tight.
6. Improve ventilation
Not all shed damp comes from rain outside. Moisture can also build up inside when air circulation is poor. And there’s condensation that can form on tools, walls, and stored items, which may eventually lead to mould.
Simple ventilation improvements help prevent this as follows:
- Install vents on opposite walls to encourage airflow
- Position vents high up near the roofline, where warm air gathers
- Keep vents clear so shelves or stored items do not block airflow
- Use mesh or louvred vent covers to stop insects and rain water from entering
Get more tips here:
Shed Ventilation: How-to and Things to Consider
7. Treat the wood
On sheds we see that have “suddenly” gone rotten, the exterior coating has usually been left far too long.
Regular shed treatments help keep moisture out and extend the life of your timber. Water-based stains or paints dry quickly and help keep damp out. They’re also less toxic, which is handy if you’re working on your own. Make sure you have space to move around the shed so the preservative can be applied evenly.
Some treatment completely shields the wood from absorbing water, while others (including many factory pressure treatments) leave the wood permeable but still protect it from decaying or hosting insects.
Learn more:
Shed Maintenance: Treatments and Refurbishing
Round-up
Getting a proper waterproof shed takes a bit of time and effort, but it’s worth it in the long run. It might seem like a lot at first, but you and your shed will benefit once it’s done.
These steps are just a starting point. You can add, skip, or adjust them to suit your shed and how you use it. Everyone’s setup is a little different, so make the guide work for you.
When it’s time to replace your garden storage, make it easier on yourself and pick something that will last.
FAQ
Can I waterproof a metal or plastic shed the same way as a wooden shed?
Not exactly. Metal and plastic sheds don’t rot, but water can still pool, leak through joints, or cause rust on metal parts. But you can seal the panels with exterior-grade silicon or sealant. And the same routine of checking for gaps around doors and windows, and keeping gutters clean.
Get more tips below:
How often should I re-treat or paint my wooden shed for waterproofing?
Aim for every 1 to 2 years, depending on your climate. Heavy rain, frost, or intense sun can wear coatings faster.
Will insulation inside the shed help with waterproofing?
It won’t stop water from getting in, but it does help prevent condensation, which can feel like damp inside. Using breathable insulation with good ventilation, like EPS boards with vents, keeps your shed warmer and reduces mould risk.
Can poor landscaping around the shed cause leaks or damp?
Yes, it can. This is especially true if the ground slopes toward your shed. In such cases, water will naturally pool near the base. Simple fixes like adding drainage, moving gravel, or raising the shed slightly can make a huge difference. Even small changes to the surrounding soil or paving prevent water from sneaking inside.


