Jump to:
We’ll show you how to insulate a log cabin, from walls to roof to floor, to help you get started.
Log cabins are a big step up from basic wooden garden rooms when it comes to wall thickness. The most insulated have solid 44mm logs (or more), which already help with heat retention. But even so, those alone may not be enough for year-round use, especially in the colder months.
This guide will walk you through the insulation steps, so keep reading. But if you’re in the market for a new one, check out our complete log cabins range.
There are log cabins available that come insulated if adding insulation sounds like too much work:
Choose Your Insulation Material
It comes down to how you’ll use the cabin, how much room you can spare, and how hands-on you want the job to be. Here are the most common options:
PIR insulation boards
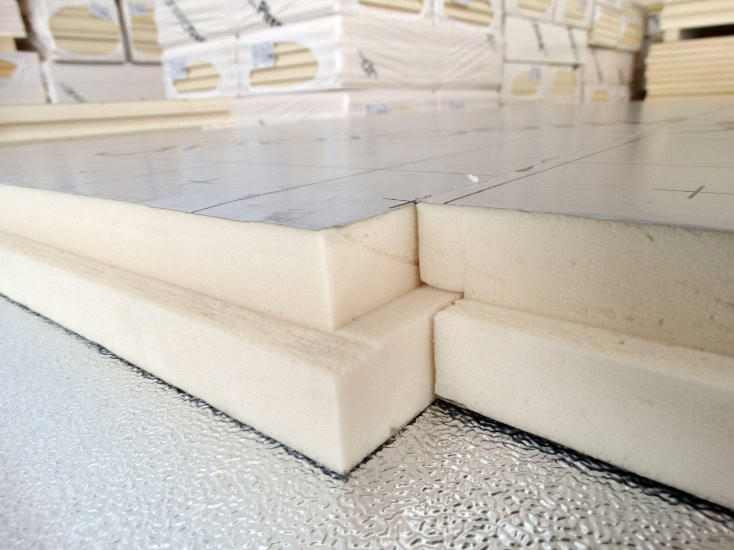
(Image Credit: Wikimedia Commons)
PIR insulation boards are among the most thermally efficient insulation materials available. They’re easy enough to cut and fit into walls and ceilings, but they do cost more than other types. You’ll also need to seal any gaps; otherwise, heat will still escape.
Mineral wool
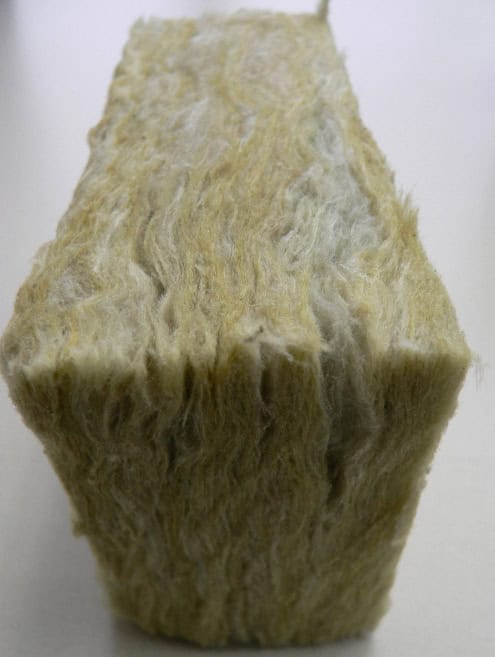
(Image Credit: Wikimedia Commons)
Mineral wool, like Rockwool, is easier to work with if your cabin has uneven spaces. It’s also better for soundproofing, suitable for an office or music studio. Keep in mind, though, that it takes up more space than PIR and can be messy to install.
Foil-backed insulation rolls
The lightest among the three is taped behind the cladding or under the roof. These rolls are good in milder weather or as an extra layer, but they don’t insulate as well on their own. You’ll get better results if you use them along with another insulation type.
What insulation thickness should you use in a log cabin?
As a general rule, 50mm is enough for occasional and seasonal use. A 75mm to 100mm space gives much better performance if you want to use the space year-round.
Note: The thicker the insulation, the more space you lose inside. Choose what works best for comfort and how you plan to use the cabin. However, the material conductivity makes a greater difference than thickness alone.
How to Insulate a Log Cabin Wall
The walls are where most heat is lost—start insulating from the inside, following these steps:
- Build the timber frame by fixing the battens vertically to the inside walls, 400mm to 600mm apart. If you’re using foil insulation, leave a small gap between the battens and the cabin wall for ventilation.
- Fit your choice of insulation to size and between the battens. There should be no large gaps; use foil tape or expanding foam to seal any small openings.
- Add a vapour barrier over the insulation if you need extra damp proofing. It resists moisture from passing through walls, floors, ceilings, or roofs.
- Finish with internal cladding, such as tongue and groove panels, over the frame. Paint or finish however you like.
How to Insulate a Log Cabin Floor
Cold floors mean cold feet. If you can lift the floorboards:
- Remove the boards and inspect for any signs of dampness or gaps.
- Fit insulation (e.g., rockwool or PIR boards) between the floor joists.
- Support the insulation with battens, netting, or straps fixed underneath.
- Put the floorboards back or install new flooring over the top.
If the floorboards can’t be lifted:
Lay rigid insulation boards directly over the existing floor. Then cover them with OSB or another solid surface before adding your final flooring. This may add some height to the floor, but it works if you can’t get underneath.
How to Insulate a Log Cabin Roof
For pitched roofs:
- Insulation goes between the rafters on the inside.
- Fix timber battens along the rafters, then cut your insulation to fit in between.
- Add a vapour barrier over the insulation if the cabin will be heated regularly.
- Cover it with cladding or plasterboard for a clean, finished look.
For flat ceilings:
You can lay insulation on top of the ceiling boards, but only if you can get to it from above. If not, the easier option is to fix the insulation underneath. Once insulated, cover it with cladding or boards.
Leave a small ventilation gap between the insulation and the roof surface. Doing so helps stop moisture from building up and causing condensation.
Check Your Log Cabin Warranty
Before you add insulation or make any changes to the structure, check the terms of your cabin’s warranty. Many manufacturers include clauses that void the warranty if the structure is altered. This includes fixing battens to the walls or cladding over insulation.
If you’re not sure what’s allowed, check with your supplier first than risk voiding the warranty.
Round-up
These steps are effective on all garden log cabins, and for the greatest insulation, be sure to pair them with 44mm log cabins.
Now, if you’re still searching for a unit, you may want to consider SIP garden rooms as an alternative. A log cabin with SIP, or structural insulated panel, has pre-insulated walls. You don’t need to add anything yourself!
Read this guide next to learn more: Insulated Log Cabins: Everything You Need to Know


