Jump to:
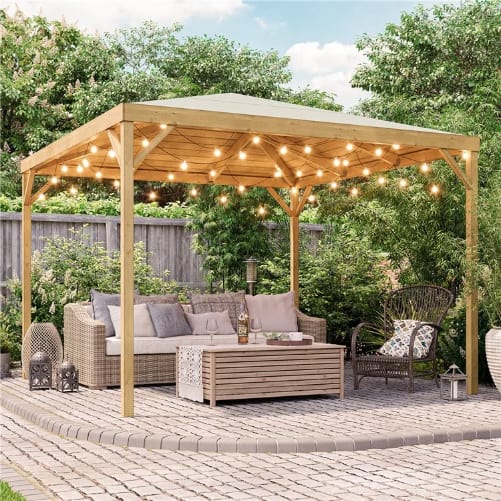
Imagine enjoying lazy afternoons or hosting gatherings from your very own 4×4 gazebo. Not only it makes a stunning addition to gardens, but it also offers a haven for outdoor leisures. Building your own is an entirely different adventure!
In this blog, we’ll guide you through the process; from planning to adding finishing touches, we’ve got you!
Planning and Preparation
Building a wooden gazebo is a gratifying endeavour. To ensure its success, proper planning and preparation are key. The first step is selecting the ideal location within your outdoor space. Consider factors like sunlight exposure and wind direction.
Next, determine the size and style of your gazebo to match your preferences and needs. Your options could be a quaint, cosy retreat or a spacious entertainment hub. Nevertheless, the decision will shape the entire construction process.
With the location and design finalised, gather all the necessary tools and materials. Having everything at hand will streamline the building process. Depending on the design, you’ll need lumber and screws, roofing materials and decors.
Finally, get any required planning permission from your local authorities. Doing so will help avoid potential legal issues down the line.
Building the Foundation
The base and foundation are the backbone of its stability and longevity. Several options exist, each with its own set of advantages and disadvantages:
- A concrete pad offers a sturdy and level surface but can be costly and labour-intensive.
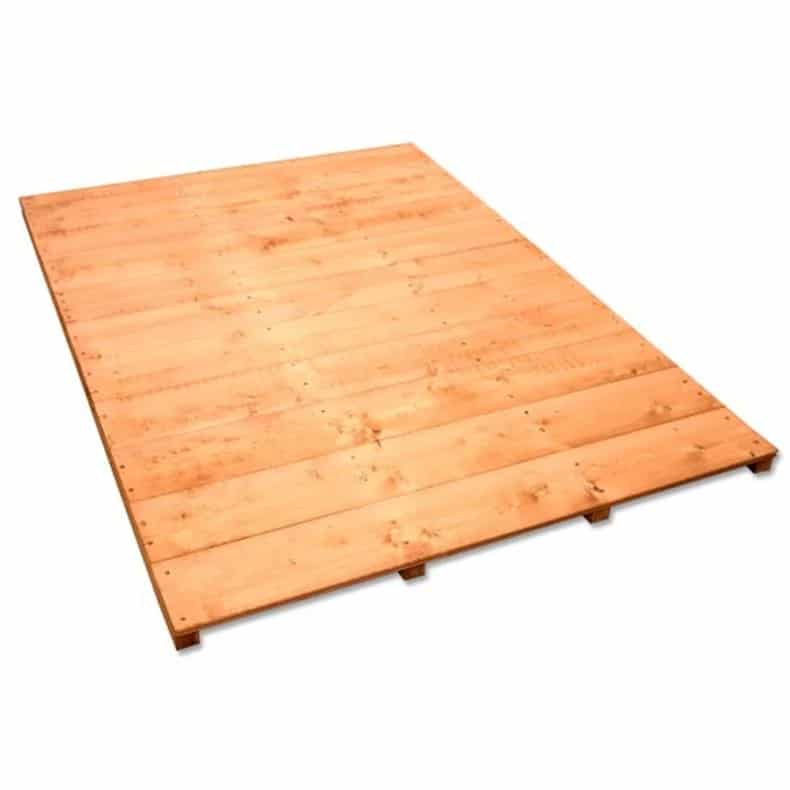
- A deck foundation provides an elevated and aesthetically pleasing platform. But it may require additional support structures. A great example is this tongue and groove shed flooring.
- A gravel foundation is cost-effective and relatively easy to install. However, it might not be as stable as other options.
To prepare and lay the foundation, start by marking your dream Sunjoy gazebo’s perimeter. Make sure to clear the area of any debris. Depending on the chosen type, dig footings, pour concrete, or install support posts. Ensure precise measurements and level the foundation to guarantee a solid base.
Framing the Gazebo
The frame serves as the underlying support system that holds the gazebo together. They ensure it can withstand various weather conditions and the test of time.
To construct, begin by positioning and securing the corner posts into the foundation. Then, attach the beams horizontally. It should connect the posts and form the outer perimeter of the gazebo.
Next, add joists perpendicular to the beams. This should provide support for the flooring and roof. Always use precise measurements and high-quality lumber to ensure the frame’s durability.
As you build the frame, take the time to check for levelness and alignment. Even minor discrepancies can impact the garden structure’s stability. But with a solid frame in place, you’re well on your way to creating a sturdy and reliable wooden gazebo.
Installing the Roof
When building a wooden gazebo, the roof style plays a vital role in:
- aesthetics
- functionality
- the overall design of the gazebo
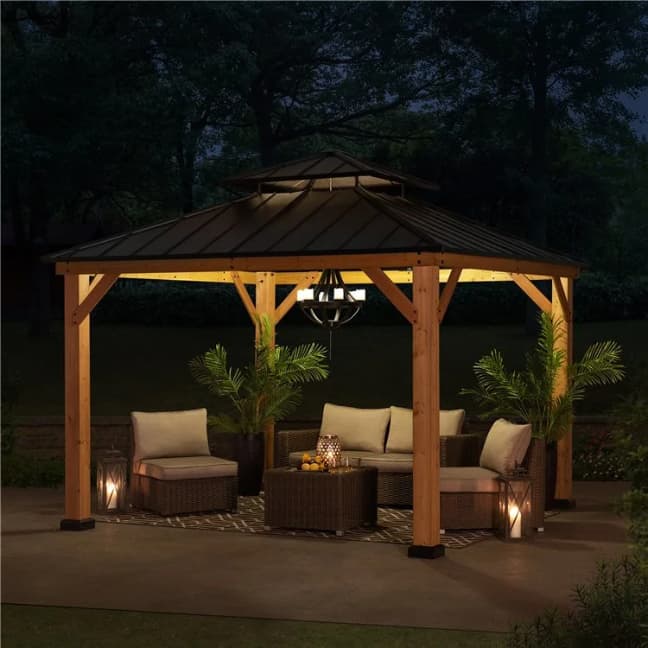
Two popular roof styles are the gable and hip roofs. The gable roof, with its triangular shape, offers a classic and timeless appeal. It’s a perfect choice for a traditional garden setting. In contrast, the hip roof exudes elegance with its four sloping sides. It’s well-suited for a more modern and sophisticated gazebo.
To install the roof, begin by attaching the rafters to the top of the frame. Make sure they are evenly spaced and securely fastened. Once the rafters are in place, add the sheathing. This additional will provide a solid base for the final roofing material.
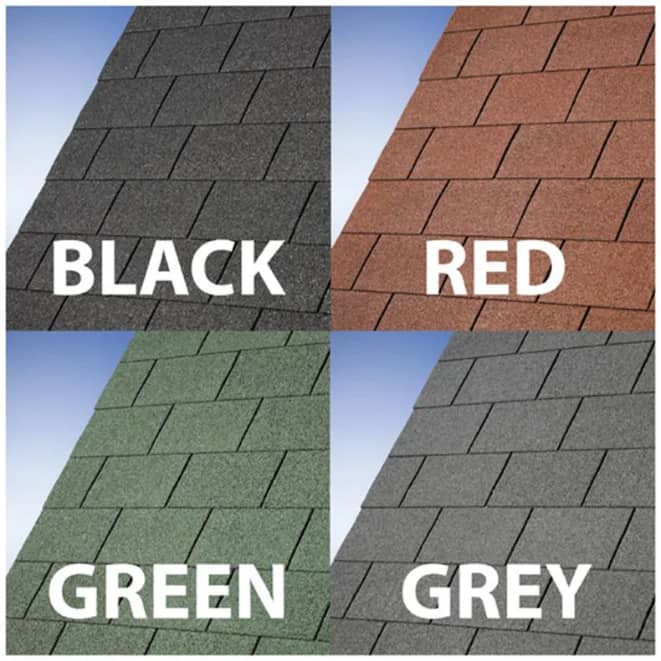
Top tip: Add felt roof tiles for extra protection against water penetration.
Adding Walls and Railings
Adding walls or railings to your wooden gazebo can elevate its functionality. Even better, they can add extra protection from the elements and create a sense of privacy. Walls can shield you from wind and rain. Railings, in contrast, provide safety and define the gazebo’s boundaries.
To install walls, begin by measuring and cutting the appropriate panels. You’ll want to make sure they fit snugly between the posts and beams. Secure the panels in place with screws or nails, reinforcing their stability.
For railings, attach posts to the corners and between sections of the gazebo. Then, affix the railings to these posts securely.
Finishing Touches and Enhancements
To achieve a polished and refined appearance for your wooden gazebo, there are two steps you can’t skip:
- sanding
- painting
Sanding smoothens any rough surfaces, creating a flawless finish. Meanwhile, painting allows you to personalise the gazebo. You can choose colours that complement your outdoor space and style.
Moreover, you can elevate the gazebo’s ambience by adding extra features. Installing benches provides comfortable seating for relaxation or social gatherings. Take this two seater wooden garden bench, for instance.
Decorative elements like planters, trellises, or lattice panels add a touch of elegance. Strategic lighting also creates a cosy atmosphere for evening use.
Round-up
Enjoy the fruits of your labour! May your wooden gazebo bring you endless moments of peace and happiness for years.
Get inspired by exploring our diverse range of gazebos for design ideas. Need guidance on painting? Check out our “How to Paint a Summer House?” guide. Elevate your outdoor experience year-round with additional garden shade! Find your ultimate garden lounging solutions at Garden Buildings Direct!


