Jump to:
One of the best things about a cold frame is that it gives you a great starting point for gardening and is easy to build! It’s a low-cost alternative if you can’t fit a standard-sized greenhouse or you’re on a budget and want to DIY. Refer to this guide for step-by-step instructions.
Cold Frame + Steps to Make One
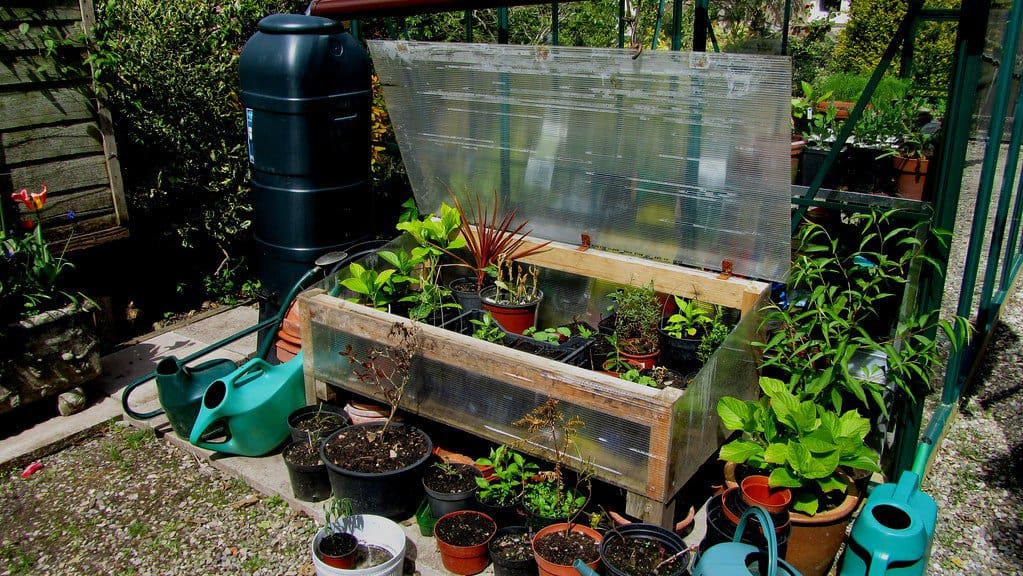
Before we get straight into the actual building steps, let’s define what a cold frame is. A cold frame is a box with an open bottom and a transparent lid — usually made of glass, acrylic, or a plastic sheet. One side is taller than the other to capture the sun’s rays, and the other is for shedding rain, snow, and other debris. The overall purpose is to allow plants to grow through colder seasons; despite the name, they keep plants warmer.
This greenhouse alternative is placed over a garden bed, with the low end facing south to maximise sunlight. Cold frames are ideal for starting seedlings earlier in spring, carrying on cropping vegetables well into winter or hardening off tender plants such as chillies in early summer.
Now, onto making one!
Step 1: Build the lid
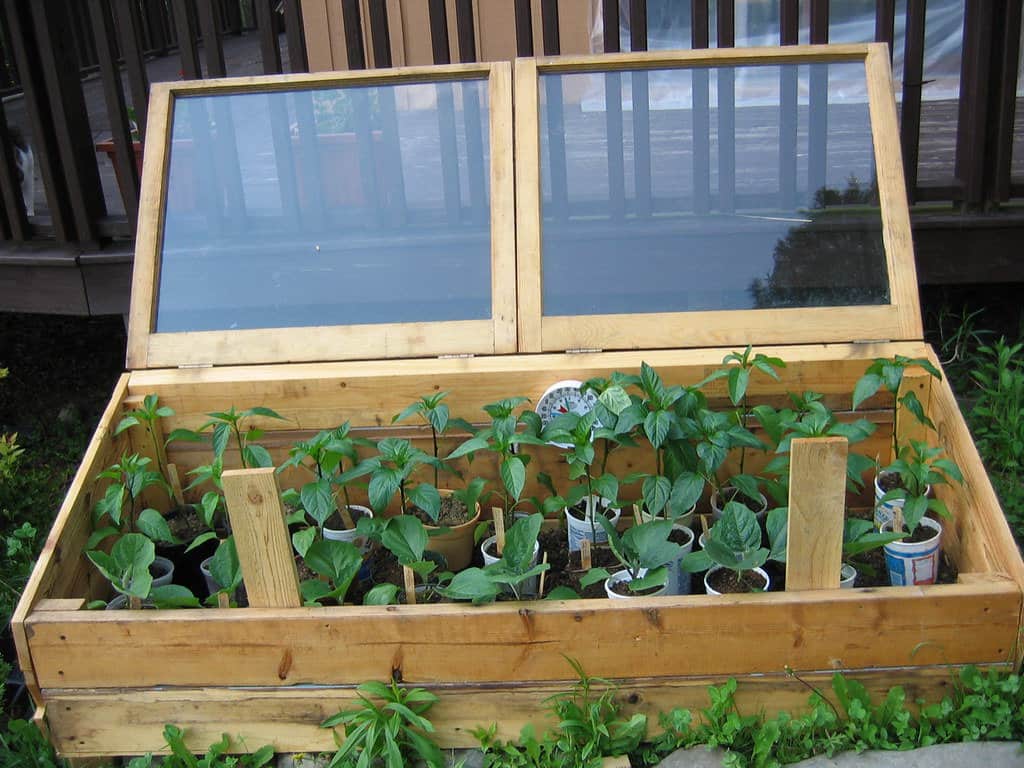
The lid is a crucial part of the cold frame, as its window provides plants the sunlight they need to thrive. How small or large the lid is will also determine the overall dimension of the cold frame.
You can repurpose using old, salvaged windows if you want a small to medium-sized one or a transparent door for a larger one. If you can’t find these, opt for a sheet of glass or twin-wall polycarbonate, but make sure they’re secured to a wooden frame to keep them stable and prevent them from breaking.
Prepare strong hinges to fix the lid to the frame (which will be the next step). Feel free to add handles if you wish!
Step 2: Set up the frame
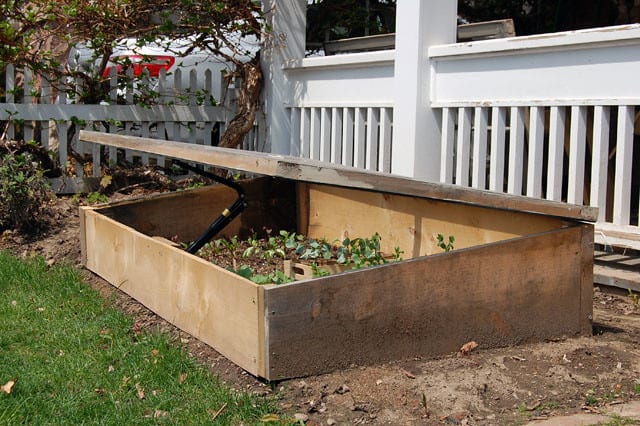
The frame is where the lid will sit. You can use pallets, pressure-treated lumber, or any boards you have available as long as it’s durable enough to withstand the outdoor conditions. Cut the lengths to match the dimension of the lid/s, with the back one board higher than the front to create a slope.
For instance, use three boards at the front and four at the back. Use seven shorter boards for the sides, with the seventh board cut in half diagonally to create two identical triangular boards, one for each side, to match the slope.
Screw the boards to four vertical corner posts to align with the height of the front and back boards. If you want to prop open the lid on sunny days, prepare at least two battens on different lengths.
Cold frame size reference: If you have a 4×8 raised garden bed, a 4×4 cold frame will nicely fit over half of it. This size is still small enough to be moved and stored as needed. Make sure to take measurements of your bed to fit your frame and lid accordingly.
Step 3: Put them together
You’ll need a screwdriver and some wood screws to put the lid and the frame together (and possibly a drill depending on how tough the wood is). Follow these steps to get started:
- Screw the side boards to their corner posts, using two screws at each end of every board.
- Do the same thing for the front and back boards to their corner posts.
- Your frame is now complete and ready for the lid! Place the lid on top, making sure it lines up with the back of the frame, and screw on the hinges. You may need extra hinges for support if the lid is long.
- The only thing left is to attach the lid. Install a short one at the front and a longer one on the side, inside the frame. Make sure they can swivel so you can prop the lid open at different heights. Adding handles to the lid is optional.
There you have it — your cold frame is set up and ready to use! Check out these ‘5 Best Plants To Grow In Your Greenhouse’ that you can also grow in your mini version growhouse. If space allows, you can fit in a small potting shed or a standard garden shed to keep all your gardening essentials in one place.


