Jump to:
Log cabin exteriors are admired for their natural charm, with their distinctive interlocking corners, inviting impression, and textured surfaces that showcase the beauty of timber. Most garden log cabins are built from strong wood species like cedar, pine, or spruce – materials that give them durability and character. Yet despite this strength, knowing how to protect log cabin wood is essential. Exposure to sun, rain, and pests can quickly compromise these features, turning what makes your cabin appealing into potential vulnerabilities.
Why Protecting Log Cabin Wood is Important
Left untreated, wood is vulnerable to the elements and can quickly deteriorate. Protecting your cabin’s exterior helps safeguard your investment and keeps it looking its best for years to come.
Treating your log cabin exterior safeguards it against the relentless forces of nature. Weathering elements can lead to discolouration, warping, and decay over time. Additionally, pests like termites and wood-boring insects threaten the log’s structural integrity.
Moisture damage is one of the biggest threats to outdoor timber. Rain and lingering humidity can seep into untreated logs, softening the fibres and encouraging rot, mould, and fungi growth
Insects and pests also seek out untreated wood. Termites, beetles, and other burrowing insects can compromise the strength of your cabin if the timber isn’t sealed and maintained.
Over time, UV exposure can also leave timber more brittle and a faded look. It’s important to choose a treatment solution that offers UV resistance.
With proper timber treatment and maintenance regimen, log cabin owners can mitigate these risks. Doing so also ensures longevity, allowing you to enjoy the beauty of your log cabin for years!
Preparing for Treatment
Nobody wants to start a job and then realise they’ve forgotten something they need. Here’s a checklist to help you get it done without wasting time:
- Prioritise your well-being by wearing appropriate safety gear. This includes gloves, safety goggles, and a dust mask. Equipping yourself with these will protect you from potential hazards during treatment.
- Gather cleaning tools like a stiff-bristled brush, mild detergent, and a bucket. These will help remove dirt, grime, and any previous coatings from the log cabin exterior.
- Assess the condition of the logs and identify any areas that require repair. Have replacement logs or wood filler on hand to address any damaged sections.
- Research and select the appropriate protective coating for your log cabin exterior. This may include wood stains, sealants, or paints.
Clean the log cabin timber
You should not apply treatment to dirty timber, otherwise you’ll have leaves and spiderwebs permanently stuck to the side of your building. Take these steps to clean it off properly,
- Begin by inspecting the exterior and removing any loose debris by hand.
- Use a stiff-bristled brush or broom to scrub the logs gently, loosening any embedded dirt or mould.
- Prepare a solution of mild detergent and water in a bucket.
- Dip the brush into the soapy solution and scrub the logs in circular motions, working from top to bottom.
- Rinse the logs thoroughly with clean water using a hose or pressure washer on a low setting.
- For stubborn stains, use a log cleaner specifically designed for wood surfaces. Follow the manufacturer’s instructions.
- Pay special attention to hard-to-reach areas and corners. Use a smaller brush or toothbrush if needed.
- Allow the logs to dry completely before proceeding with repairs or applying coatings.
Make sure to give attention to every nook and cranny. This will ensure the treatment process is carried out on a clean and prepared surface.
Repairing and Restoring
If you notice any damaged sections during the inspection, follow these steps:
- Begin by removing the affected logs using a pry bar or chisel.
- Inspect the underlying structure to ensure it’s in good condition.
- Measure the removed logs’ dimensions to determine the replacements’ size and shape.
- Obtain new logs that closely match the existing logs’ species, size, and texture.
- Cut the replacement logs to the appropriate length and shape.
- Fit the new logs into place, securing them with screws or nails.
- Use a wood filler (aka sealant) to fill any gaps or seams between the replacement logs and the surrounding ones.
- Sand the repaired area to create a smooth and seamless transition.
To maintain visual consistency, consider these tips:
- Choose replacement logs that resemble the existing ones; colour, grain pattern, and texture.
- Apply a matching wood stain or finish to ensure a uniform appearance.
- Allow the new logs to weather naturally. Or consider ageing techniques to blend them with the existing logs.
Discover more repair tips in our log cabin maintenance guide.
Choose your Timber Treatment
There are two main types of protection for timber, each providing equal protection but with different aesthetic benefits.
Stains

Wood stains penetrate the wood fibres. Such treatments enhance the natural colour and grain while providing protection. They come in various opacities, from transparent to solid.
Stain is the option to choose if you want a really ‘woody’ look to your cabin.
Paints
Paints provide the most coverage and colour options. They offer excellent protection but hide the natural wood texture and grain.
When choosing a coating, consider the desired look and level of protection. Transparent stains showcase the wood’s natural beauty but offer less protection. Solid stains and paints provide more protection, covering the wood’s appearance. Consider the climate, maintenance requirements, and personal preference when selecting.
Colour suggestion: Stain the walls a lovely dark brown shade (such as dark mahogany) but use white paint on the door frames, window frames and fascia boards.
Apply the Protective Coat to Preserve Log Cabin Timber
It is important to note that log cabins tend to settle over time, so if you are treating a new log cabin, natural shifts in the timber may occur that will cause unpainted parts to become visible later. This is particularly true around joints, seams, or the areas between the logs where the settling movement is most noticeable. You may need to go back after several months to inspect and reapply treatments to these newly exposed parts to keep your cabin’s exterior fully protected.
Whether you are using stain or paint, follow these steps to keep it neat:
- Cover the windows so you don’t get anything on the glass. Old newspaper is a good choice. Simply pin it in place with sticky tape.
- Put a cover on the ground beneath where you are painting, so you don’t ruin the look of the surrounding area. It might take a while to come off. Use a material that won’t move or tear easily.
- Start painting from the top. Use a brush on the wooden fascia of the roof gable, either following the direction of the woodgrain or using short vertical strokes. Leave to dry and apply multiple coats as needed.
- Paint the walls with a roller, starting from the top. Some people prefer to paint each log individually, but it is less time consuming to paint vertically. For an even, consistent look, you can also paint in sections, rolling down the wall in long vertical strokes to avoid streaks and achieve better coverage.
- Use a thin paintbrush to make sure there is treatment between the logs where they meet, eliminating any untreated spots from showing.
- Once the walls are dry, cover the areas surrounding the windows and paint the window frames (unless you have uPVC). A colour which contrasts from the wall colour is a popular choice.
- For painting the doors, you can remove them from their hinges, paint and then mount them back onto the cabin if this makes the task easier. However your cabin will be without doors while they dry. Make sure to cover any windows built into the doors.
Maintenance Tips for Longevity

To ensure the exterior remains in excellent condition for years, follow these tips:
- Regularly inspect the log cabin exterior. Ideally, at least once a year, to identify any signs of damage, decay, or pest infestation. Promptly address these issues to prevent further deterioration.
- Keep the logs clean by regularly removing dirt, dust, and debris. This helps prevent moisture buildup and maintains the cabin’s visual appeal.
- Trim back any overhanging branches or vegetation near the log cabin. This reduces the risk of moisture accumulation and pest infestations.
- Periodically reapply protective coatings, such as stains or sealants. This will help maintain the integrity of the wood and enhance its resistance to the elements. Follow the manufacturer’s guidelines for recommended reapplication intervals.
- Keep the land around the log cabin well-drained. Don’t allow rainwater to pool.
- Keep shrubs and mulch at least three feet away from the cabin to minimise moisture and pests.
Round-up
Treating your log cabin exterior is essential for preserving its natural beauty and protecting it from the elements. By following these steps, you can ensure it stands strong and retains its charm for years to come.
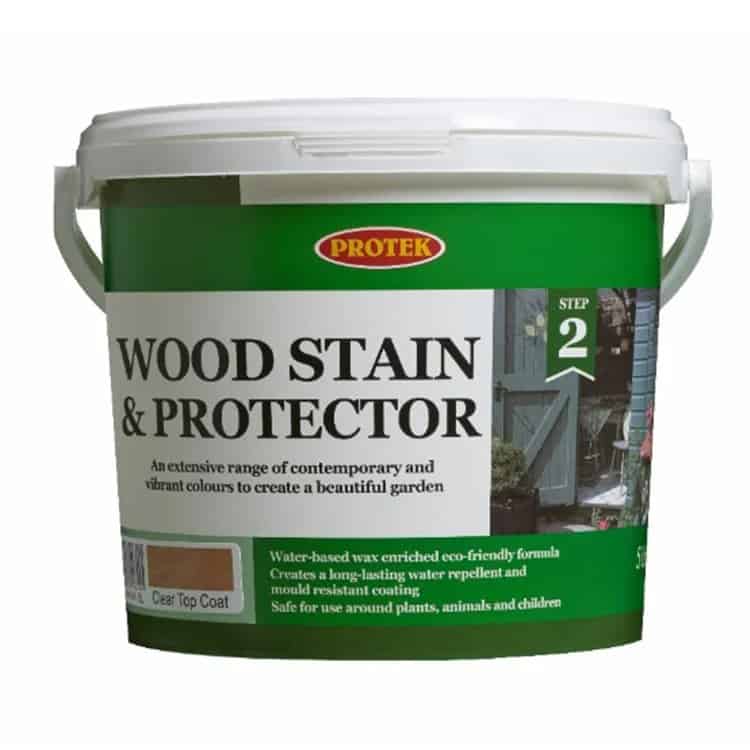
Looking for quality treatments? Shop our available shed treatments that also work well with garden log cabins!
Now, what about painting your cabin structure?
Can I Repaint with a Different Colour?
Yes. Just lightly sand the wood first to make the fibres ready to receive new paint.
If you are changing from a dark colour to a light colour, you might need to remove the old paint first. If using paint stripper, make sure it's safe for wood.
My log cabin has gaps. What should I do?
It’s normal for small gaps to appear in a garden log cabin over time due to the natural movement of timber as it expands and contracts with the weather. To fix this, first check that the logs are seated correctly and haven’t shifted. If the cabin has settled unevenly, gently tap the logs back into place with a rubber mallet. For persistent gaps, use a suitable timber filler, draught seal, or expansion foam designed for outdoor use. Regular maintenance, such as tightening fixings and checking the roof and base for movement, will also help keep the structure solid and weather-tight.
Should I treat the inside of my log cabin?
Yes, treating the inside of your garden log cabin is recommended, especially if you plan to use it as a workspace, gym, or leisure room. While the outside treatment protects against rain, sun, and general weathering, the inside can also be affected by moisture and temperature changes. Applying a clear wood preservative, varnish, or breathable treatment helps prevent mould, mildew, and warping. If you’re insulating or lining the cabin, treating the timber first ensures long-lasting protection.


