Jump to:
Not every garden is flat, and slopes are common when building a shed. An uneven surface can cause problems during installation. Fortunately, there are straightforward ways to deal with this. Here’s how to give your shed a flat and level base when your garden is sloped.
Common methods include using foundation blocks or building a small retaining wall. The sections below explain how each works.
How Can I Create a Stable Shed Base with Foundation Blocks?
Foundation blocks can be moved or added as needed, making them suitable for sloped ground. You’ll need:
- Masonry blocks: The main support for your shed.
- Measuring tape: For accurate measurements and alignment.
- Spade: To dig and level the ground for the blocks.
- Treated timber planks: Optional perimeter frame for extra support.
- Marking posts: To mark the block layout and keep spacing correct.
- Pea gravel: Provides drainage and a solid base for the blocks.
Step 1: Measure and mark the area
Figure out how big your shed needs to be. Use a measuring tape to get the length and width. Then, put wooden posts at the corners and stretch a string between them. This will give you straight, even lines.
Step 2: Prepare the ground
For this next step, grab a spade or shovel to dig out the top soil layer so the surface is flat and level. Clear away any rocks or debris that could get in the way of the foundation blocks.
Dig deep enough to fit the blocks. Once it’s all cleared, mark out four rows where the blocks will sit to make placing much easier.
Step 3: Dig and fill
Mark out the holes, then dig them about two inches wider and at least six inches deeper than the blocks. This gives you room to position the blocks properly. Fill each hole with pea gravel and press it down as you go. The gravel helps keep the blocks level and improves drainage.
Step 4: Place timber planks
Lay the treated timber planks along the rows of blocks. Check they’re flat with a spirit level, and adjust the blocks if needed. The planks spread the weight evenly across the base, so getting them level is key for a strong, stable shed floor base.
Step 5: Build the shed base
With the ground levelled and the timber planks in place, start placing the base components on top, working from one side across to the other. Secure them to the timber panels with screws.
Your shed base is now complete, giving you a strong, stable foundation for your garden storage shed that will last for years.
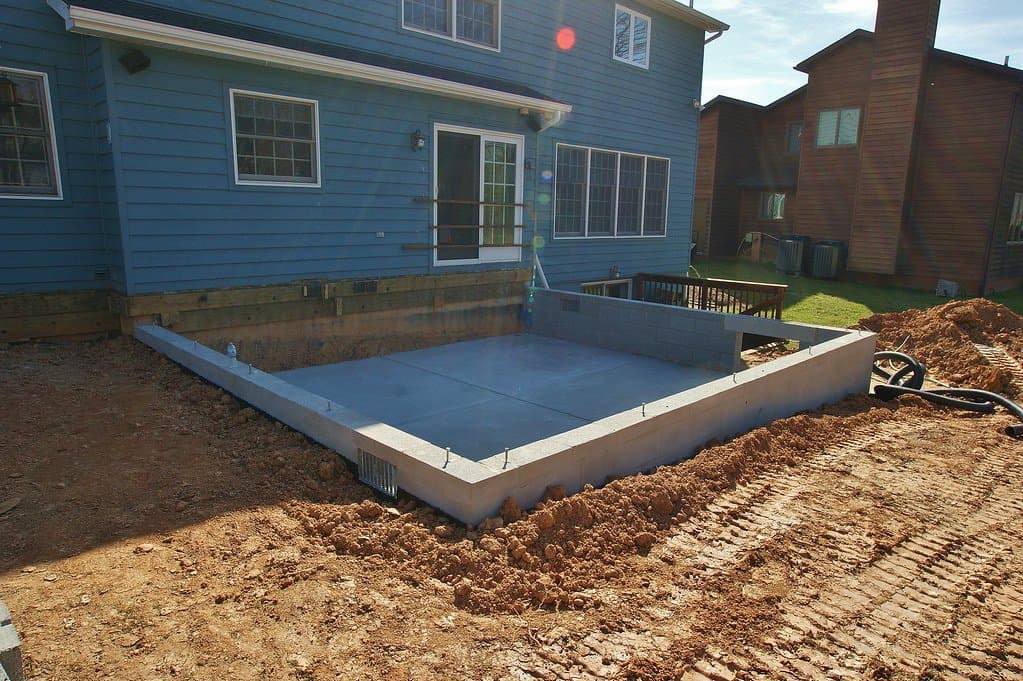
How to Build a Level Shed Base on a Slope Using Retaining Wall?
Constructing a shed base on a slope using a retaining wall is a great option. This method involves the use of a retaining wall to support the steeper ground. It’s a straightforward process that even beginners can tackle successfully.
Here’s what you’ll need:
- Shovel: Used for digging into the slope and removing soil to create a level surface for the shed platform.
- Wheelbarrow: Helpful for transporting materials such as soil, bricks or blocks, and cement.
- Building bricks or blocks: Primary materials used to construct the retaining wall. They provide support and stability to the slope.
- Cement: Used to bind the bricks or blocks together, creating a solid structure for the wall.
- Wall solution: This could be the materials or tools needed for building the wall. For instance, mortar or wall reinforcement solutions.
Step 1: Prepare the slope
Begin by excavating the soil from the slope to create a flat surface, ensuring the ground is level for the base. Use the excess soil to fill any gaps or balance out uneven areas created by the excavation.
Step 2: Create a solid base
Compact the soil thoroughly to create a firm and level platform for the shed base. Alternatively, you can use gravel to achieve the same result. If using gravel, ensure it is compacted properly to prevent shifting over time.
A useful tip is to place filter fabric over the compacted soil before adding gravel. This will help prevent soil from seeping into the gravel layer, maintaining stability.
Step 3: Install drainage pipes
Install drainage pipes along the retaining wall for water drainage. This stops water from building up behind the wall, which could damage it or the base. Good drainage also keeps the wall strong and prevents rot, particularly for wooden sheds. It’s a smart way to make sure your wall, the base and structure last a long time.
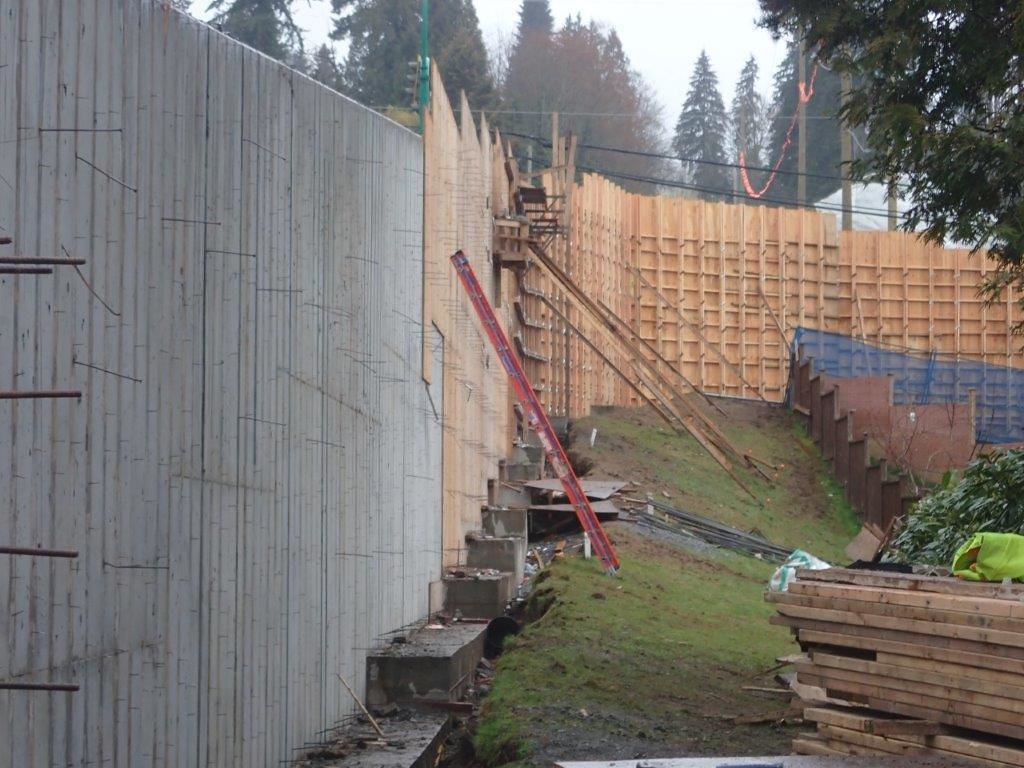
Step 4: Build the retaining wall
Begin building the retaining wall using the chosen blocks or bricks. Use a string as a guide along the side of the blocks to ensure straight alignment.
Applying a wall solution to the retaining wall serves to waterproof it. It helps prevent water damage that could weaken the wall over time. For intricate wall designs or large walls, it’s wise to consult a professional. They can give you advice on ground stability and your base structure.
Tip: Position your shed a distance from the retaining wall. This allows enough space for easy manoeuvring and maintaining all sides of the shed.
Round-up
Building a shed base on a slope is doable with either foundation blocks or retaining walls. Foundation blocks are good for gentle slopes, while retaining walls are better for steeper ground, like hillsides.
Look at your site and what you need before choosing a method. The type of base you pick matters for a stable shed, and the same approach can apply to log cabins or summer houses.
I hope this guide helps you choose the right method for constructing your shed base on a slope. You can carry on from here using the buttons below if you’re planning to get a new shed:
Next on your reading list: Building a Shed Base: A Step-by-Step Guide


