Jump to:
Garden sheds are more than just mere storage buildings. With enough DIY equipment, one makes a great workshop; or a set of musical instruments and voila – a garden studio.
But these activities are rather the silent type. Even when doing them inside the shed, the noise can escape, and the neighbours won’t be pleased.
Have it soundproofed, and you can be as loud as you want and spare their ears. Use power tools or machinery early in the morning. Have a band rehearsal until the late evenings.
Whatever the reason, here’s your shed soundproofing guide – and a few tips as a bonus!
1. Gather the tools
Like any building project, soundproofing your shed will be a lot easier if you have the right tools on hand. The equipment needed will depend on the methods you intend to apply.
The following are some of the common tools required:
- Caulk gun
- Electric drill
- Electric screwdriver
- Level
- Measuring tape
- Straight edge
- Taping knife
- Utility knife
2. Prepare the materials
Hiring a professional ensures the best finish possible. But doing it on your own, especially if your budget is tight, is reasonable and shouldn’t be difficult.
As for the materials, you can opt for over-the-counter DIY products, such as:
- Acoustic foam and fabric panels. Keep outside noise out of the room and improve the sound quality inside.
- Breather membrane and vapour control layer. For moisture and humidity control.
- Cavity open cell insulation. Provides acoustic absorption and thermal resistance.
- Drywall, plasterboard & particle board. Needed when applying the principles of finishing, density, mass, decoupling and dampening.
- Drywall screws. For fixing drywall and other panelling to the existing shed frame.
- Extra glazing and plastic sheeting. Optional – if you decide to replace it with higher-performing glazing units later.
- Floor coverings, membranes, acoustic underlay, mats and carpets. For soundproofing the shed flooring.
- Plywood. For adding mass and density as well as stiffness to the structure.
- Rubber seals & gaskets. A must for doors and window frames.
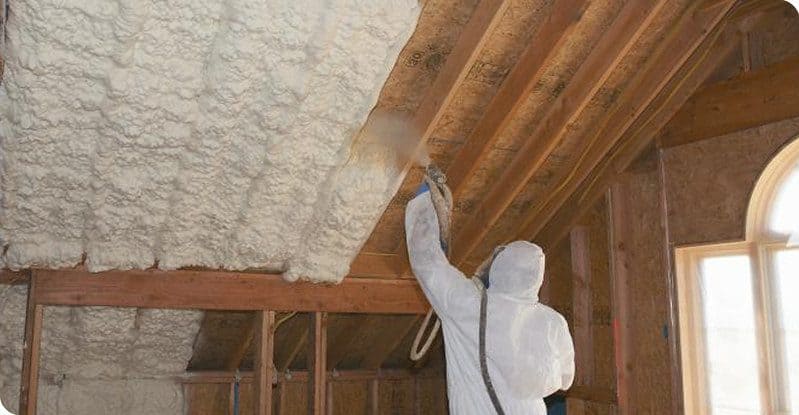
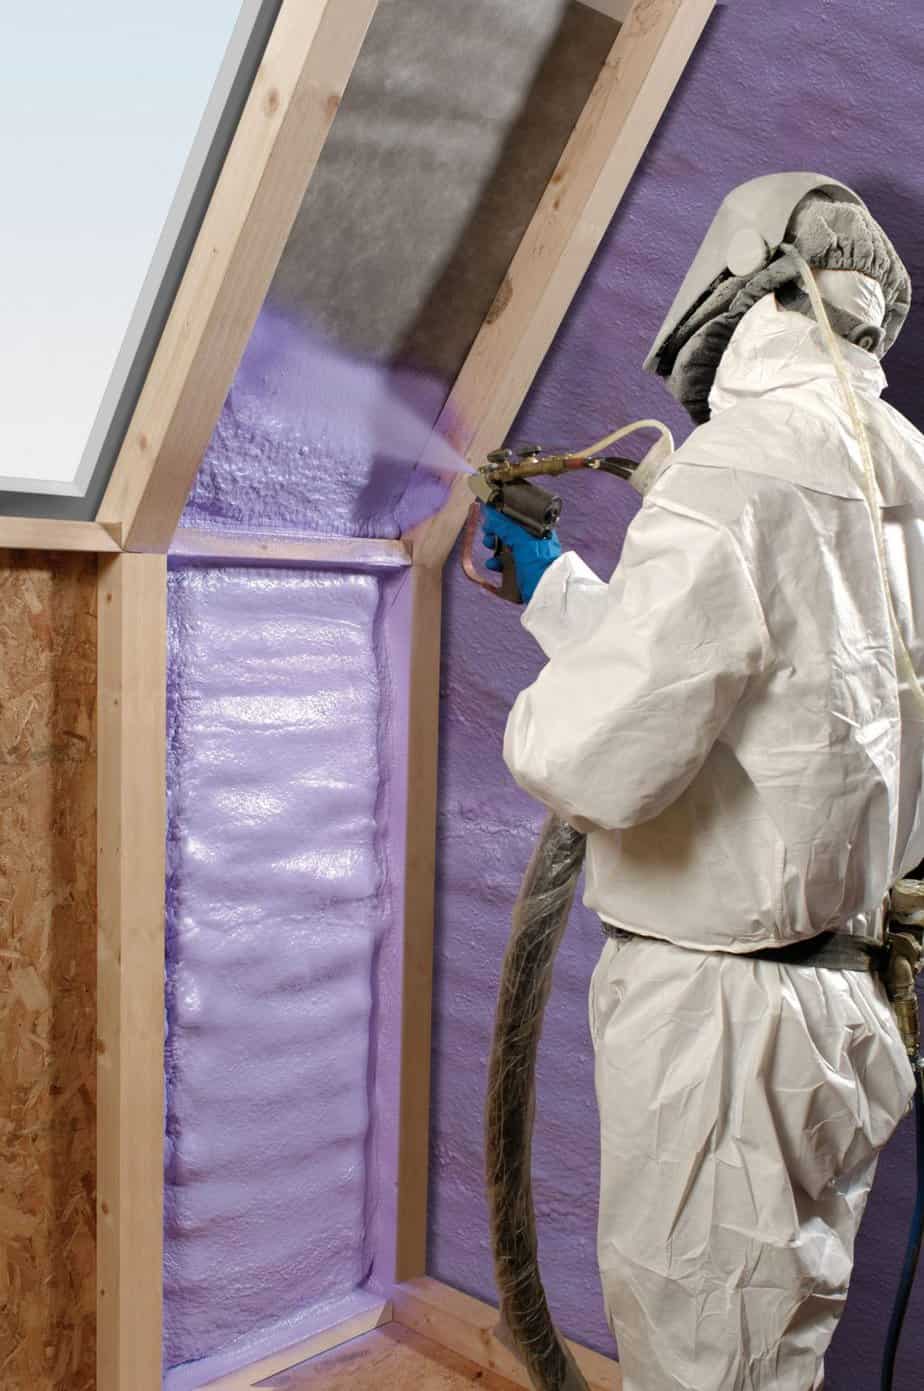
3. Soundproofing the walls
The walls are the determining factor for an effective soundproof shed. That said, you’ll need copious amounts of insulation.
Most musicians use acoustic foam to soundproof a room. Alternatively, you can opt for regular shed insulation to save money.
Take your insulation and tack it to the walls inside your shed. Next, mount the plasterboard onto the beams of the shed wall. This will add another layer of soundproofing protection.
(Image Credit: Wikimedia Commons)
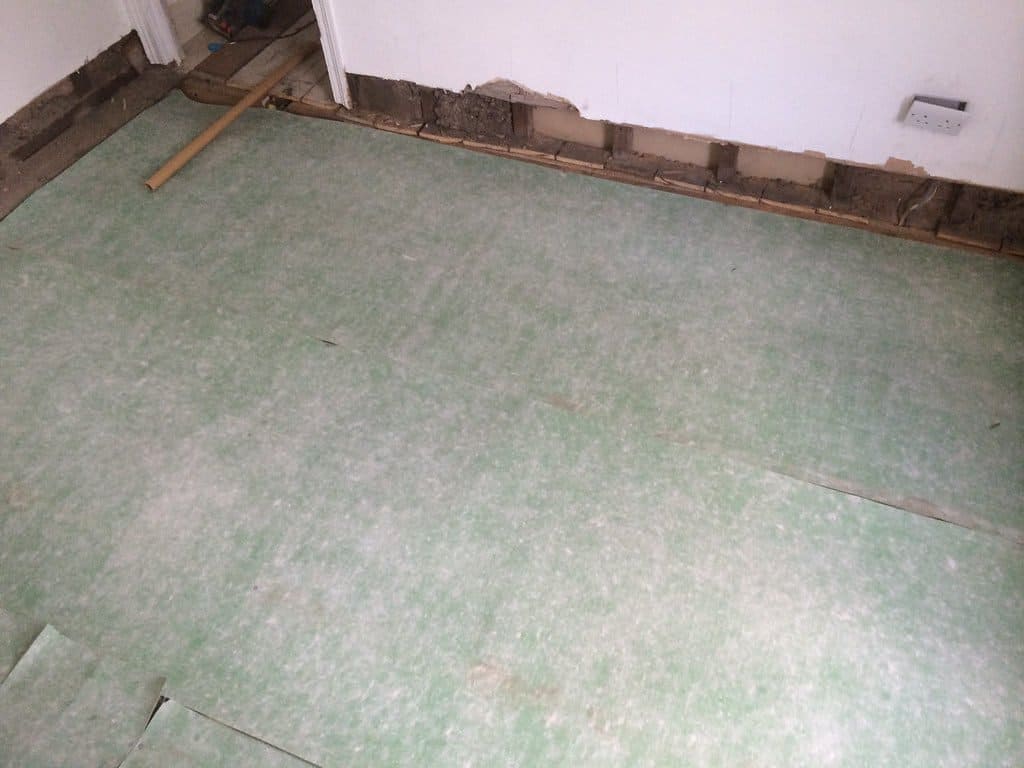
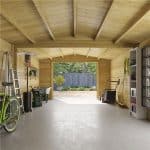
4. Tackle the flooring
Oddly enough, sound can also escape through your floors. You can tackle this issue by adding a carpet; old ones will do.
The carpet will help reduce the vibrations inside the shed and thus trap escaping sound. Rubber gym mats are also an excellent option and better insulators than used rugs.
Note: You may have to do a bit of cutting to ensure the mats cover the entire floor length.
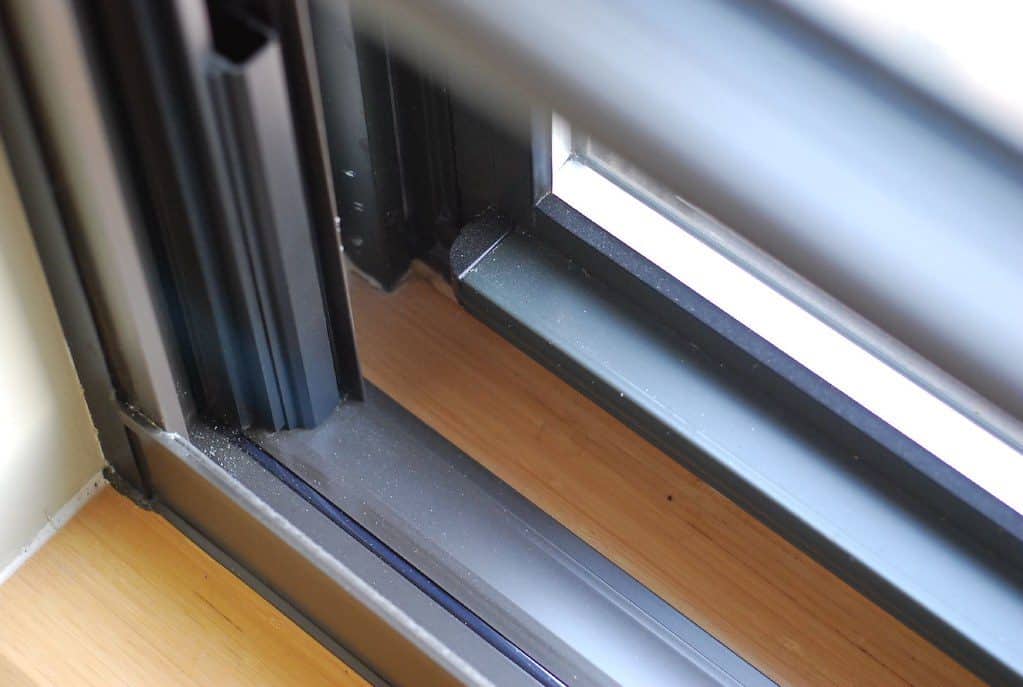
5. Don’t forget the windows
Windows can be a huge culprit of sound bleeding out of your shed. This is especially the case with older units which often have fairly thin glass windows.
The thinner the glass and frames, along with the more ill-fitting, the bigger the problem. You may consider replacing them with thick glass or an acoustic one which is cheaper.
Better yet, go for the plastic sheet method; you can get them from your local DIY store. This trick will essentially “double-up” the glass and make it much harder for sound to escape.
Lastly, ensure all rubber seals around the windows are in good condition. If not, replace them or reseal them completely.
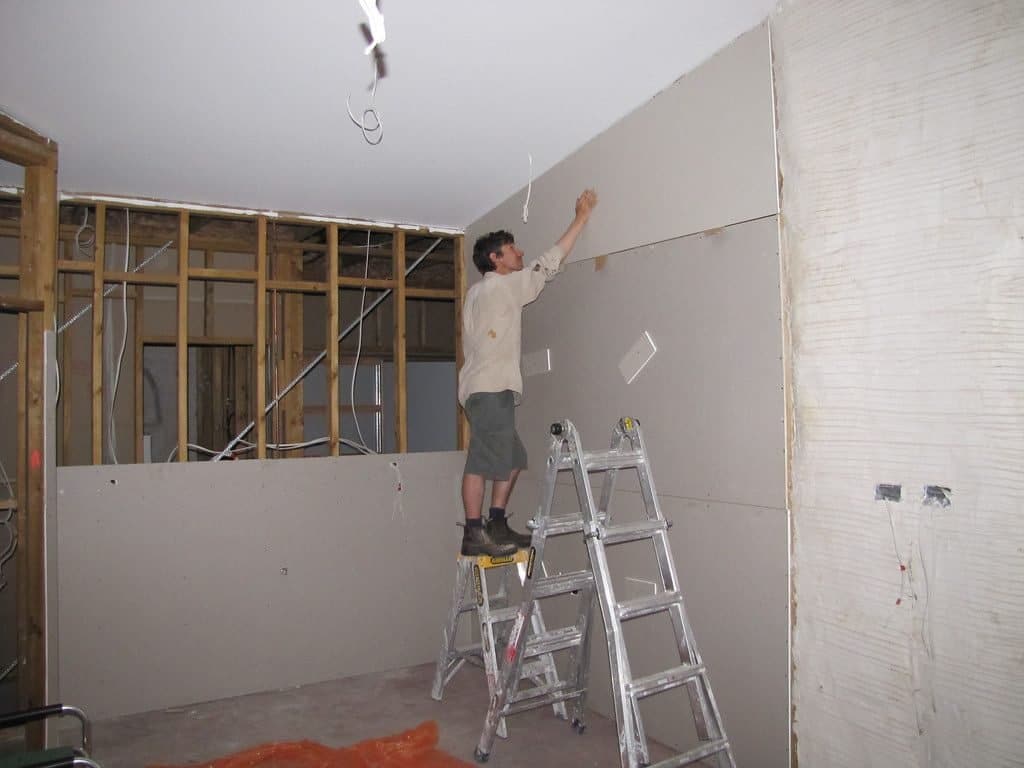
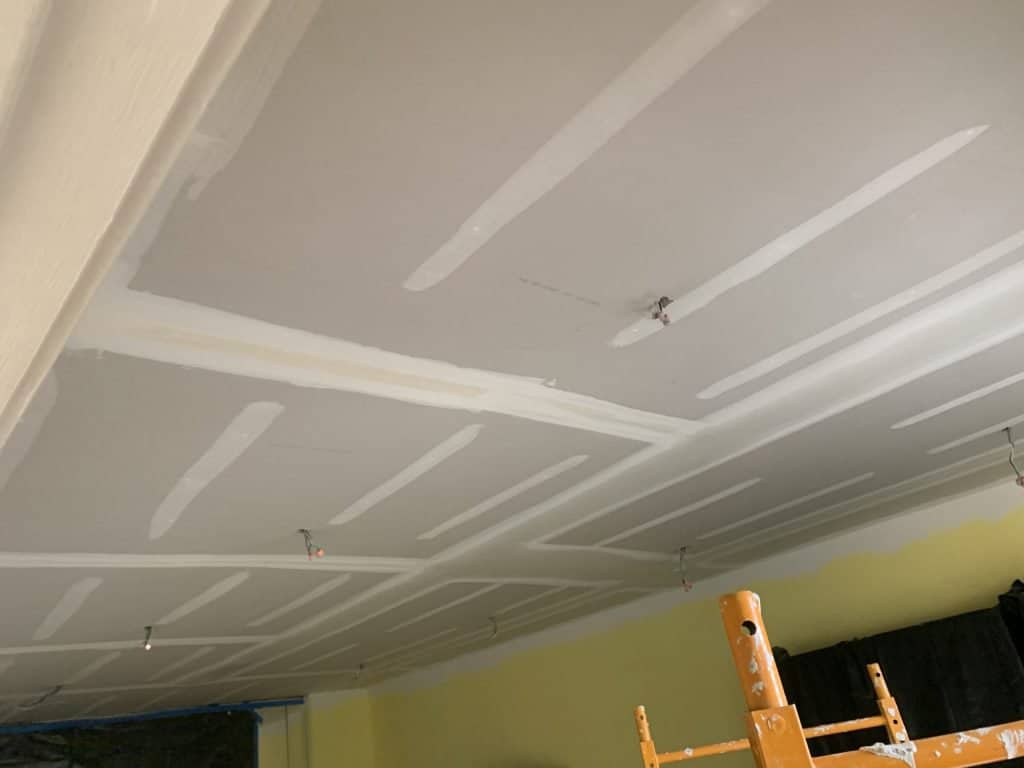
6. Up on the roof and ceilings
Roof and ceiling insulation is another important part of the soundproofing process. Avoid using plasterboard this time around and use plywood instead.
The timber material is much lighter and will do a fantastic job keeping the insulation in place. As for the ceiling, you can insulate it by applying the same insulation foam used for the shed walls.
Once in place, cover the ceiling’s surface with high-grade material. An Acoustiblok 3mm Isolation Member, for one, will make a difference.
(Image Credit: Wikimedia Commons)
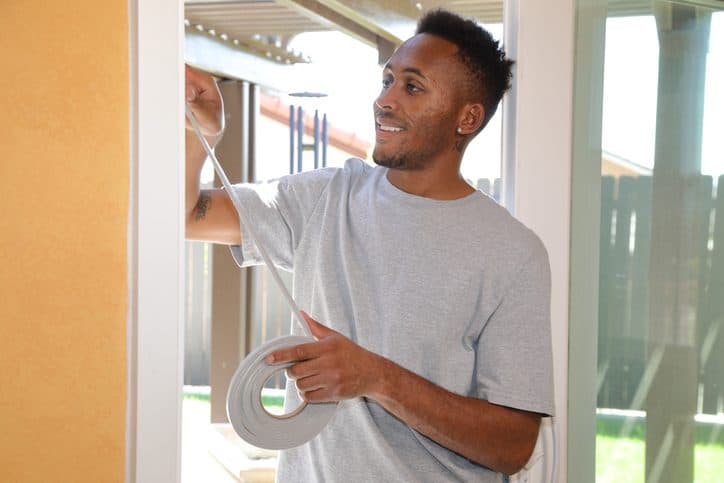
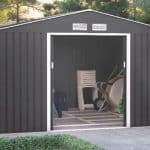
7. Never skip the doors
The door is actually the number one culprit of escaping sound from your shed. Most aren’t equipped with rubber seals, and sound can bleed out from the tiny gaps between the door and frame.
The good thing is that this fix won’t be as expensive as the others. You can soundproof your doors by attaching plastic sheeting around the door itself.
That way, when it shuts, it’ll cover the gap between the door and the frame. You may also add a rubber seal which will trap and prevent any sound from escaping out to your neighbours.
Don’t forget about your key locks, too, as noise can escape through these as well. Get and install covers to trap in as much sound as possible.
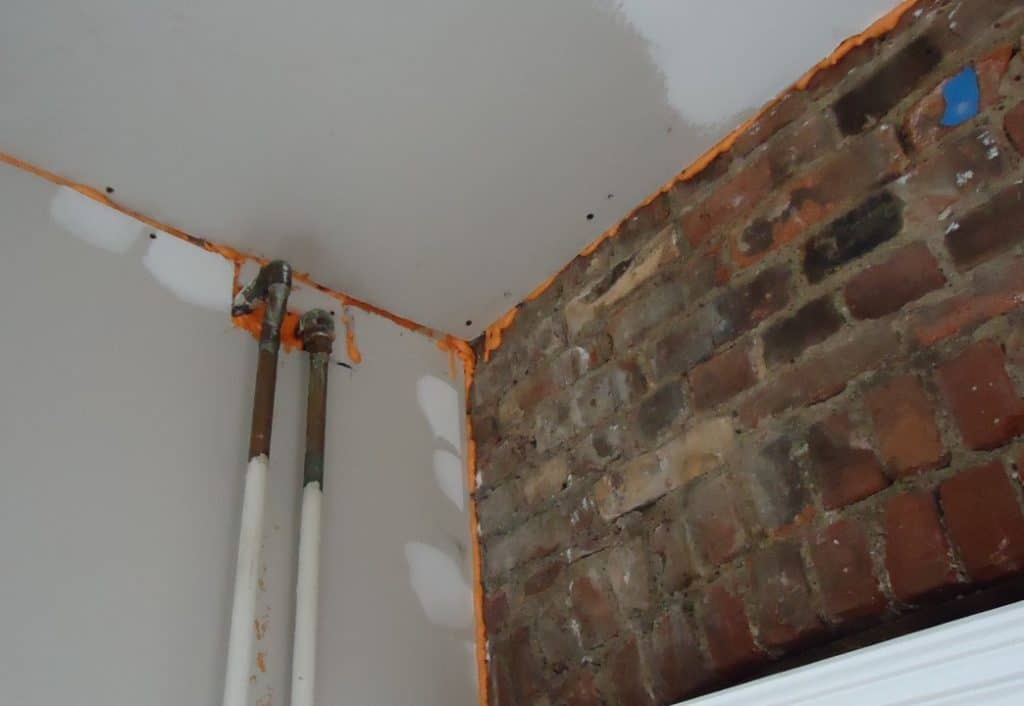
8. Seal the gaps
Seal all gaps from the interior to the exterior, no matter how small or insignificant they may seem. Remember, sound manages to pass through the tiniest of crevices.
Overlooking this process can result in jeopardising the effectiveness of the entire soundproofing. Check any cracks that may have been missed, and then recheck every part of the shed’s structure.
This is especially important after installing drywall, plasterboard or plywood. In case any pipes or cables are passing through the walls, make sure to seal those areas, too.
Sealing gaps are best done by using a professional-grade flexible acoustic caulk. A high-end quality will remain effective for many years to come.
(Image Credit: Wikimedia Commons)
9. Consider ventilation
It’s common to soundproof a room from the walls to ceiling, only to forget about the ventilation. Air needs to travel through the vents, and the sound shouldn’t.
If you’re going to make the soundproofed shed airtight, good airflow is crucial. Not only will people need air to breathe inside but also the equipment used.
Consider the size of your shed interior and install enough inlet and outlet vents and fans. When selecting a fan, find one with a silent feature.
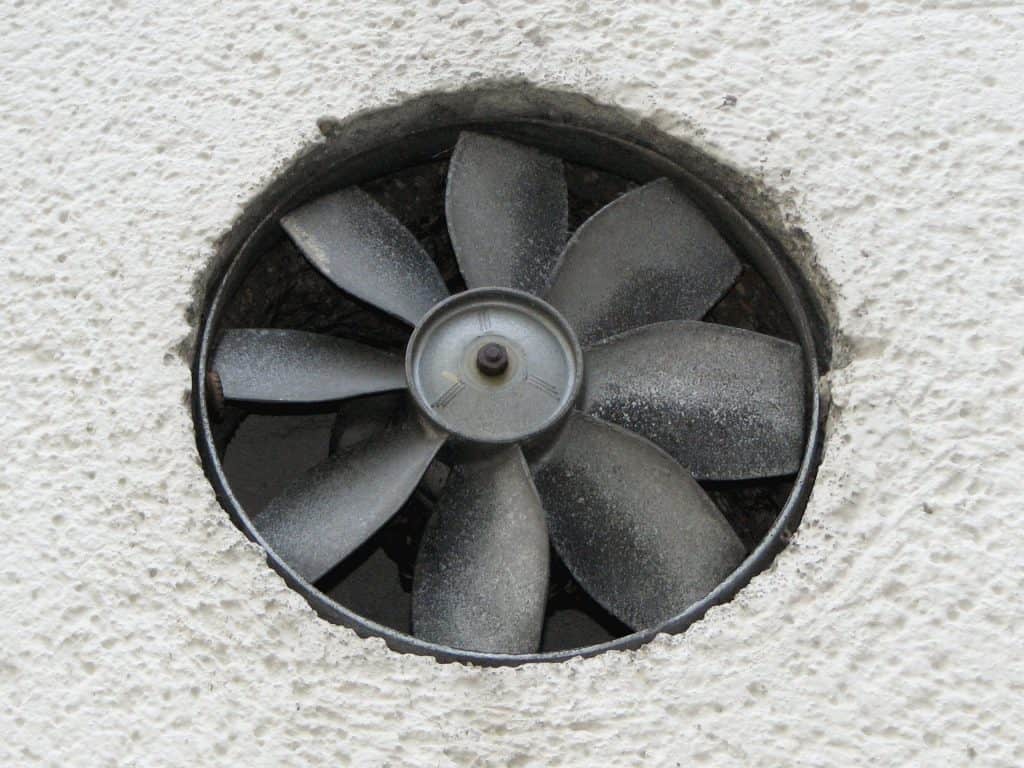
(Image Credit: Wikimedia Commons)
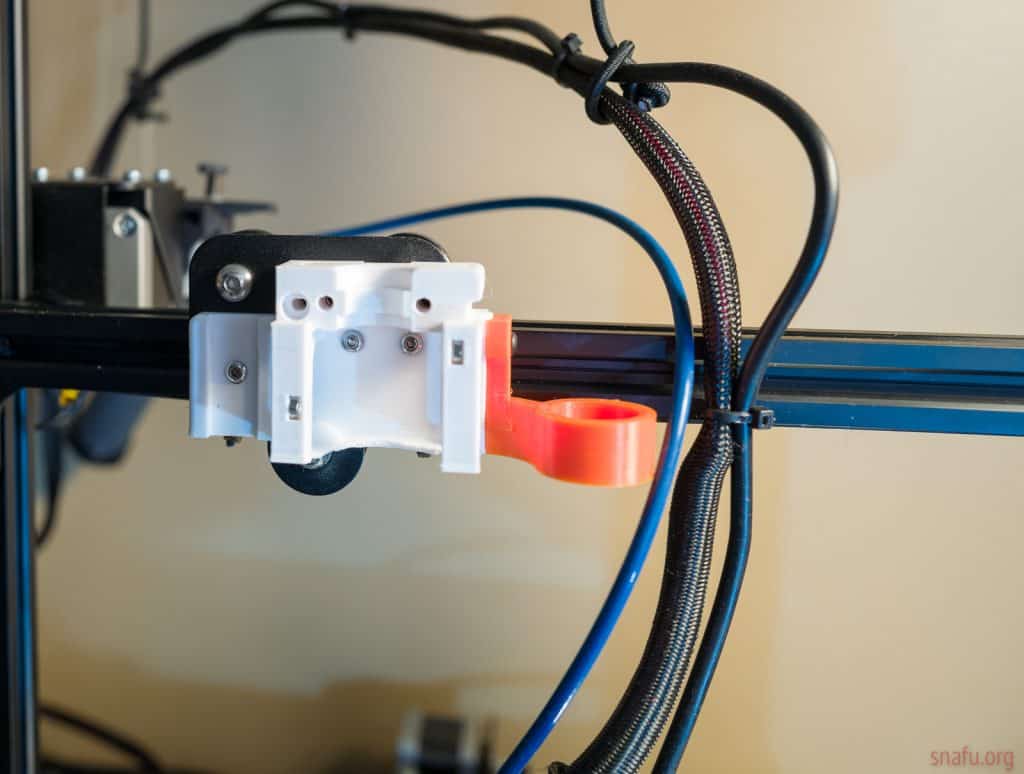
10. Account for the wiring and electronics
The wiring needs to be done before the insulation or the soundproofing process. Plan and account for all power, cabling and lighting requirements.
Holes need to be drilled into the frame, and wires run throughout the walls. Ensure all areas where cables go through the soundproofing material are tightly sealed.
You don’t want to go back and cut up or drill into your soundproofing when you miss one or two. This will provide needless obstacles for you and the electricians to work.
Round-up
There’s no 100% guarantee you’ll be able to soundproof your shed, let alone if you’re a novice. Even so, it’ll lessen the noise levels by leaps and bounds, and that’s way better than nothing at all.
If you’re in any doubt, seek advice on suitable materials and applications to get the best results.
Your budget also plays a big role in how effective your soundproofed shed is. Price out the materials you’ll need before making an investment.
Once done right, you can get your work done without the concern of disturbing your neighbour. In short, everyone will be at peace.
Who would’ve thought soundproofing a shed could be that dramatic? Ha! But wait until you read how pressure treatment works in wooden sheds!
FAQs
Can you soundproof a shed?
Yes! One of the most effective ways to do so is to add insulation to the walls and roof. This will help reduce noise from the inside and to the outside.
If your shed has no insulation, you can easily add some yourself. Lucky for you, this guide will show you how to do it - even better, from the roofing to the flooring.
What can I use to soundproof a shed?
As mentioned above, you can opt for over-the-counter DIY products if you're on a tight budget. Check #2 to see the list of common materials you'll need for the job.
How do you block out loud noises from outside?
If you use your shed as your makeshift home office, street noise can be annoying. The best way to block this interference is to seal sound leaks around exterior windows.
You may also reinforce your windows with soundproof curtains. Or double up your doors by sealing any gaps.
How can I soundproof my shed cheaply?
Take your rolls of insulation and tack them to the pre-existing wall. Then, use a plasterboard and screw it to the beams.
This will insulate your shed and reduce the amount of noise escaping. If you're doing this for the first time, it's best to seek professional advice.
Do soundproof curtains really work?
Sound absorption stops sound already inside space from echoing and reverberating. Soundproof curtains are incredibly effective for sound-deadening applications.
But keep in mind that they're not useful for sound reduction.
What is the best fabric for soundproofing?
Materials that have been proven to have soundproofing and sound-absorbing qualities include:
- Acoustic fabric
- Burlap
- Foam
- Mass-loaded vinyl
- Wool
- Velvet
Do soundproof panels work?
Soundproof panels work reasonably well in reducing mid and high-frequency sound waves. But they do not block noise entirely.
For one, they're less capable of insulating low-frequency sound waves.


