Jump to:
Good sheds need a good space in the garden to sit in. From preparing a base to landscaping the surrounding garden, here we’ll go through how to prepare your garden for a shed. This should help you get it cleared, levelled, and ready for building or installation.
Preparing Ground for a Shed
The base is the foundation of the whole shed, so the ground needs to be prepared the right way.
Decide where the shed will sit
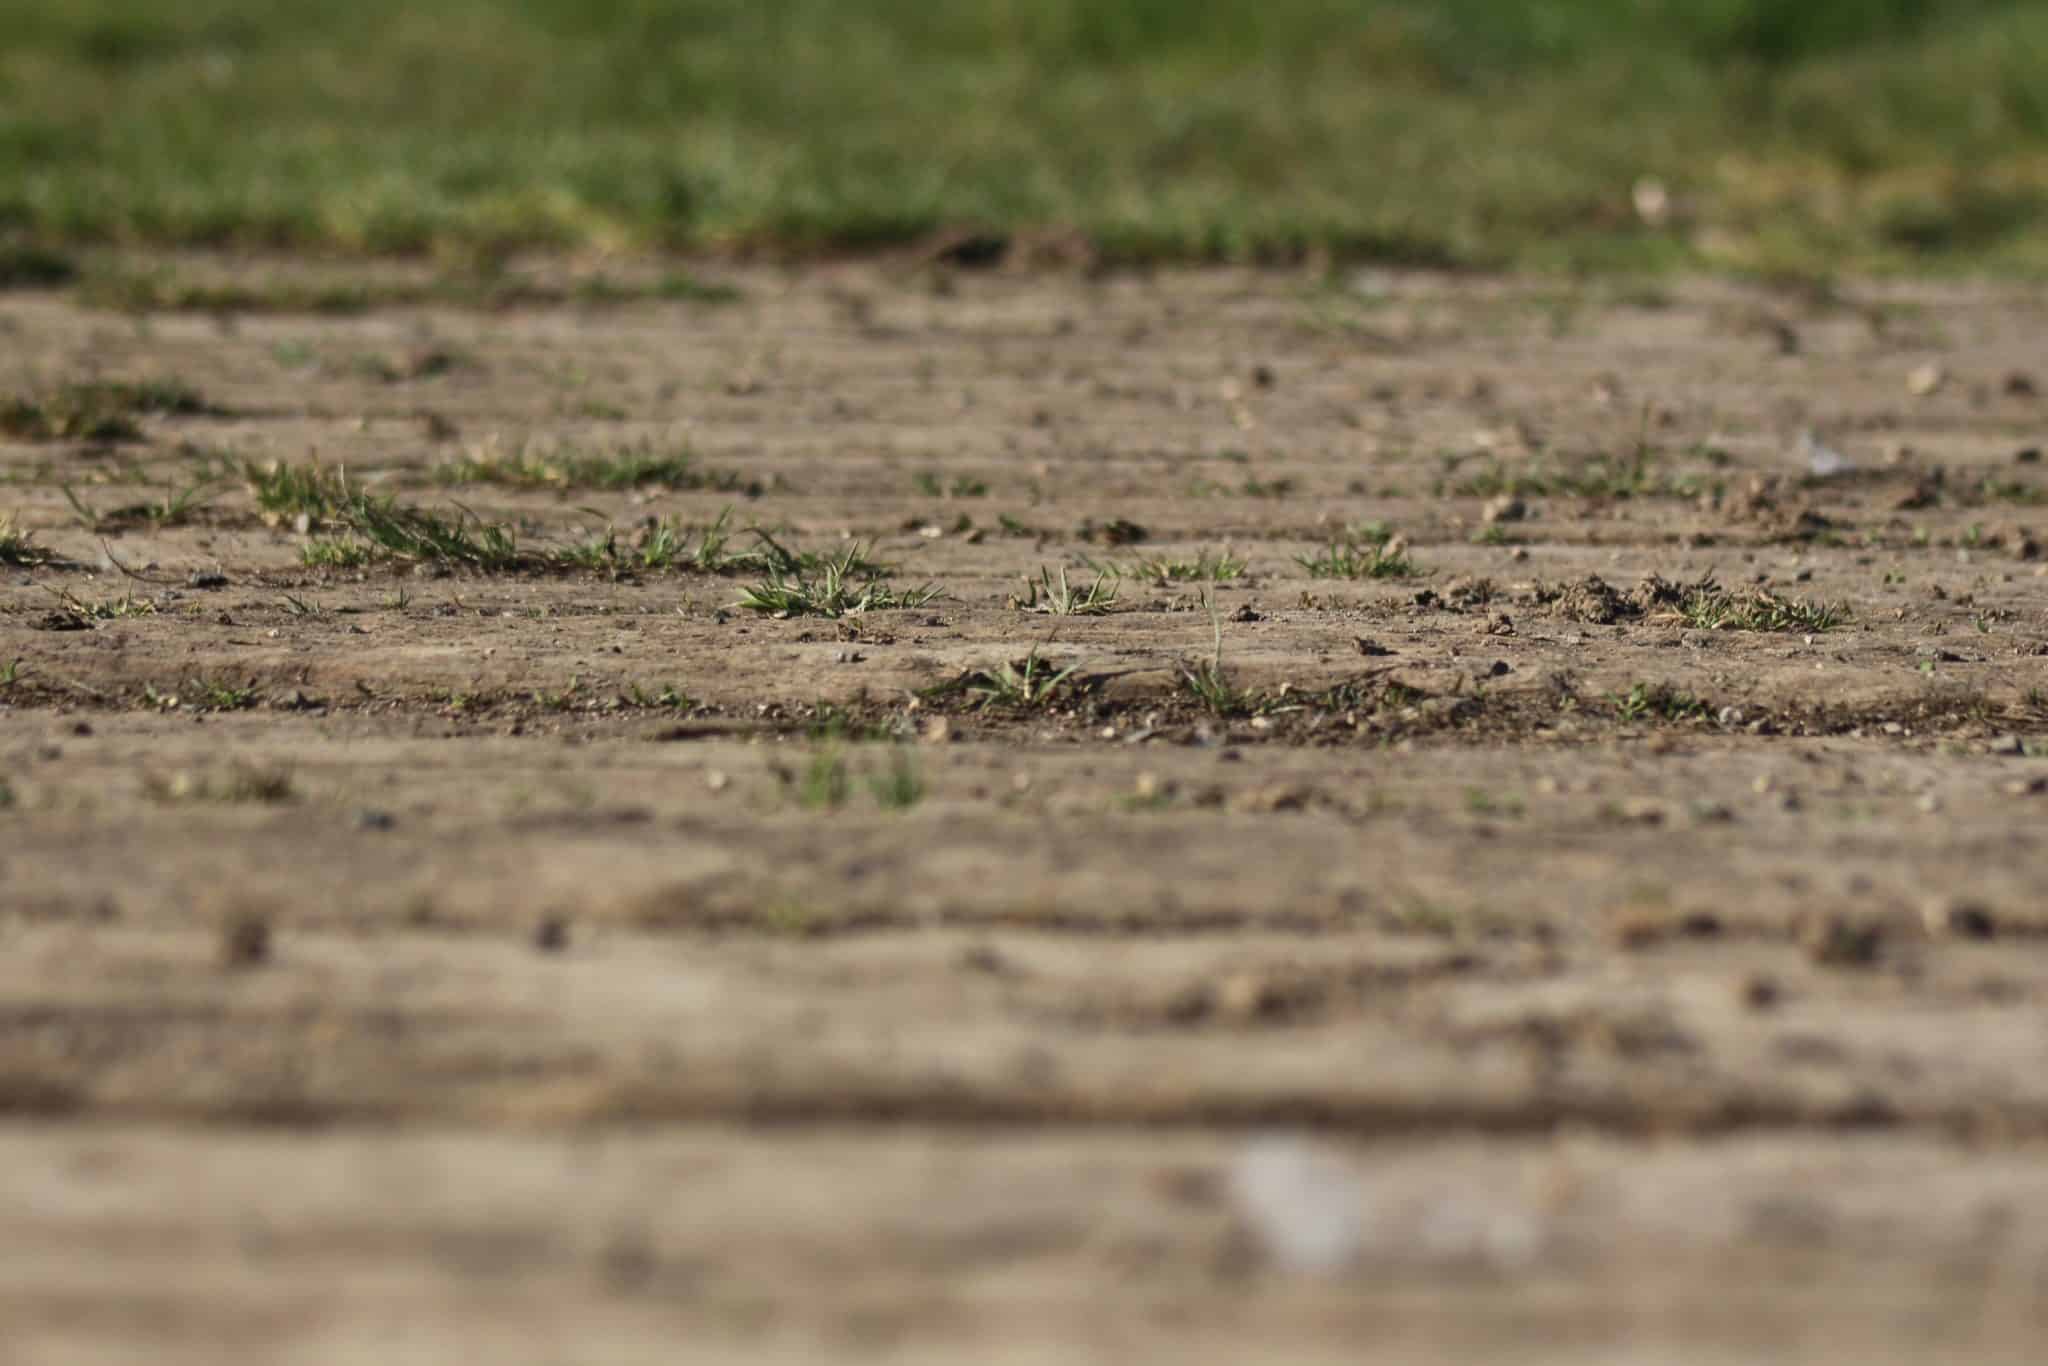
A flat area with a good drainage spot in your garden is your best bet. Check the ground after rain; if water collects, go for a higher point instead, or level it out.
You’ll also want to keep away from overhanging trees to avoid leaves and debris building up on the roof. Not to mention the roots that could disturb the base. Another tip is to leave at least a foot of space around the shed for airflow and easy access maintenance.
Clear the ground
Clear out the grass, weeds, and plants in the spot you’ve chosen. Get the roots too, or they’ll sneak back under the shed later. Pick out any big stones or bits of rubbish that could throw the ground off.
Once it’s bare, roll out a weed barrier or landscape fabric for a neat finish and stop plants from growing through. Pin it down so it doesn’t shift while you sort the base.
Make the base flat
If the ground is not level, smooth the soil with your trusty rake so it’s even all over. Lay a straight bit of 2×4 on the ground with a spirit level on top to spot any dips or bumps. Then add soil where it’s low, scrape some away where it’s high.
How Do I Prepare the Ground for a Shed Base?
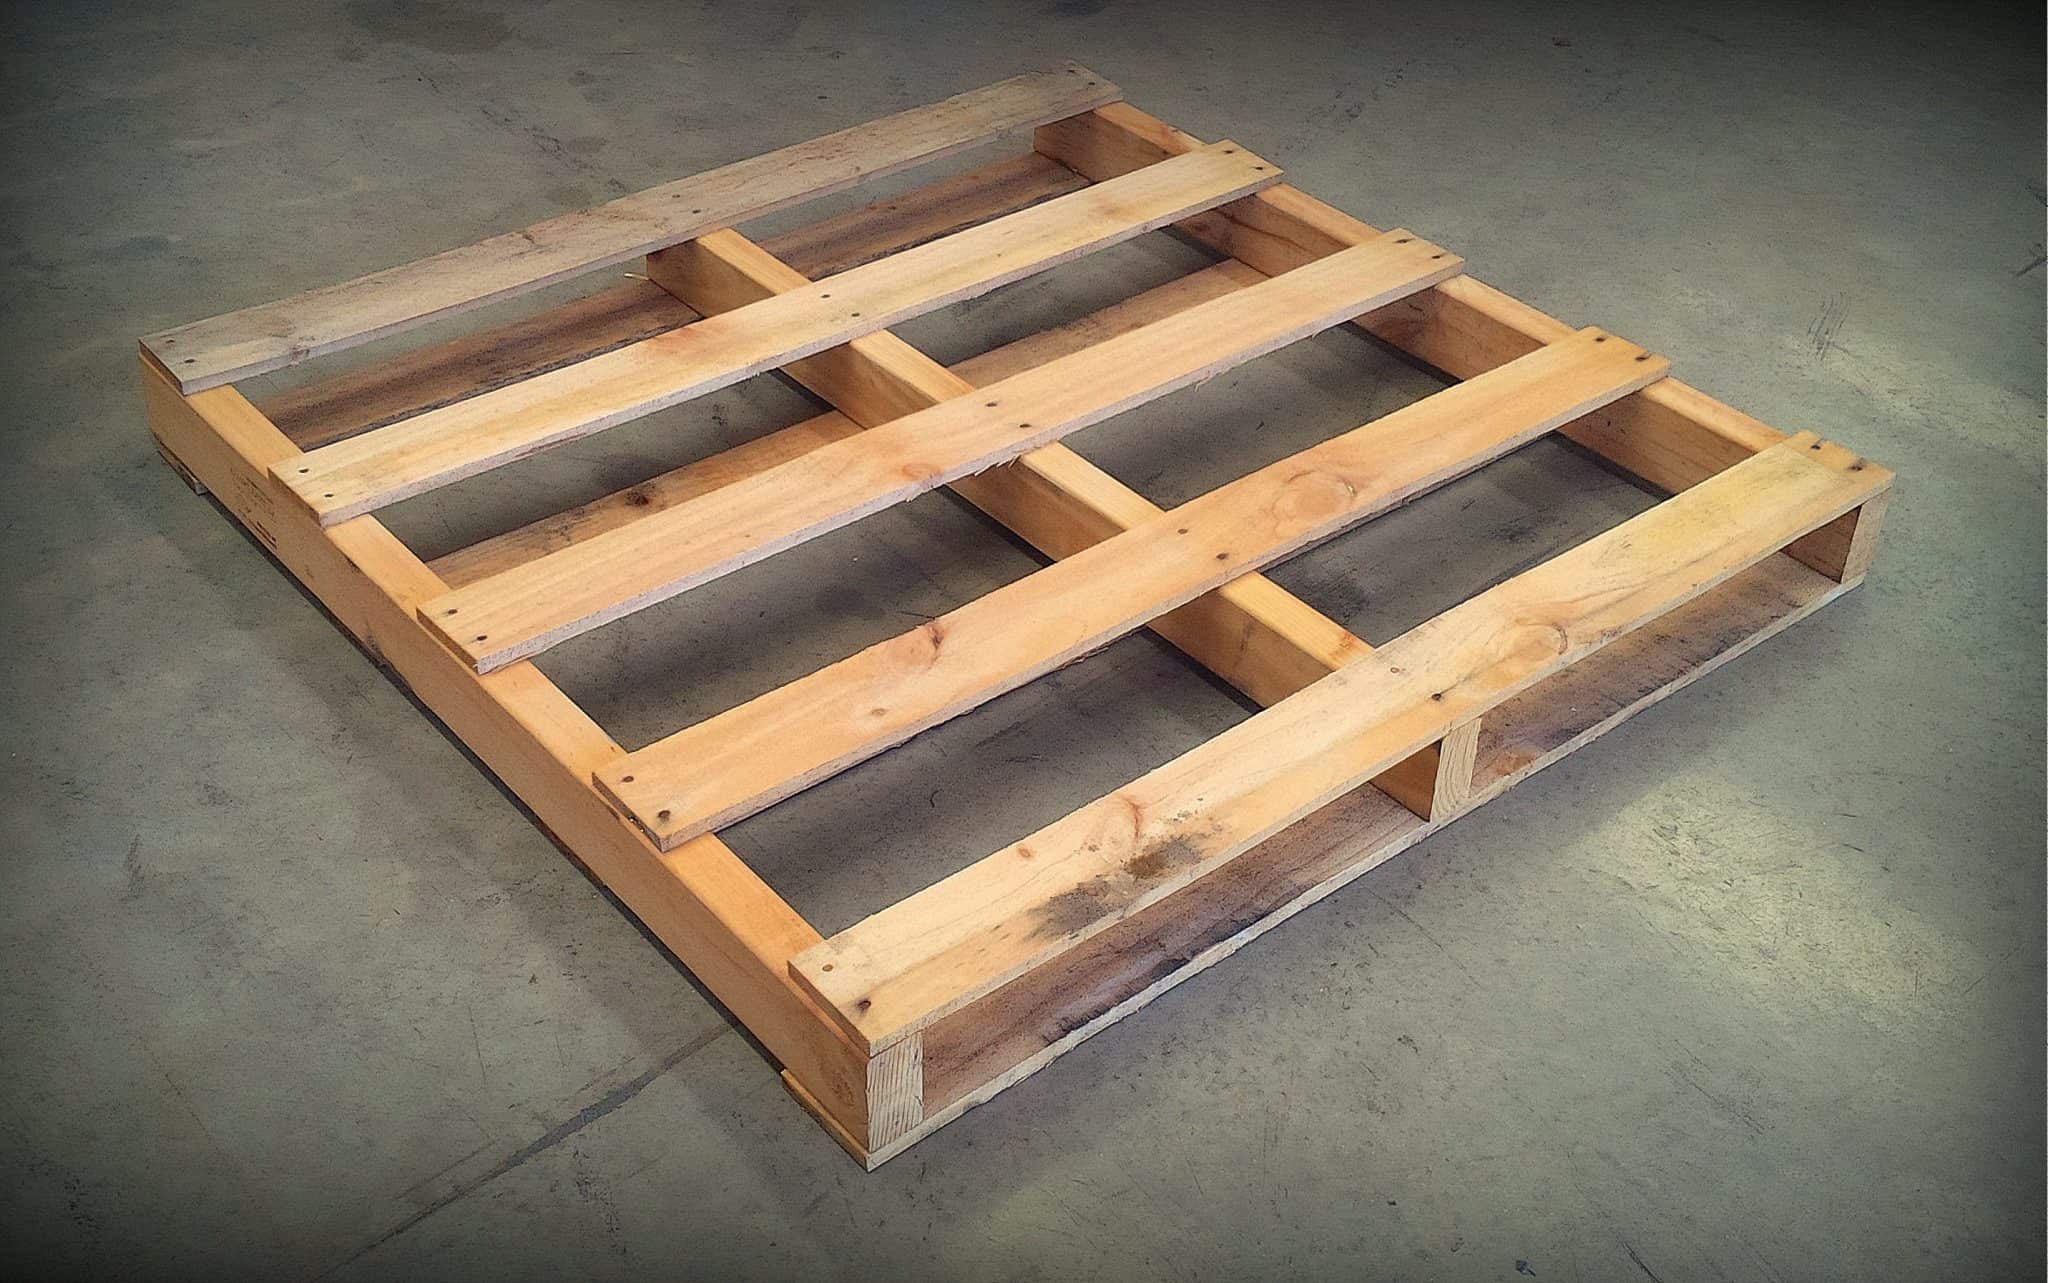
The ground is ready, so now focus on the base.
Choose your shed base
Gravel or crushed stone is quick to install and handles rainwater well. Go for larger, angular stones so they lock together and stay firm under weight.
For heavier sheds, or if you’re planning to store bulky items inside, a concrete slab is worth considering. It takes more work to put in, but it offers rock-solid stability.
Lay a strong gravel pad
If you choose gravel, dig out the area to a depth of around 4 to 6 inches. Fill it with compacted gravel, making sure it’s spread evenly across the space.
Give yourself an extra 1 to 2 feet around the shed—that extra space helps stop rain from splashing mud up the sides. Use a straight piece of timber with a spirit level on top, and check it from every angle.
Add extra stability if needed
Some gardens need more than gravel alone. For instance, the soil is soft or prone to holding water. If that applies to you, lay a damp-proof membrane under the base before adding gravel or concrete. And in sloped areas, concrete blocks or piers can lift the shed off the ground, to boot.
Prepare Any Extras Around the Shed Location
First, think about how you want to access the shed. If you’ll be walking across the lawn, would you like to have a path for walking to it? Whether you use gravel, slabs or decorative stepping stones, a path helps keep your shoes dry and clean before you step inside.
You don’t have to build a path before your shed is installed, but it can help to have it planned.
Additionally, think about installing shed electricity if you’ll be needing it to run power tools or other equipment. This can involve getting an electrician to run cables under the ground from your house to the shed, and that’s work where you might be better off getting it done before building the shed.
Prepare Your Garden for a Shed: Round-up
A shed is only as good as what it stands on. Keep the ground shaped so rainwater runs off, and use a strong base to stop shifting or rot. We hope this guide will help you do it right at the start, and your shed will take care of the rest!
Get more inspo here to look after your investment: Garden Design Ideas Surrounding a Shed
Still on the hunt for the best options? Shop our range of garden sheds, available in wooden, metal, and plastic, as well as in various styles and sizes.


