Jump to:
Wooden greenhouses take a beating from the weather. And if yours is starting to fade or peel, it’s time to give it a fresh coat. Here’s how to paint a wooden greenhouse so it lasts.
How to Paint a Wooden Greenhouse

Painting a wooden greenhouse is a bit different from painting a shed. The glass is in the way, the roof needs painting too, and reaching the top can be awkward. That’s why you’ll need the right tools, along with a ladder.
Let’s go through the steps to get started:
Prepare the surface
Make sure the wood is clean, not greasy, and free of flaking paint. Any cracks should be filled.
Sanding helps prepare the wood to receive paint. And if you’re repainting, it helps to remove any flaking old paint that needs to come off.
Check your paint
Your greenhouse timber needs to be protected with a preservative against rot, mould and insect damage. Some paints will include this in the mixture — check this before you begin. Otherwise, you might need to add a preservative or primer before painting properly.
The paint you choose needs to be suitable for outdoor wood.
Painting the walls
Begin with the side walls before proceeding to the roof. It’s easier to get into a rhythm on the flat sections, and you’ll see how the paint goes on the wood.
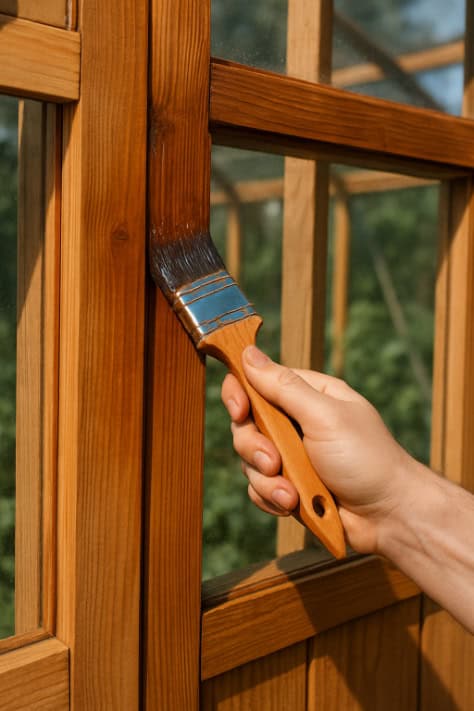
Tackle the corners, edges, and window frames first with a smaller brush. This makes it easier to cover the small areas before moving on to the bigger panels. Paint one section at a time and check for any thin spots as you go.
Tips: Use steady strokes along the grain so the paint goes in and doesn’t run. Don’t overload the brush, as heavy strokes tend to run down the glass.
Move up to the roof
Set up a platform ladder so you can work safely at height. Start on one side and paint each section in order, keeping steady strokes. Use a long-handled brush to reach further up without leaning in too much.
Keep your weight on the ladder at all times and never on the roof itself.
Paint the ridge
Position your platform ladder on one side and extend a pivoting brush towards the centre. Start at one end of the ridge and work your way across in steady lines. Adjust the angle of the brush as you move so the paint covers the full edge.
Check the glazing edges
Go back around the glass frames with a smaller brush. This is the fiddly bit, but it makes the biggest difference to how neat the greenhouse looks. Keep the brush tight to the wood so you don’t streak the glass.
If you do slip, wipe it off straight away before it dries and becomes a headache later. Take your time to get that clean finish on the edges.
Second coat
Let the first coat dry completely before applying the second coat. Cover the walls, roof, and ridge again in the same order as the first round. This coat is the one that makes the wood feel solid and ready to face the weather. Don’t forget the edges and corners!
Do finishing touches
Give the greenhouse one final check so you don’t leave streaks or bare patches behind. Touch them up with a smaller brush for an even finish all the way around. Once you’re happy with the coverage, remove the covers from the glass only then.
Greenhouse Painting Tips
Choose a dry, warm day to do your painting. Late summer is generally the best time, so your greenhouse has fresh protection ahead of colder, wetter days. Remember to keep the glazing covered, rather than removing it. Always have a handy ladder with you whenever you’re working on the roof.
The ridge is the trickiest part of the job. On an 8-foot-wide greenhouse, a standard brush won’t reach the middle, even from a platform ladder. We recommend using a telescoping pole or a brush with a pivoting head.
And above all, never lean or put weight on the roof itself. The glass won’t hold you, so always keep your balance on the ladder.
Good luck with the project! We hope these steps help you paint the garden greenhouse safely and achieve a finish you’re proud of.
Get more tips here: How to Maintain a Wooden Greenhouse


