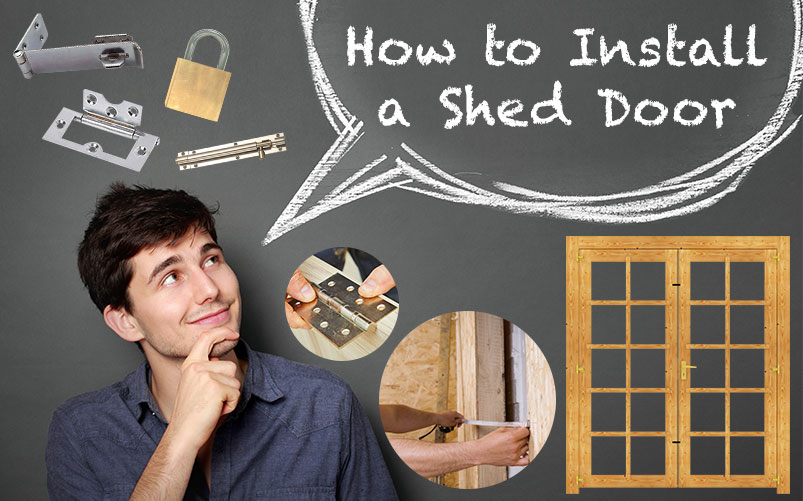
Your beautiful and functional new shed is finally installed, and now you are on to the finishing touches—the doors. Your garden shed doors will keep your lawn and garden equipment safe and secure, but only if they are installed properly. Use these steps in order to get your shed doors installed quickly and efficiently.
Measure the Opening
To ensure that your doors, either single shed door or double shed door, will fit properly, it is important to measure both the top and bottom of the opening. Both portions of the opening should be the same length, ensuring that the space is square. If the space is not square, you’ll need to make some adjustments to ensure that the doors will be aligned correctly.
Install a Ledger Board
It is recommended that before you install your shed door or doors (whether it’s for a sunroom or garden office), you install a ledger board one inch below the floor of your shed. This ledger board should be parallel to and level with the floor, and it will be useful when it comes to putting the door into its proper position.
Install the Hinges
Depending on the type of garden shed door that you’ve purchased, the hinges may or may not already be installed. If they are not, you’ll need to do this step on your own. To install the hinges, complete the following steps:
- Place the hinges in the right location. Most shed door design doors require at least two hinges: one located about 7 inches from the top of the shed door frame, and the other located about 11 inches from the bottom of the shed door frame. If you have a third hinge, you’ll place it directly in the middle of the two other hinges. This is a good idea if you have a heavy door.
- Trace around the hinge. After you have measured the right location of your hinges, use a carpenter’s pencil to trace around the hinge. You will then use a box cutter to score the outline so that you can more easily cut the mortise in the next step.
- Cut the mortise. To make room for the hinge, you’ll need to cut out a portion of the wood in the shape of the hinge. You’ll need a hammer and a sharp chisel to cut and carefully remove the wood.
- Mark where the screws will go. Once the mortise has been removed, replace the hinge and use a pencil to mark where the screws should go. Then, remove the hinge again to drill pilot holes in those locations. This will make it easier for you to put the hinges in place.
- Install the hinges. Use a screwdriver to screw each hinge into its correct position on the door.
Putting the Door in Place
Wide-opening double doors can be a great feature that adds natural light and airflow to a garden room. So, once your doors are prepared with hinges in their proper positions, it is time to put the door in place. In order to accommodate lawn equipment and outdoor gear, most garden sheds will have two doors that will need to be installed. Follow these steps to get them both into proper position:
- Start with the left door, place it on the ledger board, and move it all the way to the left
- Screw the hinges to the outside door style.
- Set the right door on the ledger board, moving it all the way to the right (there should be a ¼ inch gap between the two doors).
- Screw the hinges of the right door to the outside door style.
Choose the Right Shed Lock
In order to give your shed added security, it is important that you select the right lock for your doors. For an unframed shed door, there are three main types of locks to choose from, all of which are fixed onto the central door ledger:
- Hasp and staple latch. Not only is the hasp and staple one of the most versatile latch options available, they are also easy to install.
- Padlock. A padlock is often used along with the hasp and staple latch in order to provide added security to shed items like tools, or summerhouse items like furniture and even office equipment. Just remember to always use tamperproof bolts or screws when installing your lock.
- Rim lock. This lock is fitted to the surface of a door and has a matching box that is fitted into the door jamb. The benefit is that there is nothing removable from the outside.
Once your doors have been installed, you can remove the ledger board from below them. Your garden shed is now ready to keep your outdoor equipment safe and secure.
Additional Resources
Do you need more help installing your tongue & groove shed doors? Check out some of these helpful resources for additional guidance.
- Barn Door Installation – How to build and install barn doors for your shed.
- Door Handle Fittings – How to fit a door handle on your own.
- Find the Right Fit – How to measure for the right fit for your door.
- Fitting a Door Lock – If you want to add a lock to your shed doors, follow these tips.
- Hinging Your Shed Door – How to properly place the hinges on your shed door.
- Mortise a Door Hinge – How to mortise a door hinge.

