If you’re building a shed from scratch or replacing an old roof, you’re in the right place. This guide explains how to build a shed roof from start to finish to get the job right. We’ll make sure the purlins are secure, the panels fit well, and there are no gaps left behind. Ready?
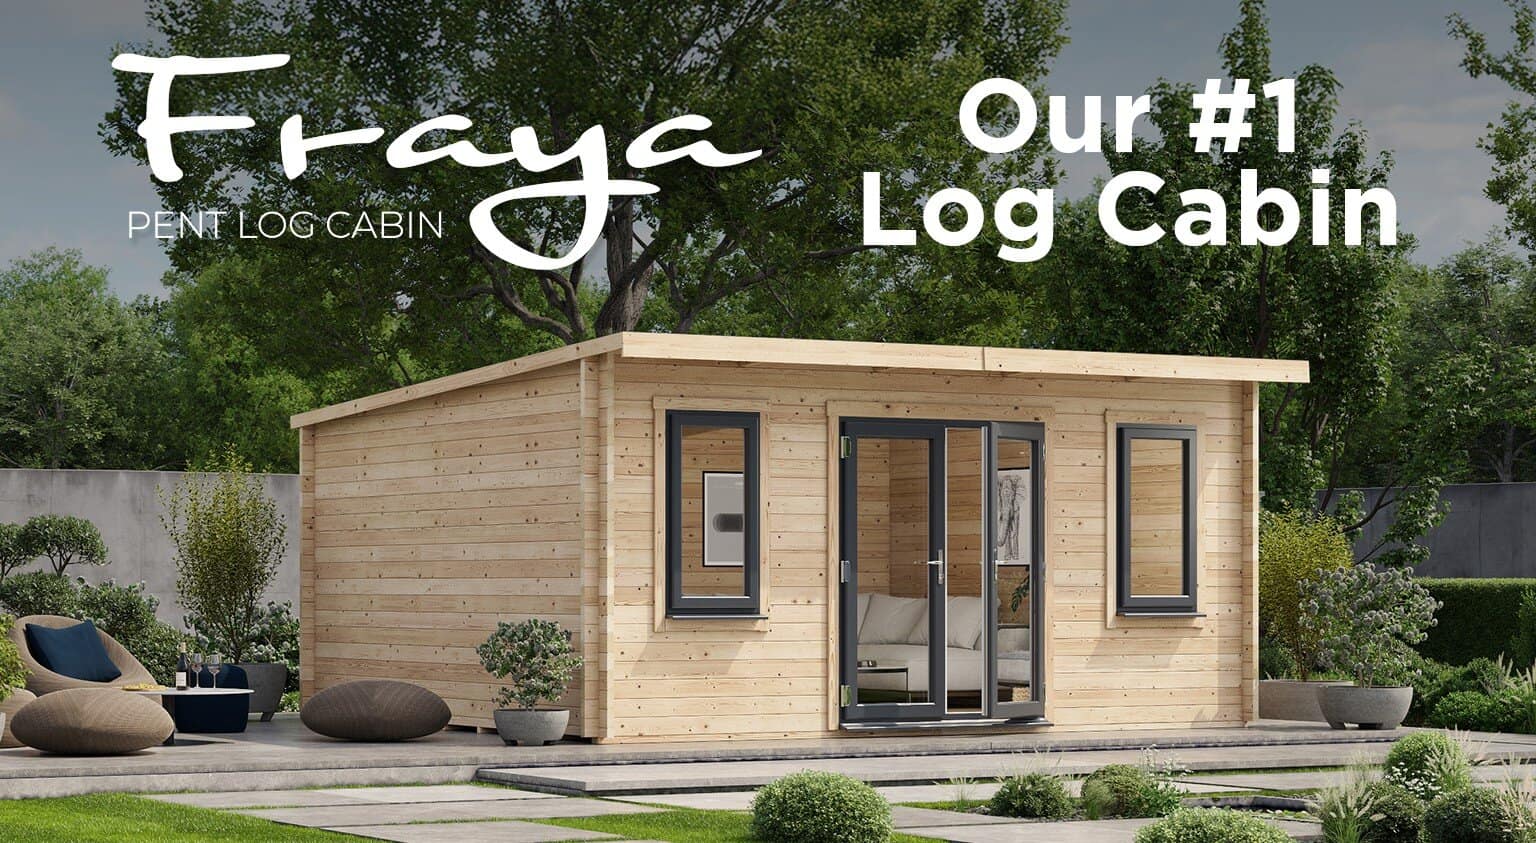
Need an entirely new building? Check out our wooden shed range for easy-assemble options.
How to Build a Shed Roof
We’ll break these steps for shed roof assembly into five manageable parts, starting with:
1. Position the roof purlins as needed
Roof purlins, also called roof bearers, must be fitted with no gaps. Check that these horizontal timbers run in the right direction for your roof type.
- On an apex roof, they usually run front to back, across the width of the shed.
- On a pent roof, they often run side to side, depending on the slope.
Purlins support the roof panels or boards. If they’re off, the rest of the roof won’t line up or hold steady. Make sure each is:
- Evenly spaced with no large gaps that could cause sagging or weak spots.
- Level across the top, where the roofing sits flat. Use a spirit level to check.
- Fixed to the top of the frame using screws, not nails.
2. Install the roof panels or boards
- Fix your panels or boards in place, starting from the lowest edge or back of the shed. Line them up one by one across the roof frame.
- Keep each panel flush against the next. Gaps will let in water or lead to movement over time. If using tongue-and-groove boards, slot each one in fully before fixing.
- Secure them into the purlins. Use screws or nails spaced evenly across each board, not just in the corners. Check your shed kit for fixing guides if needed.
- If using overlapping boards or feather edge, overlap each one by at least 20 to 30mm to help shed rain. Make sure the run stays straight as you go.
Before you move on, check everything is solid and level. Loose boards or uneven sections will cause trouble when you fit the felt.
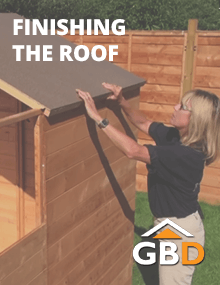
3. Add the felt (how to install shed roof felt)
Roof felt keeps water out and protects the roof boards from rot. It needs to be laid right, or it won’t do its job. Go through it like this:
- Unroll the felt and leave it flat for 10 to 15 minutes. This stops it from curling when you lay it down.
- Start fitting at the lowest edge of the roof. Lay the first strip so it overhangs the edge slightly—about 40 to 50mm.
- Each new strip should overlap the one below it by at least 50mm. This overlap is what stops rain from working its way underneath.
- Fix the felt using galvanised felt nails or roofing tacks. Work from the middle outwards and smooth it as you go to avoid bumps or trapped air. Nail along the top edge first, then add extra fixings along the overlap and ends.
Finish at the top ridge with a final strip that runs along the peak and covers both sides.
4. Seal the edges and ridges
Seal any gaps where water could get in, including the joins, edges, and the ridge. Don’t leave this part out:
- Add extra nails or roofing adhesive along the overlaps. Pay attention to spots where one strip covers another, as these can lift if not secured well.
- At the ridge, fit one final strip of felt to bridge the gap. It should run the full length and cover both slopes. This is your main barrier against rain getting through the top join.
- Secure this ridge strip with nails along both edges, spaced out. If you’re using adhesive, apply a continuous bead under both sides before pressing it down.
- Check all corners and edges. Press and fix them in place so nothing lifts or flaps in bad weather. If your shed has fascia boards, fit them now to cover and tidy up the overhanging felt.
5. Check for gaps
Give everything one last look. There shouldn’t be any open gaps between boards or felt strips. Press down any raised felt and add extra nails where needed.
Also, see to it that the rainwater runs off cleanly, and not towards the joints or drips. If it pools anywhere, check for sagging or misaligned boards.
And that’s how you build a shed roof! We hope these simple tips helped make the job easier and clearer. If you’re tackling the rest of the shed, take it step by step and don’t rush the details.