Jump to:
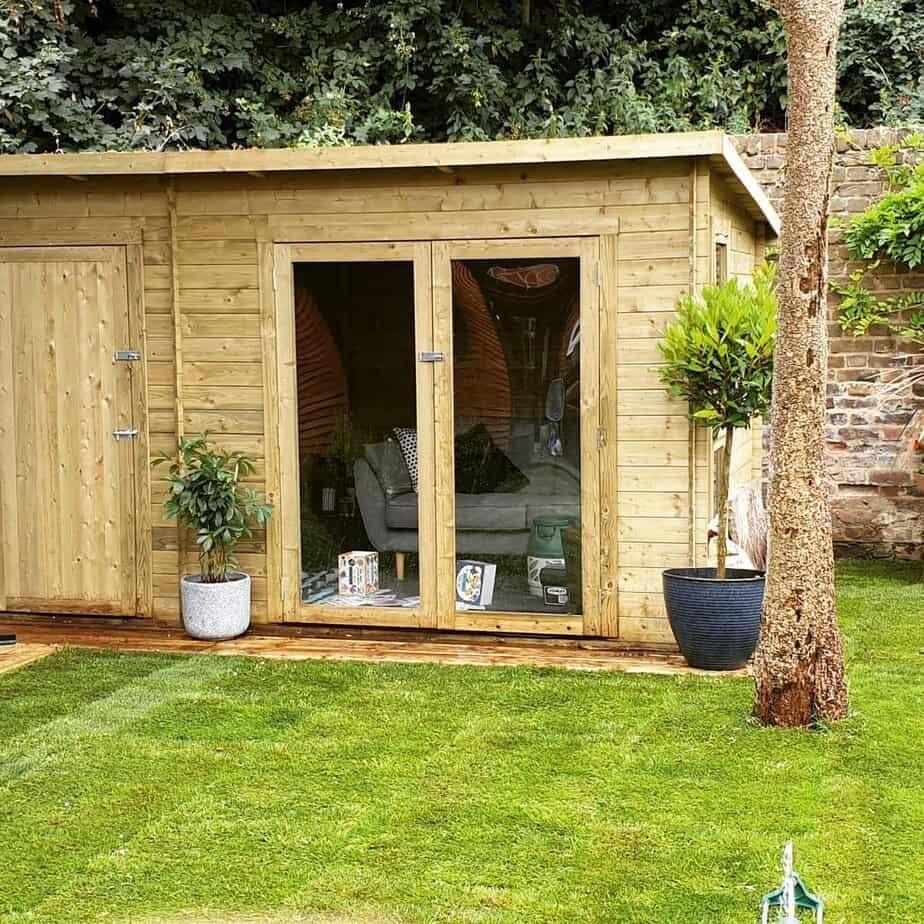
Putting a shed on decking can be a good idea or a bad one, depending on the situation. There are a few factors to consider, and this guide will walk you through them. It’s not complicated, but here’s what you need to know.
Can You Put a Shed on Decking?

The answer to a question that has many homeowners scratching their heads: yes. But that doesn’t mean you’ve got the go-ahead to plonk your storage building straight on top of it. The deck must be level and reinforced to handle the structure’s weight.
This applies to all garden rooms, though requirements vary with each specific build.
Why You Should Have a Shed Base
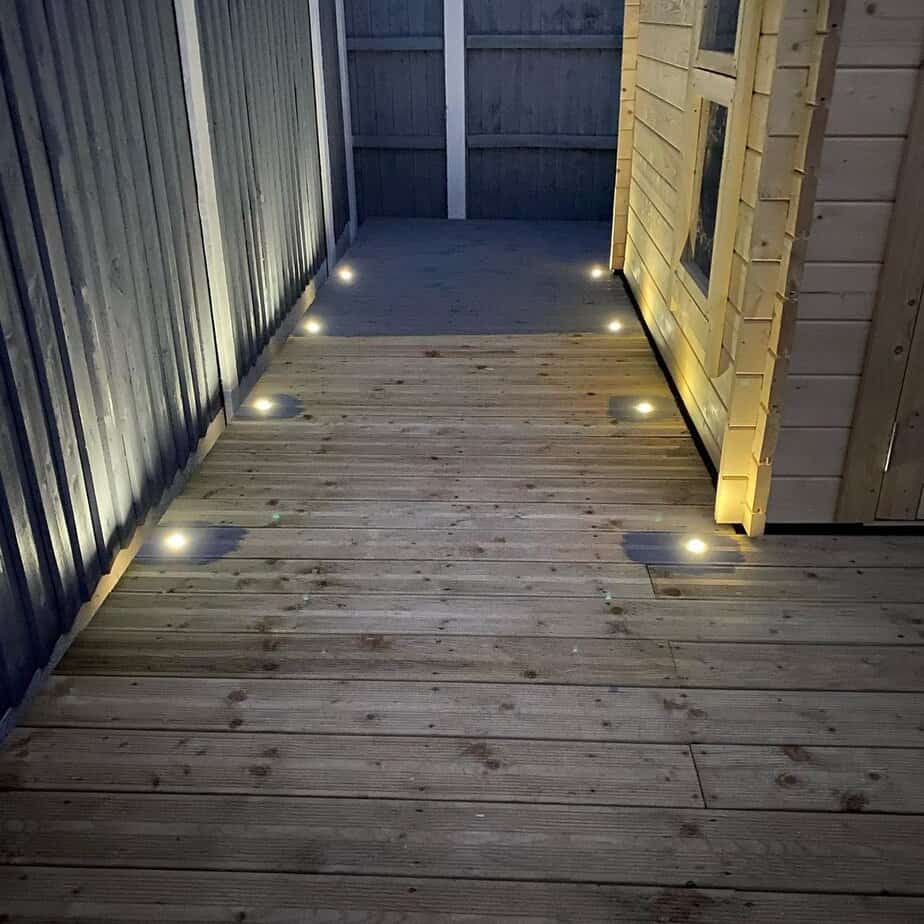
A deck as a base will do, as long as it’s level, stable, and won’t flood. Otherwise, it’s only a matter of time before your shed becomes wobbly or the decking boards bend and crack. And if the decking doesn’t have good foundations, it’s likely to suffer from moisture damage, leading to rot issues and more. That’s what the groundwork is for.
Your decking base material depends on your shed’s size, weight, and the ground conditions. Most go for building a concrete base, laying paving slabs, using their existing patio (as long as it’s level) or a quick-fit timber base. There is also the Ecobase Fastfit Foundation Base, which can simply be set down in a flat area and filled with gravel to be ready to use.
Pre-manufactured base kits are recommended for small wooden and plastic sheds, particularly in lighter builds.
Tip: Chemically treated floor bearers are worth considering for wooden sheds. That way, neither your bearers nor your floorboards absorb water or moisture from the ground. If the bearers do come into contact, they resist rot and insects.
Reinforce Your Deck
A well-built base underneath helps support the weight of a shed, but it’s not what reinforces the deck itself. To strengthen the deck, you add more support.
This can be installing extra joists and beams or tightening the spacing between them. Use thicker or stronger beams if your shed is heavier or will store heavy items.
Be sure to check the current deck frame for any signs of damage before adding reinforcements. This helps you avoid fixing bigger issues once the shed is already in place.
In essence, the base will support the whole deck on the ground. Meanwhile, the joists and beams carry and spread the shed’s weight across the structure.
UK Local Regulations for Installing a Shed on Decking
There aren’t specific rules stopping you from putting a shed on decking. However, planning rules can still apply.
For instance, your shed and decking shouldn’t cover more than half your outdoor space to avoid planning permission, under English law. (In Scotland, this rule applies to the rear curtilage, aka the back garden.)
Decking should also be no higher than 30cm. If your deck or shed floor is taller than that, you might need planning permission.
Keep in mind, there are extra restrictions if you live in a conservation area or a protected zone. Always check with your local council before you start.
Not sure which shed works for you? Take these matters into consideration and shop for one that suits your setup:
FAQs
Can you put a summer house on decking?
Yes, summer houses on decking are possible. Then again, the deck should be level, stable, and strong enough to support its weight. Feel free to apply the considerations and rules mentioned above.
How to anchor a shed to a deck?
Loop a sturdy cable or strap around a solid part of the shed’s frame or support beam. Then fix the other end to a ground anchor, like an auger anchor, ground screw, or heavy-duty stake. Keep the cable tight with no slack for it to hold correctly.
Can you build a shed on decking?
Yes, but only if the deck is up for it. If it’s not, the boards could bend or even break under the shed’s weight, possibly while you’re building it. That’s a safety risk you don’t want.


