Jump to:
Attention, parents! Are you looking for a fun activity to engage your kids this weekend? Look no further than decorating plant pots together! It’s a delightful blend of fun and education — bonus: prettying up your space.
Get those tiny hands to dip into colours and let their imaginations run wild. Join us on this journey as we explore a variety of exciting plant pot decoration ideas. Head into your potting shed, get those pots, and let the magic unfold!
Getting Started
Ensure a hassle-free creative session by gathering essentials beforehand. Stock up on these supplies:
- kid-friendly paints
- brushes
- sponges
- colourful beads
- a variety of embellishments
Don’t forget to lay out newspaper or a disposable tablecloth to keep the mess in check.
Choosing the right pot size
Select pots that are just right for little hands but spacious enough for creativity to bloom. Aim for medium-sized ones. Make sure they’re not too small to limit artistic expression or too large for easy handling.
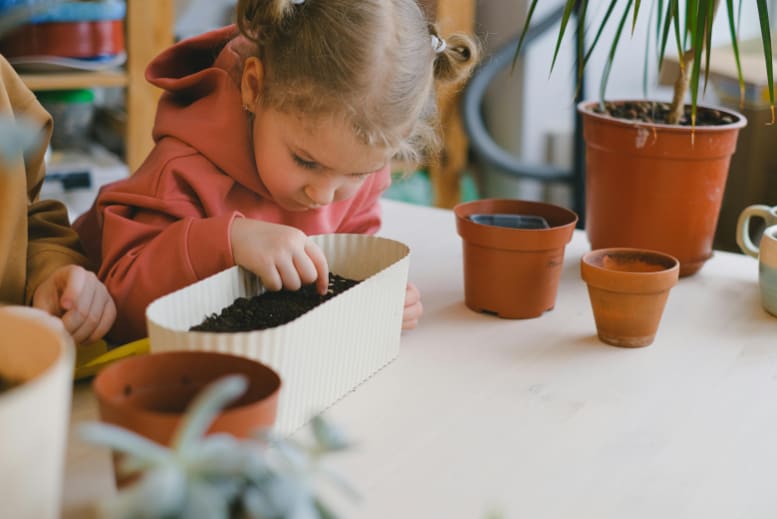
Setting up a creative workspace
Designate a dedicated space for crafting, such as in a garden workshop. Lay down a protective covering on the table using old newspapers or tablecloths. Organise supplies into easily accessible containers and arrange seating to encourage collaboration. Adequate lighting is crucial, ensuring every stroke and detail is visible. Take advantage of natural lighting or go for artificial lights, such as LEDs, for an airy interior.
Plant Pot Decoration Ideas
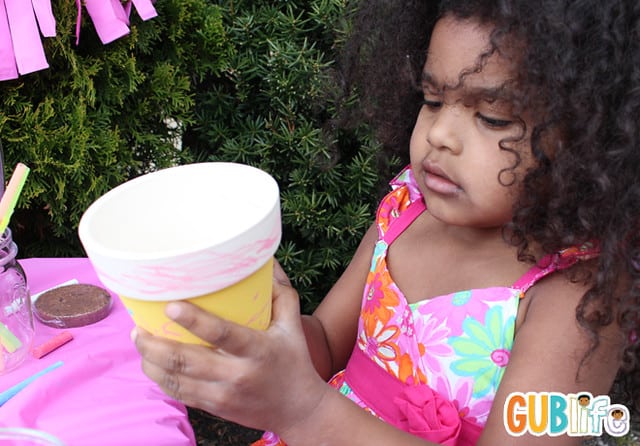
Explore a world of creativity with our diverse plant pot decoration ideas. This section is a treasure trove of inspiration. Get ready to unleash your kids’ imagination and transform ordinary pots into masterpieces!
Painting techniques
1. Coloured dipped pots
Dive into the fun world of colour dipping! Select your favourite paint hues and dip the pot halfway, letting excess drip off. Experiment with multiple colours for a vibrant effect. Use water-based paints for easy clean-up. Encourage kids to wear aprons for mess-free enjoyment.
2. Sponge painting
Unleash creativity with sponge painting! Load a sponge with paint, then dab it onto the pot for a textured look. Layer colours for depth. Cut sponges into fun shapes for added flair. Remember to rinse sponges between colours to avoid muddying the palette.
3. Polka dot delight
Create a playful masterpiece with polka dots! Dip the end of a brush or cotton swab into the paint, then stamp the dots onto the pot. Vary colours and spacing for a whimsical touch. Use contrasting colours for a striking effect. Let each dot dry before adding more to prevent smudging.
Textured creations
1. Gem flower pot
Transform your pot into a gem-filled garden! Apply glue to the pot’s surface and let your child press colourful gems onto it. Experiment with patterns or create a dazzling mosaic. Arrange gems in flower shapes for a blooming effect. Allow the glue to dry completely before handling.
2. Sand art plant pots
Get into the world of sand art! Spread glue in sections and sprinkle coloured sand onto it. Shake off the excess sand and repeat with different hues. Use a variety of colours to mimic a rainbow or create a themed design. Ensure each layer is dry before adding the next.
3. Bead embellishments
Add a touch of elegance with bead embellishments! Affix beads by applying glue to the pot and letting your child press them onto it in unique patterns. Create shapes, or let your imagination run wild. Mix and match bead sizes and colours for an eclectic look. Let the beads set completely before moving the pot.
Personalised touch
1. Paint your name
Transform your pot into a canvas! Use vibrant paints to write your name on the pot. Experiment with different colours and styles. Practice on paper first and let each letter dry before moving on to the next to avoid smudges.
2. Handprint masterpiece
Create a lasting memory with handprint art! Apply paint to your hand and press it onto the pot. Add details with brushes. Use contrasting colours for a standout effect. Make sure to have wet wipes ready for quick hand cleanup.
3. Decoupage magic
Craft a collage with decoupage! Cut out images from magazines or napkins and glue them onto the pot using a mix of water and glue. Layer different images for a textured look. Ensure each layer is securely glued before adding the next.
Interactive designs
1. Chalkboard plant pots
Unleash creativity with chalkboard fun! Apply chalkboard paint to the pot’s surface. Once dry, kids can doodle, write, and erase to their heart’s content. Prime the surface with chalk before decorating to create a smoother canvas.
2. Magnetic creations
Transform your pot into a magnetic masterpiece! Apply magnetic paint and let it dry. Kids can then attach magnetic shapes and decorations for a customisable look. Experiment with different shapes and colours. See to it that the magnetic paint is completely dry before decorating.
3. Tic-tac-toe planters
Playful and practical, create a game on your pot! Paint a tic-tac-toe grid on the pot and craft X and O markers. Enjoy games while tending to your plants. Use contrasting colours for the grid and markers. Allow each layer to dry before playing to avoid smudges.
Tips for a Successful Project
Unlock the secrets to a thriving project with our expert tips:
Choosing kid-friendly paints
Opt for water-based, non-toxic paints to ensure a safe and enjoyable crafting experience. Look for washable varieties for easy cleanup. Consider paints with vibrant colours that inspire creativity. Always check the labels for age recommendations and allergen information. Provide a variety of paintbrush sizes to accommodate different artistic styles and techniques.
Safety precautions
Prioritise safety during the project. Ensure a well-ventilated workspace and use age-appropriate tools. Keep sharp objects out of reach and provide proper supervision. If using any materials with fumes, work in a space with good airflow. Have a designated area for drying and ensure all materials are child-friendly.
Top tip: Keep a first aid kit handy. Educate kids on safe tool usage and the importance of handwashing after the project.
Encouraging creativity
Foster a nurturing environment that encourages imaginative expression. Avoid overly structured instructions; instead, let kids explore and experiment. Celebrate small wins and the creative process over the final result. Provide a variety of materials, allowing children to choose and combine elements freely.
Display enthusiasm for their ideas and ask open-ended questions. Join in the crafting fun to create a collaborative and supportive atmosphere.
Round-up
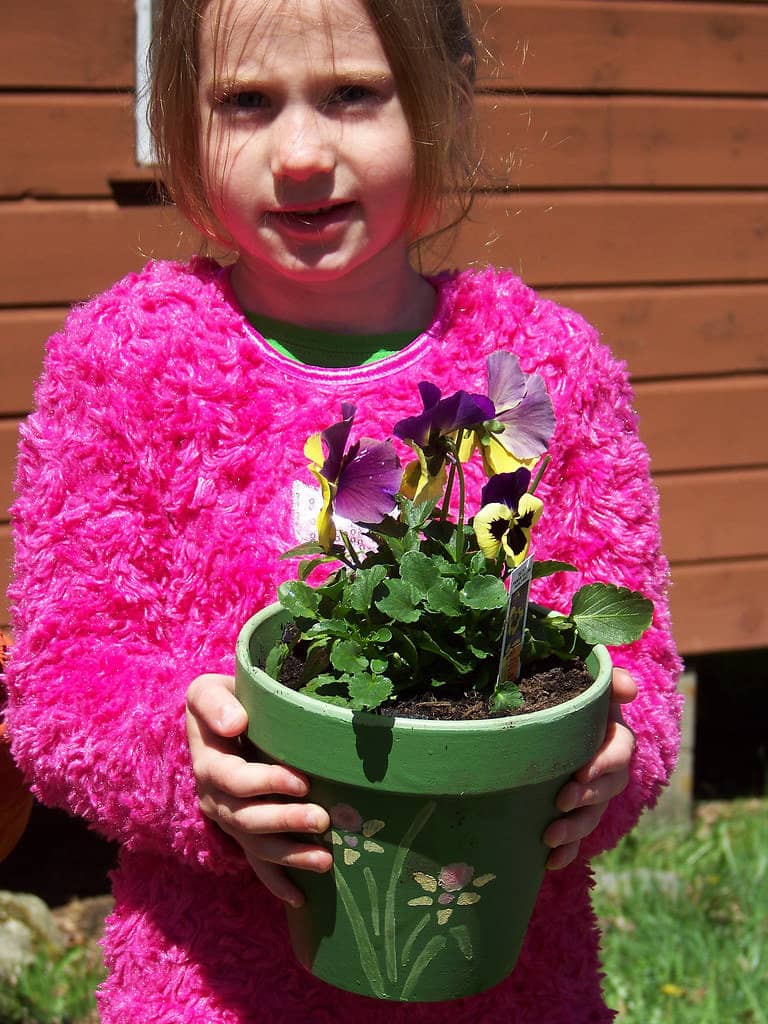
As we wrap up this journey, your plant pots are now vibrant expressions of imagination. Crafting with kids not only brings joy to your home but fosters valuable skills. Remember to showcase their masterpieces and celebrate the process. Keep nurturing those little green thumbs, and let the beauty of your creations bloom!
Prepare for upcoming projects by ensuring an ample supply of pots. Optimal storage can be found in potting sheds, garden greenhouses, or workshop buildings.
Next on your reading list: Our 5 Best Wooden Playhouses