Jump to:
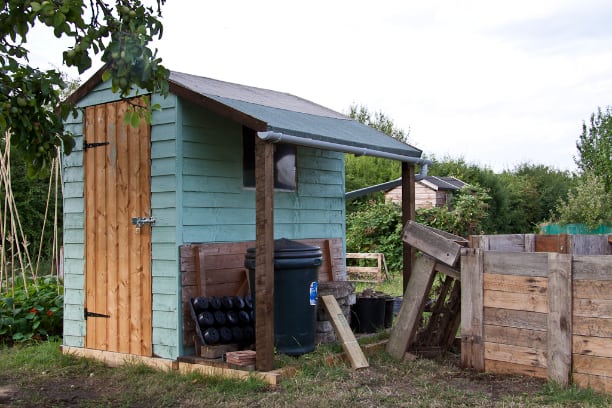
If you’re a green-thumb enthusiast with an allotment, you know the value of having a dedicated space to do your thing. That’s where an allotment shed comes into play. In this blog, we’ll walk you through the process of creating your own. This step-by-step guide will help you unlock the potential of your plot, so keep reading!
Planning
Before you roll up your sleeves and start construction, planning is key. This step ensures your shed (or a potting shed even!) avoids costly mistakes down the line. It helps you determine the size, design and features your structure should have. Planning also means you’re less likely to run into unforeseen problems. This makes the construction process smoother and more efficient.
Part of this stage is choosing the right location for the building. Look for an area that receives ample sunlight and good drainage. Ensure it’s not obstructing your crops’ growth. Also, consider factors like accessibility, proximity to water sources, and shading.
Allotment regulations
Different allotments and regions may have specific regulations regarding the construction of sheds. Check with your local authorities to ensure you’re in compliance with:
- zoning
- size
- placement regulations
This can save you from future hassles and potential fines.
Gathering Materials and Tools
Once you’ve got your shed plans and location sorted, gather the materials and tools. Here’s a list of the essentials:
- Timber for framing and cladding
- Plywood for the floor and roof
- Roofing materials (shingles or felt roof covering)
- Nails (such as roof felt tacks), screws, and bolts
- Hinges and handles for doors and windows
- Waterproof sealant and paint
Building Your Allotment Shed
Step 1: Foundation and flooring
- Begin by marking the wooden shed’s perimeter and digging post holes.
- Install concrete footings or wooden support posts.
- Lay a solid, level base with pressure-treated plywood or concrete blocks.
- Ensure proper drainage to prevent moisture issues.
Step 2: Framing and walls
- Assemble the frame using the timber.
- Build wall frames, ensuring they are plumb and level.
- Attach plywood or cladding to the frame for wall panels.
- Consider insulation for year-round use, if desired.
Step 3: Roofing
- Construct a sloped roof with rafters and trusses.
- Cover with your chosen roofing material (such as felt shingles)
- Ensure a watertight seal at the roof’s edges.
- Properly vent the roof to prevent moisture buildup.
Step 4: Doors and windows
- Install the shed doors with sturdy hinges.
- Add windows for light and ventilation.
- Seal all gaps and edges to keep the interior dry.
- Consider security measures like locks.
Tips
- Double-check measurements and levels at every stage for accuracy.
- Use a spirit level to ensure your shed is plumb and square.
- Protect wood surfaces with weather-resistant paint or sealant.
- Involve a friend or family member to make assembly easier.
- Prioritise safety when using protective gear, especially when working with power tools.
Personalising Your Garden Shed
Make your allotment shed truly yours by adding personal touches. Consider painting it in your favourite colours and decorating it with elements. Doing so will enhance your wooden garden shed’s appeal and make it a space you’ll enjoy spending time in. Take this opportunity to make it a more welcoming and inspiring gardening environment!
Maintenance and Longevity
To ensure your allotment shed stands the test of time, regular maintenance is crucial. Here are some tips for keeping it in top condition:
- Regular inspections: Check for signs of damage, rot, or pests frequently. Fix any issues promptly to prevent them from worsening.
- Weather protection: Apply weather-resistant sealant or paint for anti-rain and UV rays. Ensure the roof’s integrity to prevent leaks.
- Preventing decay: Elevate the shed slightly to improve drainage and prevent water damage. Use pressure-treated wood and keep the shed well-ventilated to deter mould growth. Top tip: Go for a pressure treated shed to save you this hassle!
Closing Out
In crafting your own allotment shed, you’ve learned the following:
- proper planning
- choosing of materials
- construction process
- personalising
- maintenance
With dedication and care, your shed will stand as a testament to your green thumb journey for years!
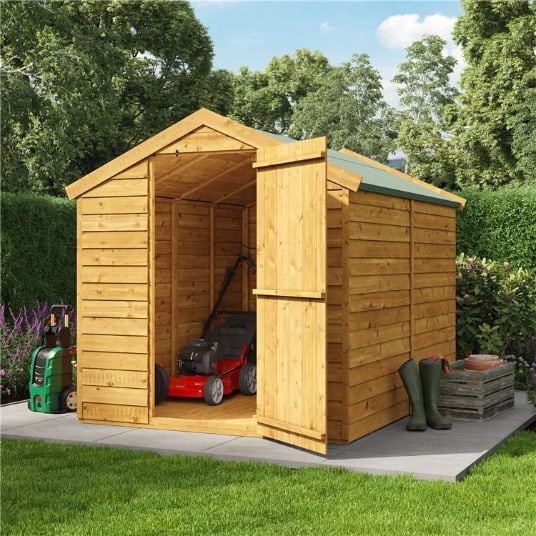
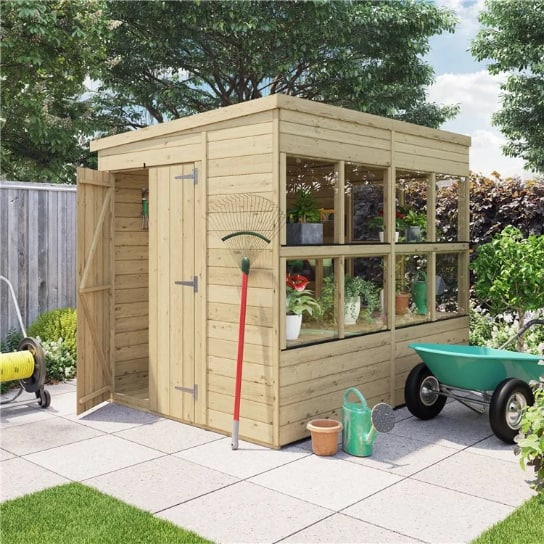
For shed design inspiration, browse through our selection of garden sheds Our available models come in various materials, including plastic sheds and metal sheds. If you decide to just invest in one soon, be sure to consult our helpful Garden Shed Buying Guide.
Shop Garden Sheds